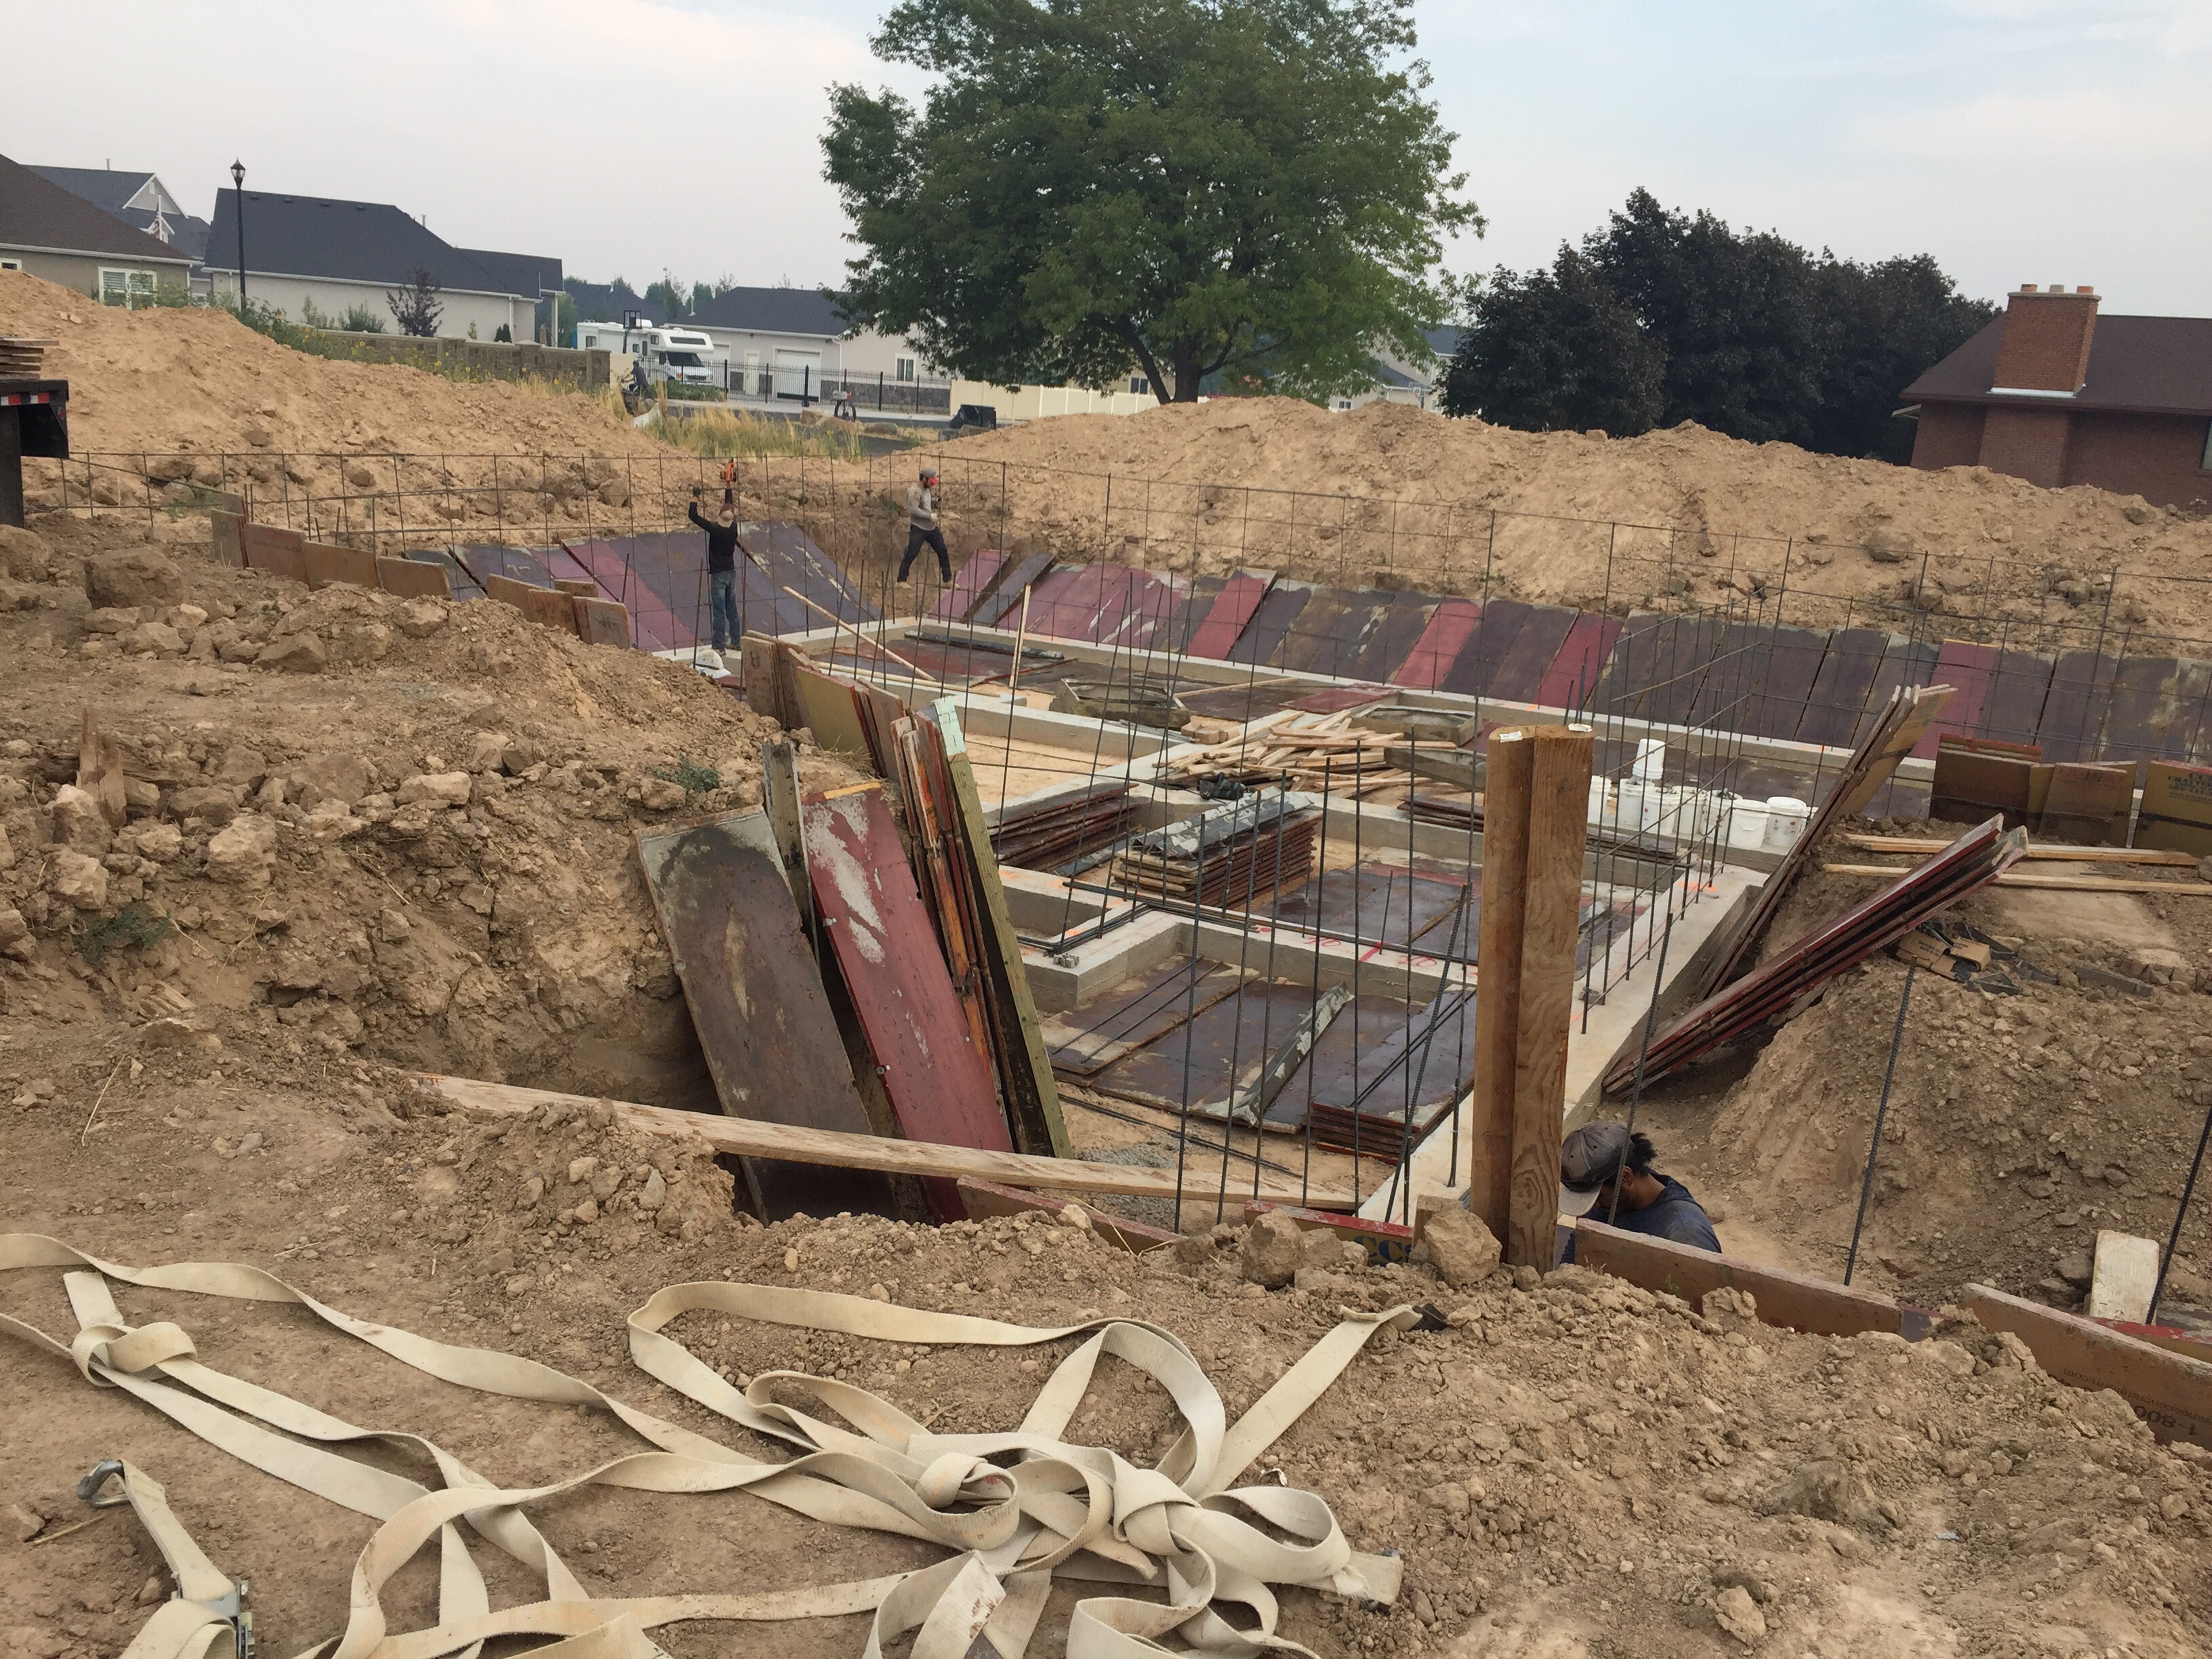
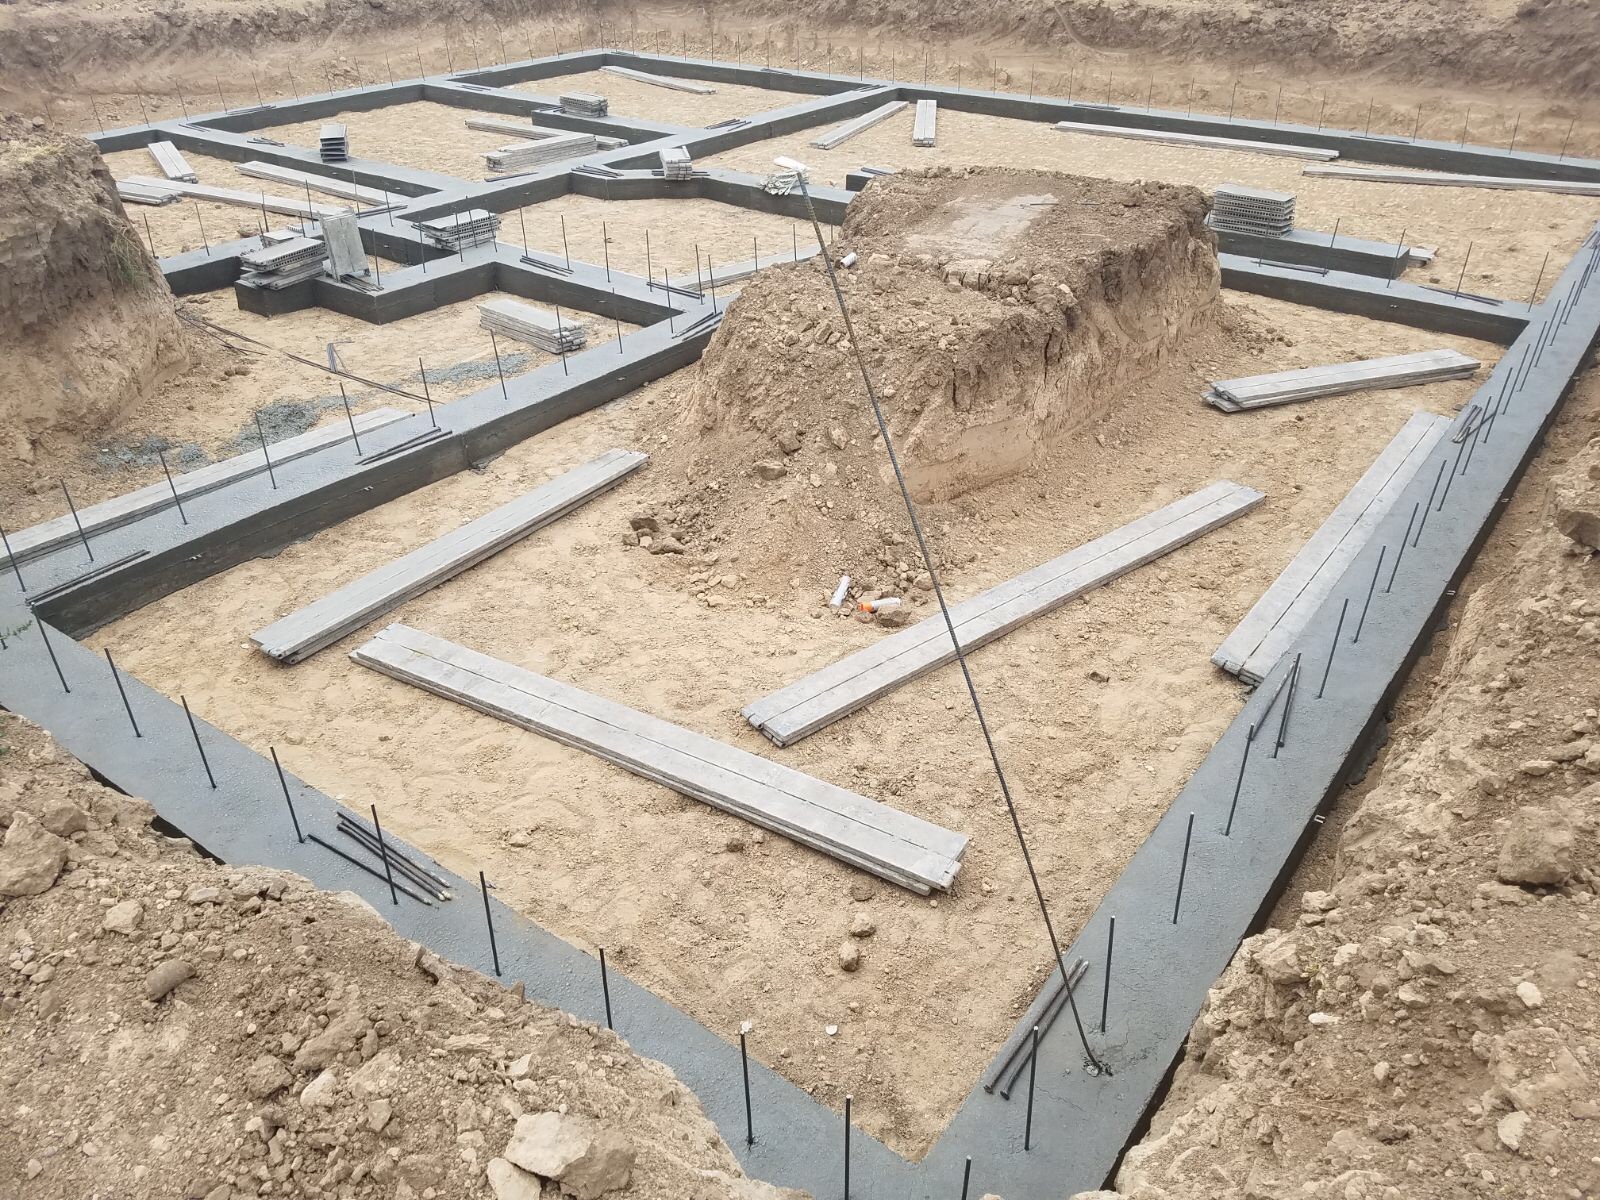
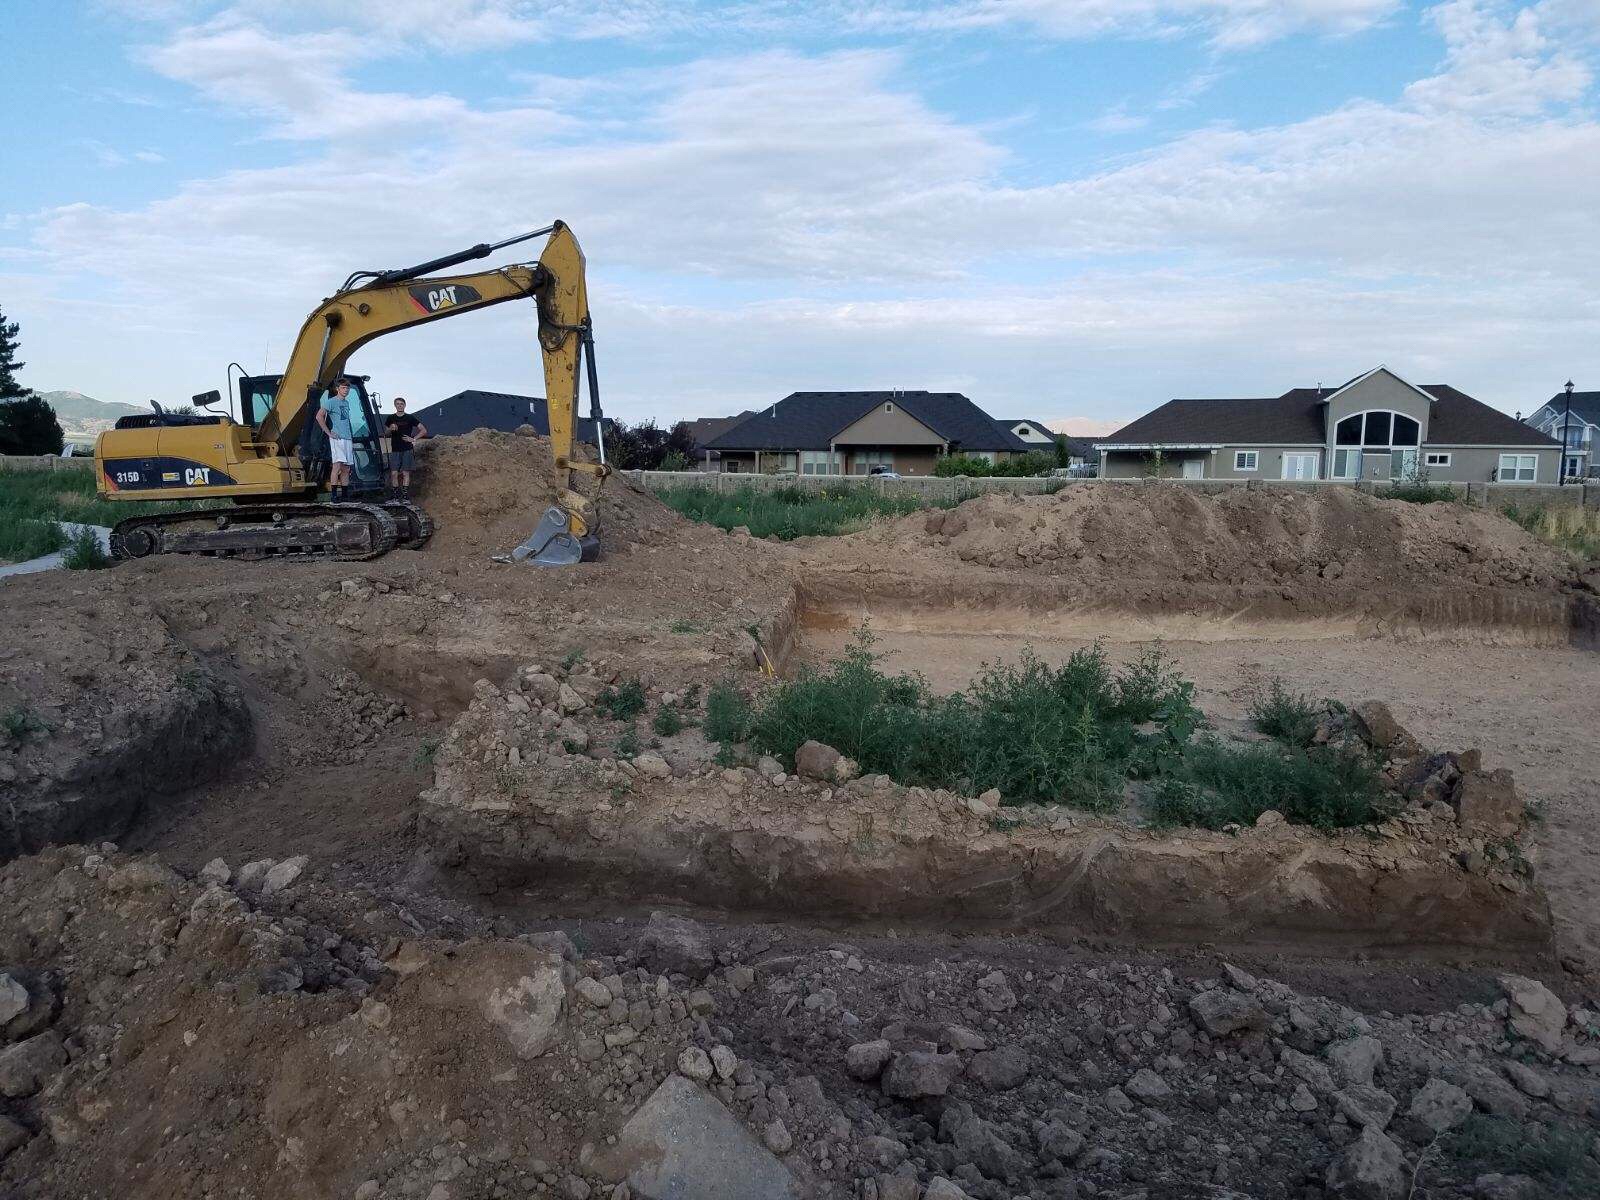
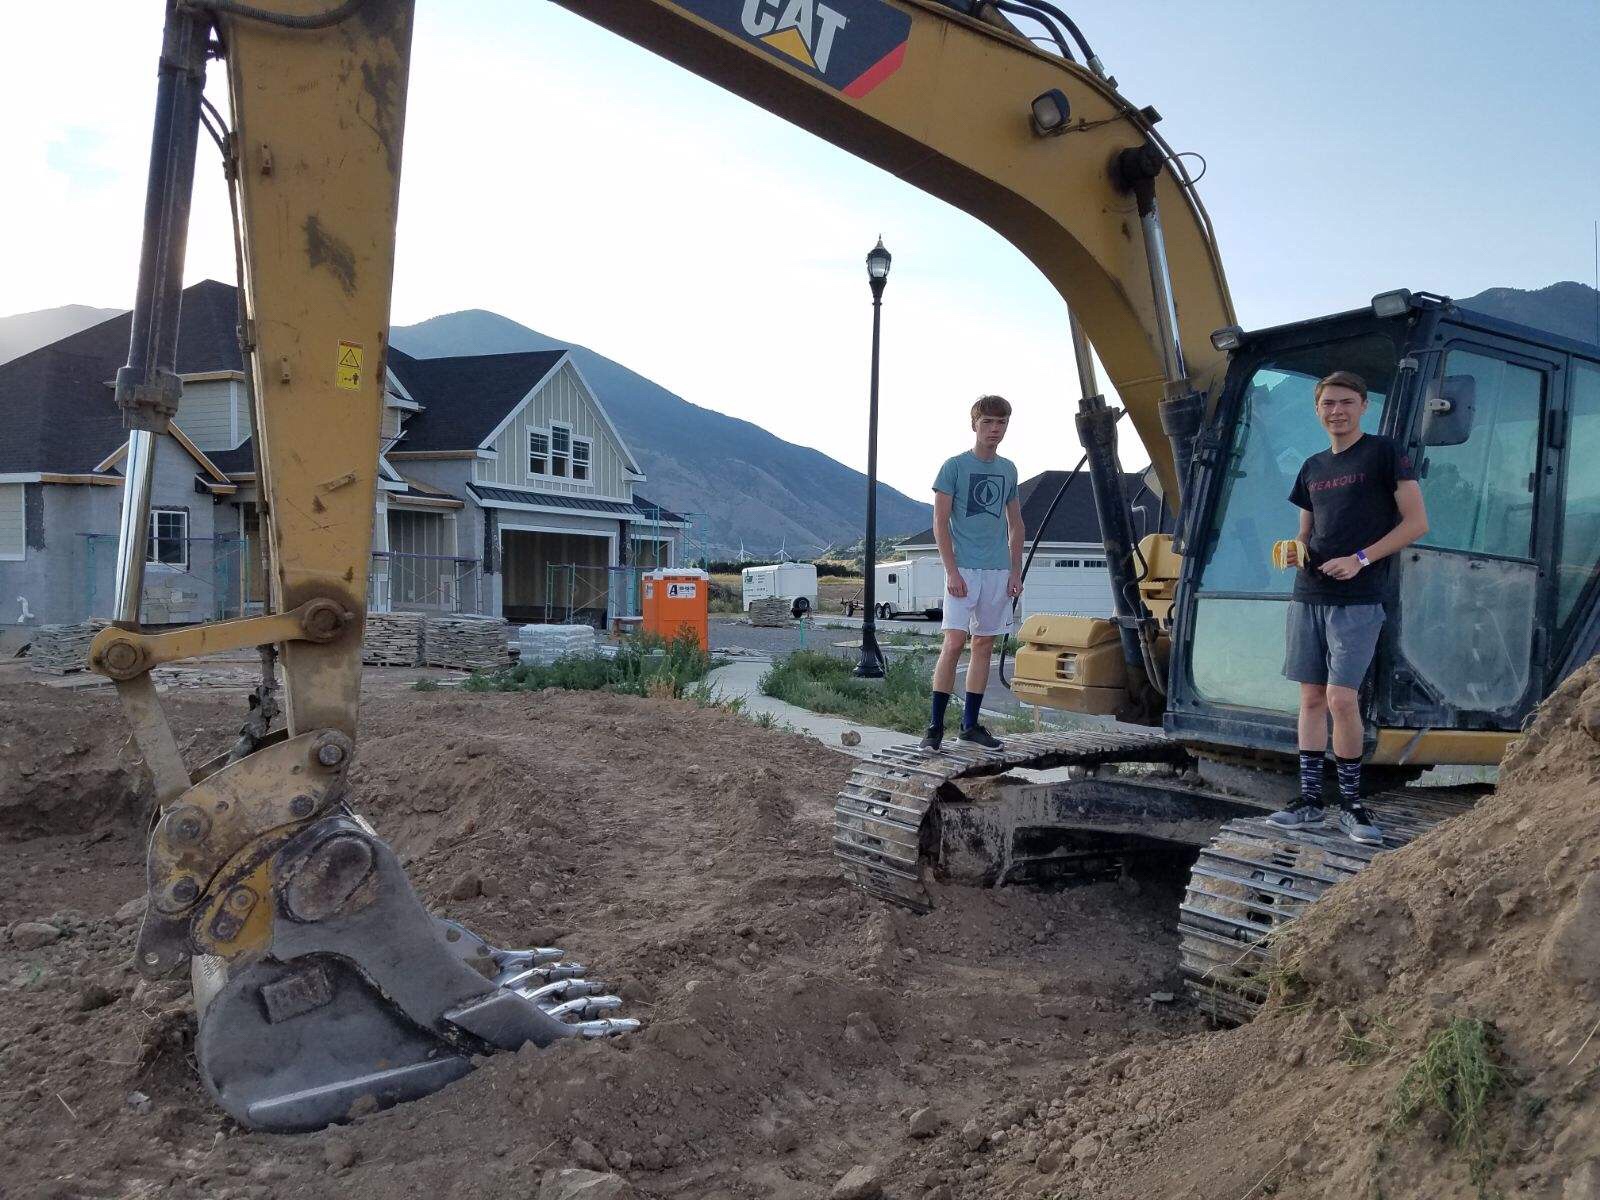
Today’s the day! The excavator got started about 7 o’clock this morning laying out his plan, and when I went over around 11 AM there was already a big hole in the ground!
(skip to the end for our advice on preparing your site plan.)
It hardly seems real!
We started this process about seven months ago not thinking it would take this long to get to this point, but we are beyond thrilled to be moving forward today!
Our contractor friend, who is taking the lead on our project, said that it would take five months from the day we break ground to the day our home is finished.
So let’s start placing bets now,
Where do you think we will be on December 11th?
I know where Ryan and I want to be. 🙂
 This little girl is our very first kid to actually see the hole! I drove over with her and the baby, who was asleep, and the other kids were at soccer and ballet camp so they missed out. LOL
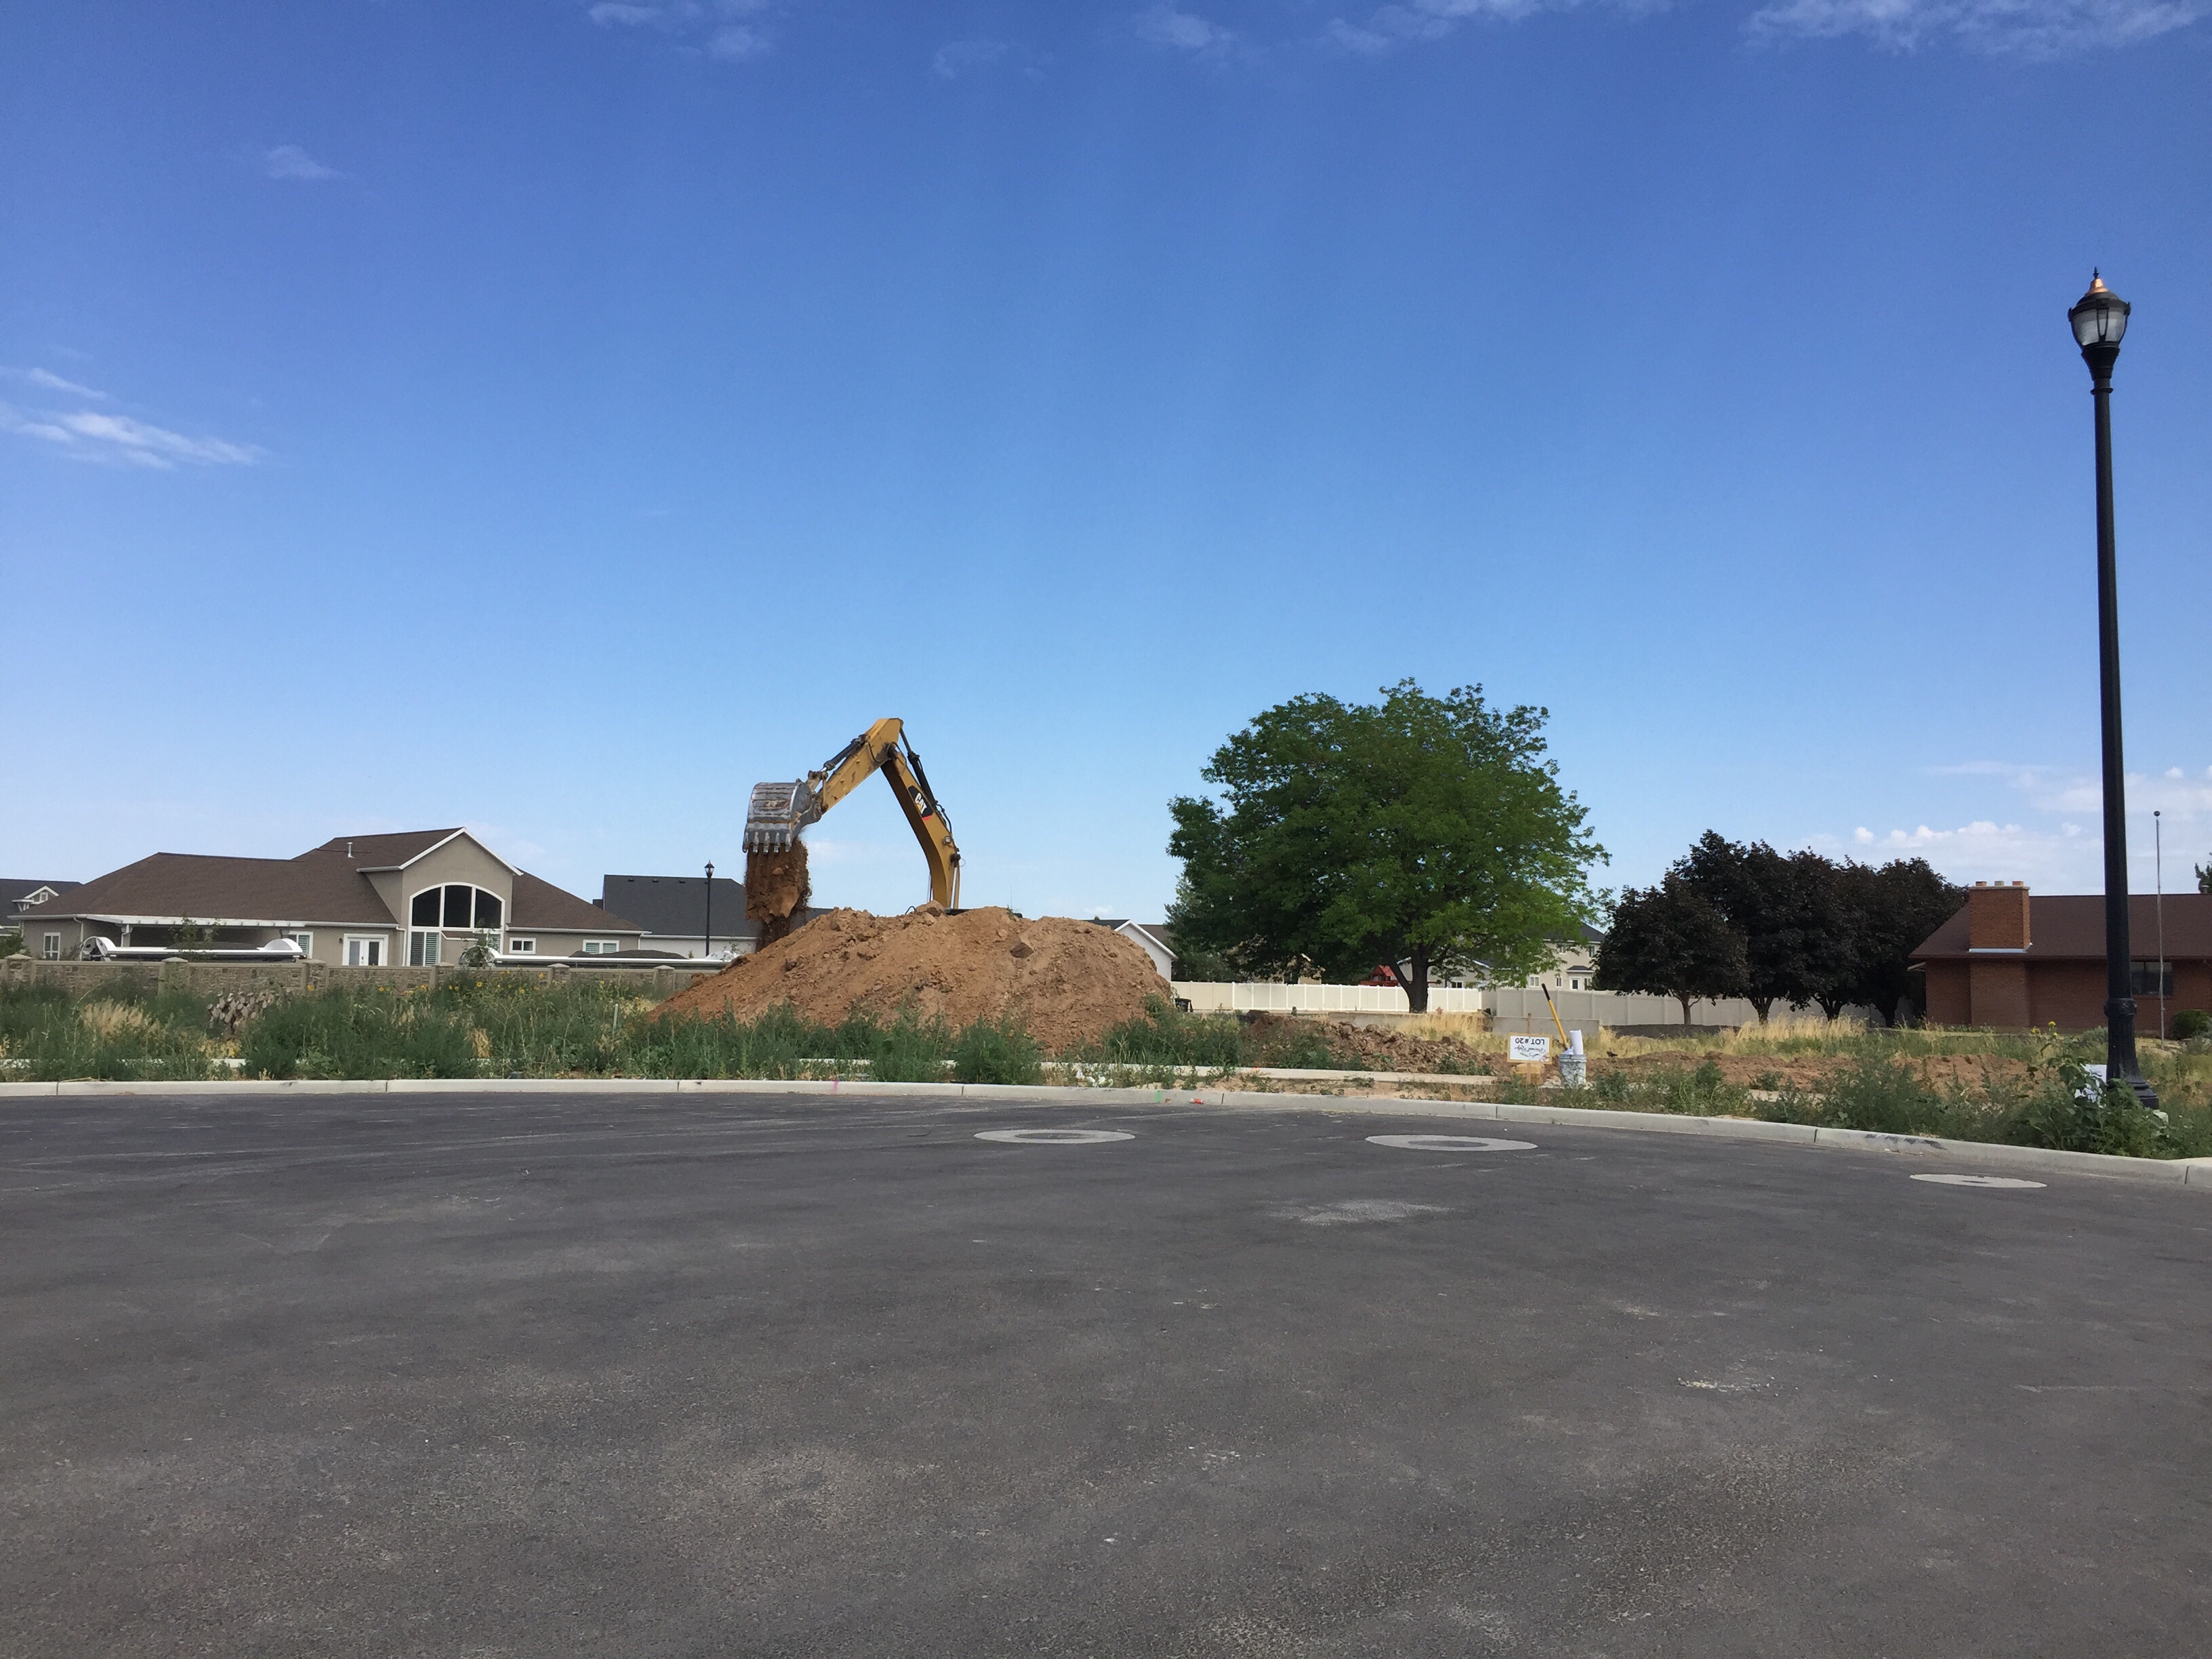
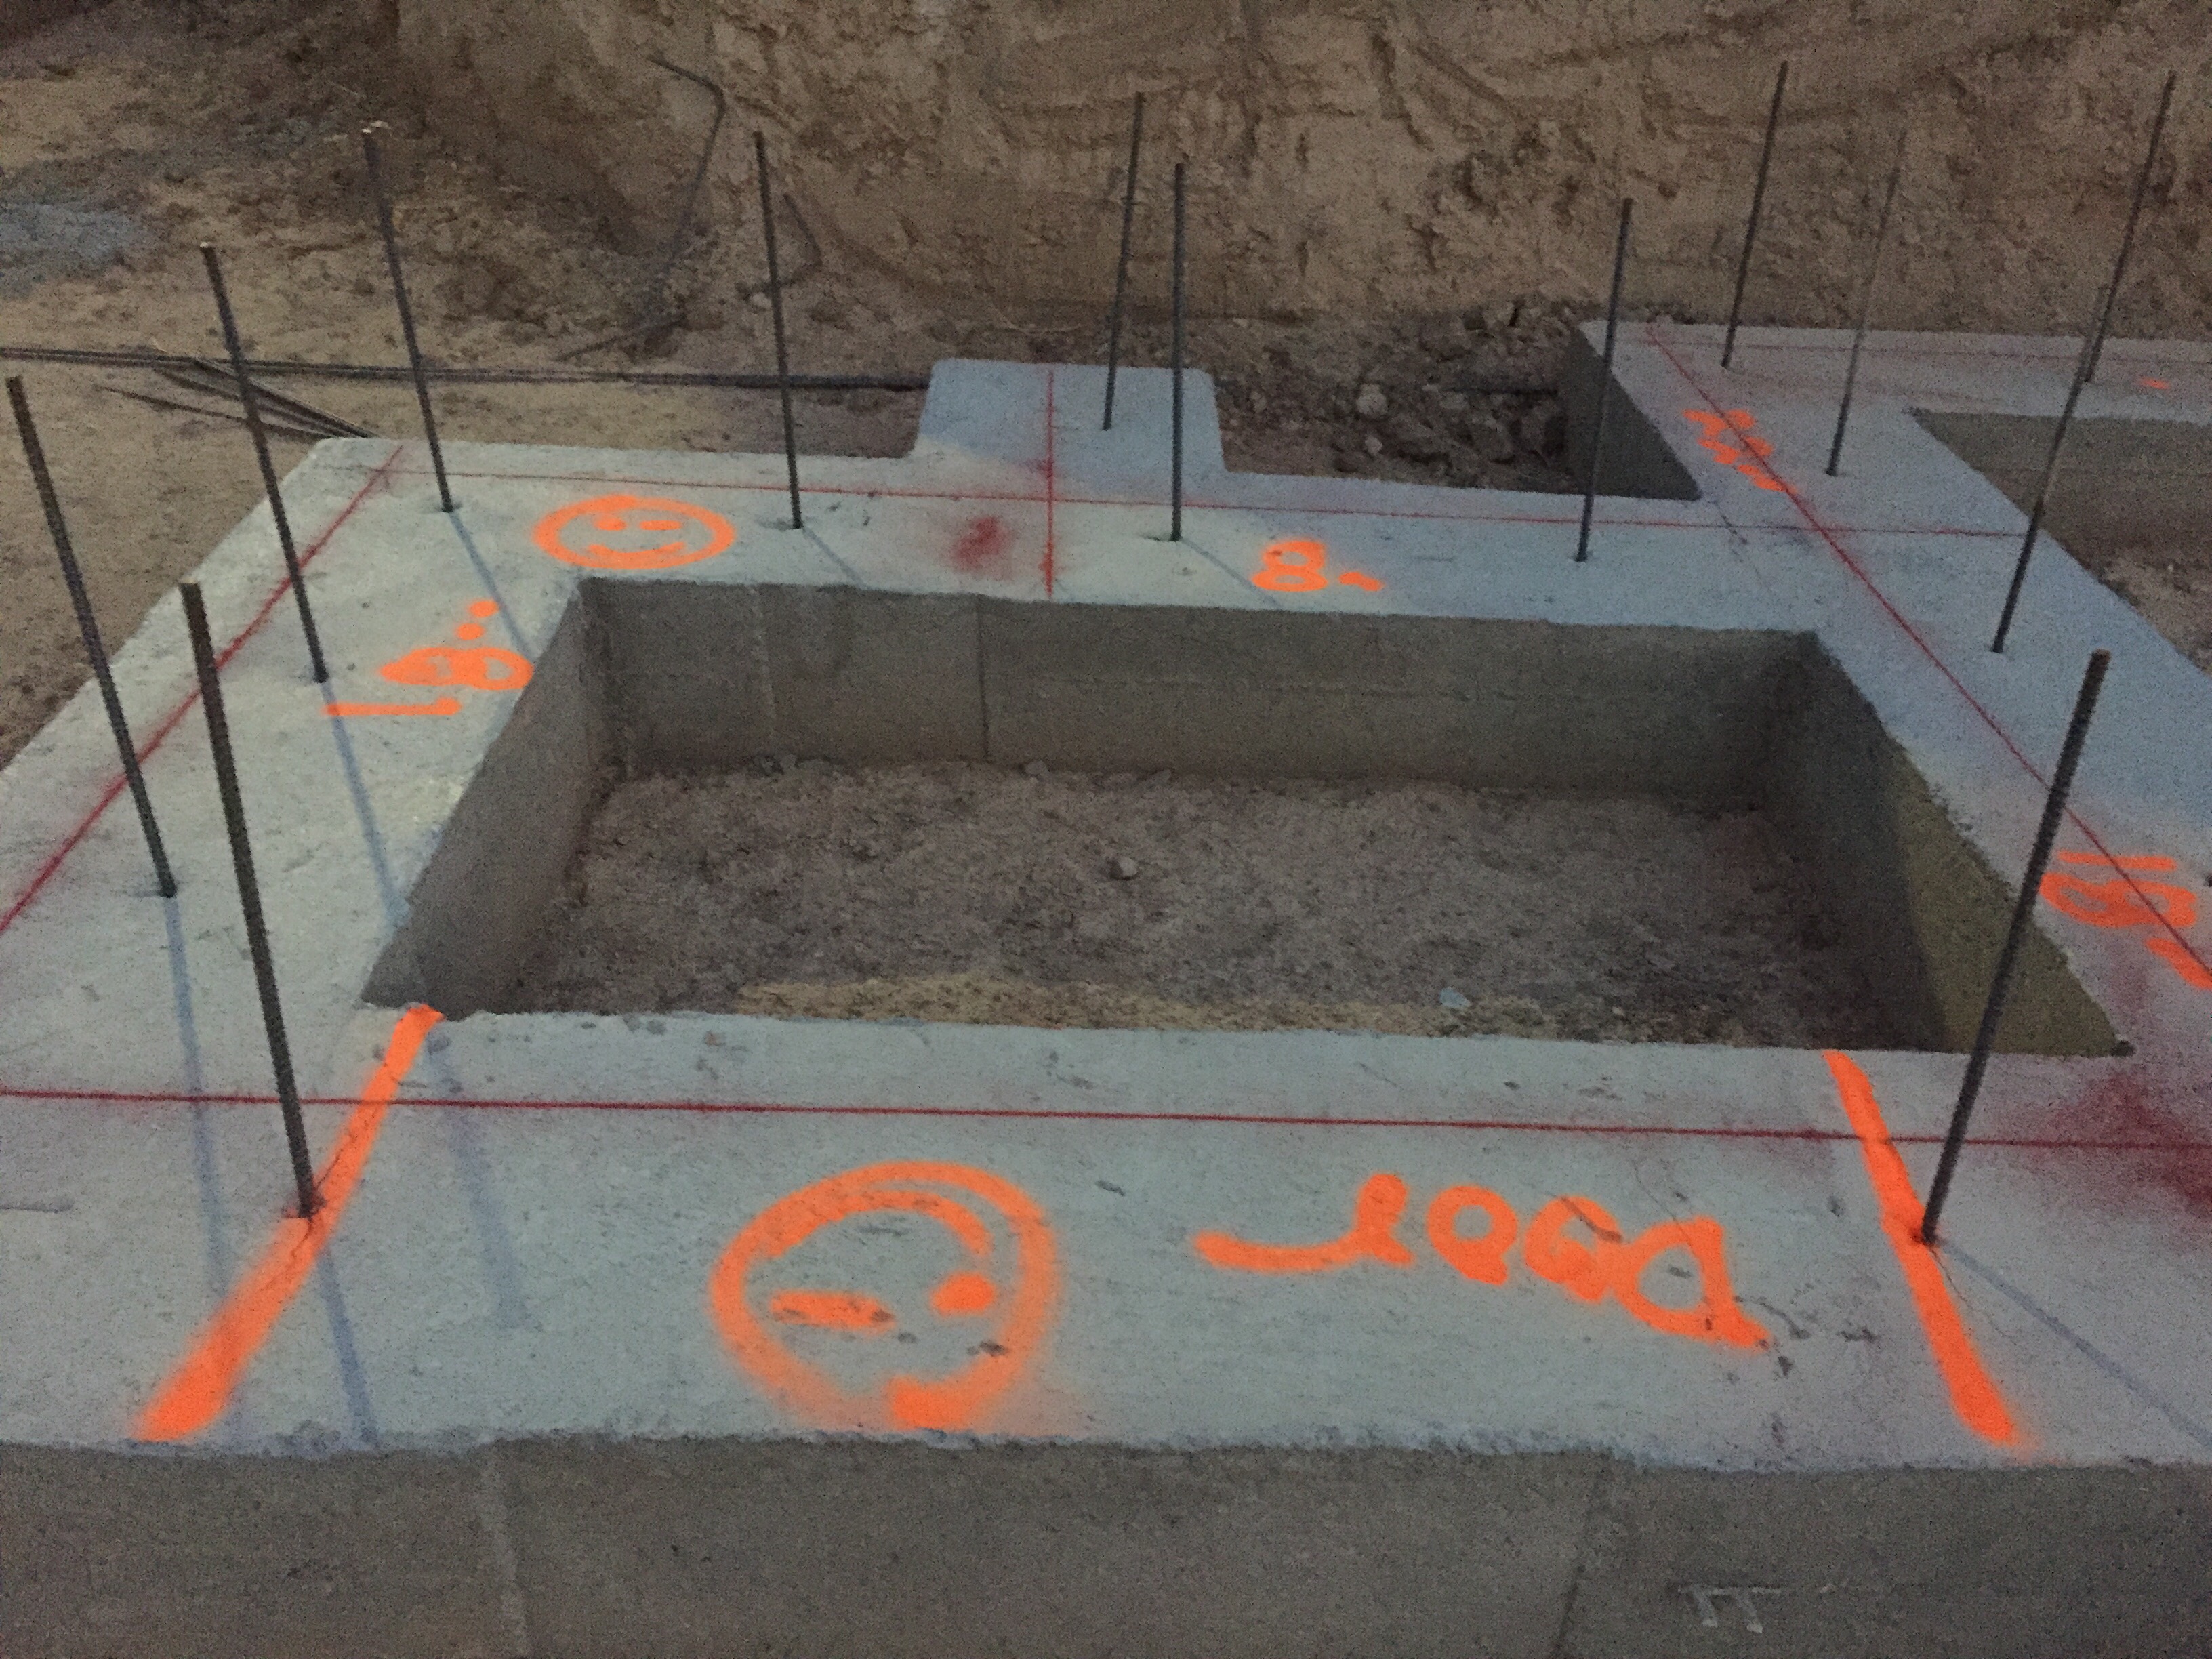
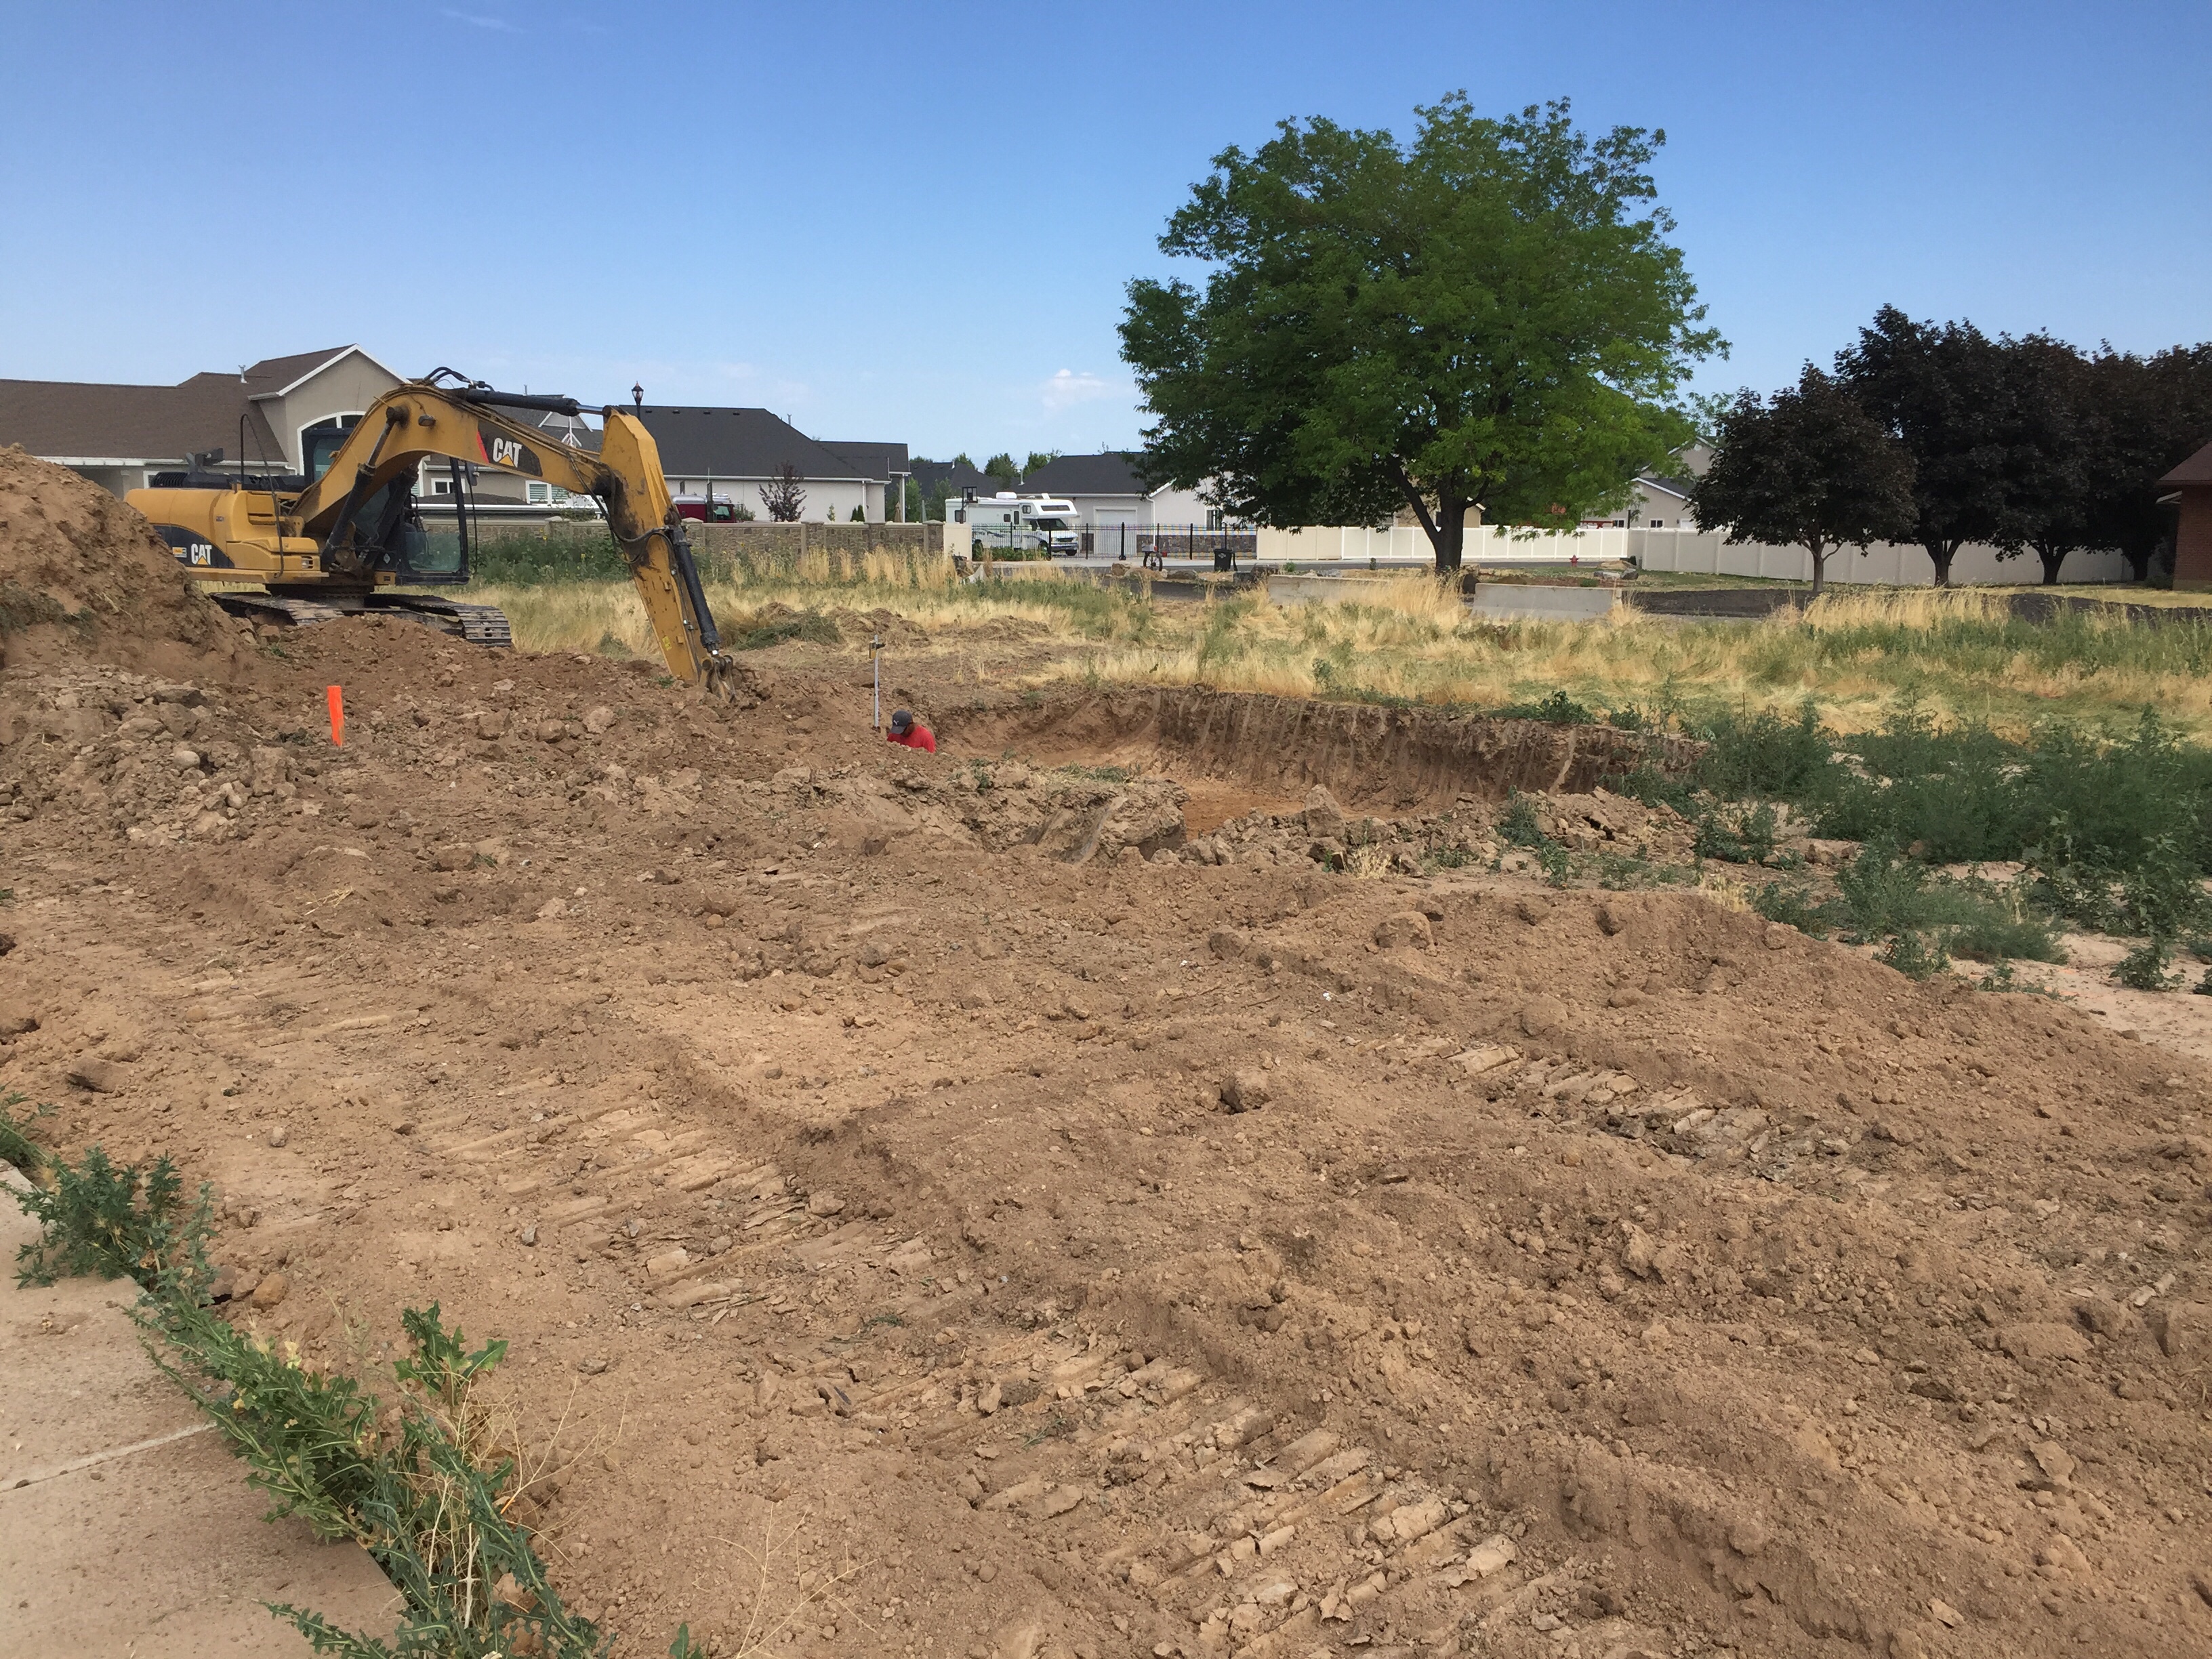 And there’s the hole!!!
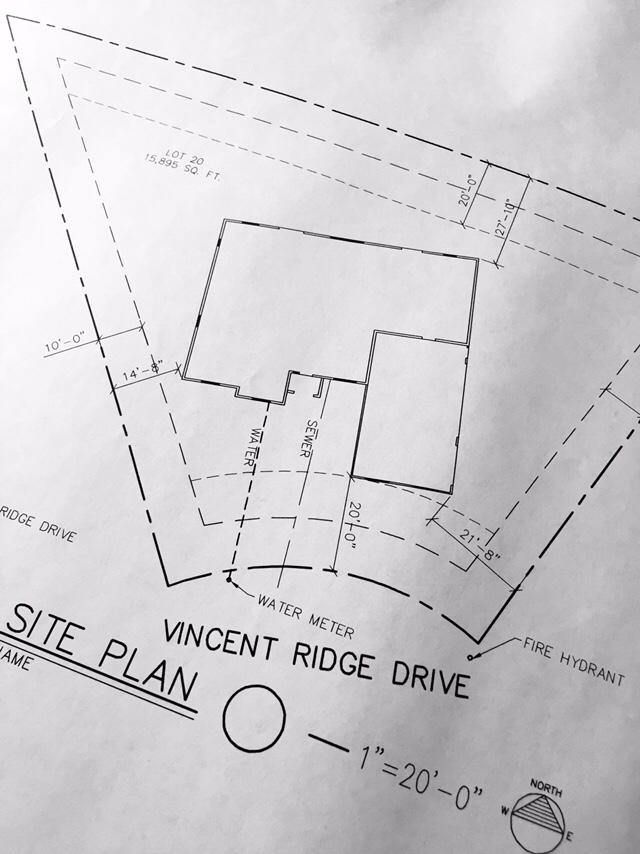
Our tips for preparing your SITE PLAN:
This morning the excavator told Ryan that our site plan was missing a few measurements, apparently it’s not a big deal and he knew what to do and how to figure out the measurements, but I think our architect was supposed to include those. I would have liked to have known that ahead of time so I could have checked the site plan and had it ready to go. I don’t want to do anything that causes delays on this project so if you find yourself in a similar situation, make sure all your measurements are in there. IE, distance from exterior walls and corners of home to the nearby edges of property, etc.
Thanks for checking on our progress. Have a great day!
*Traci

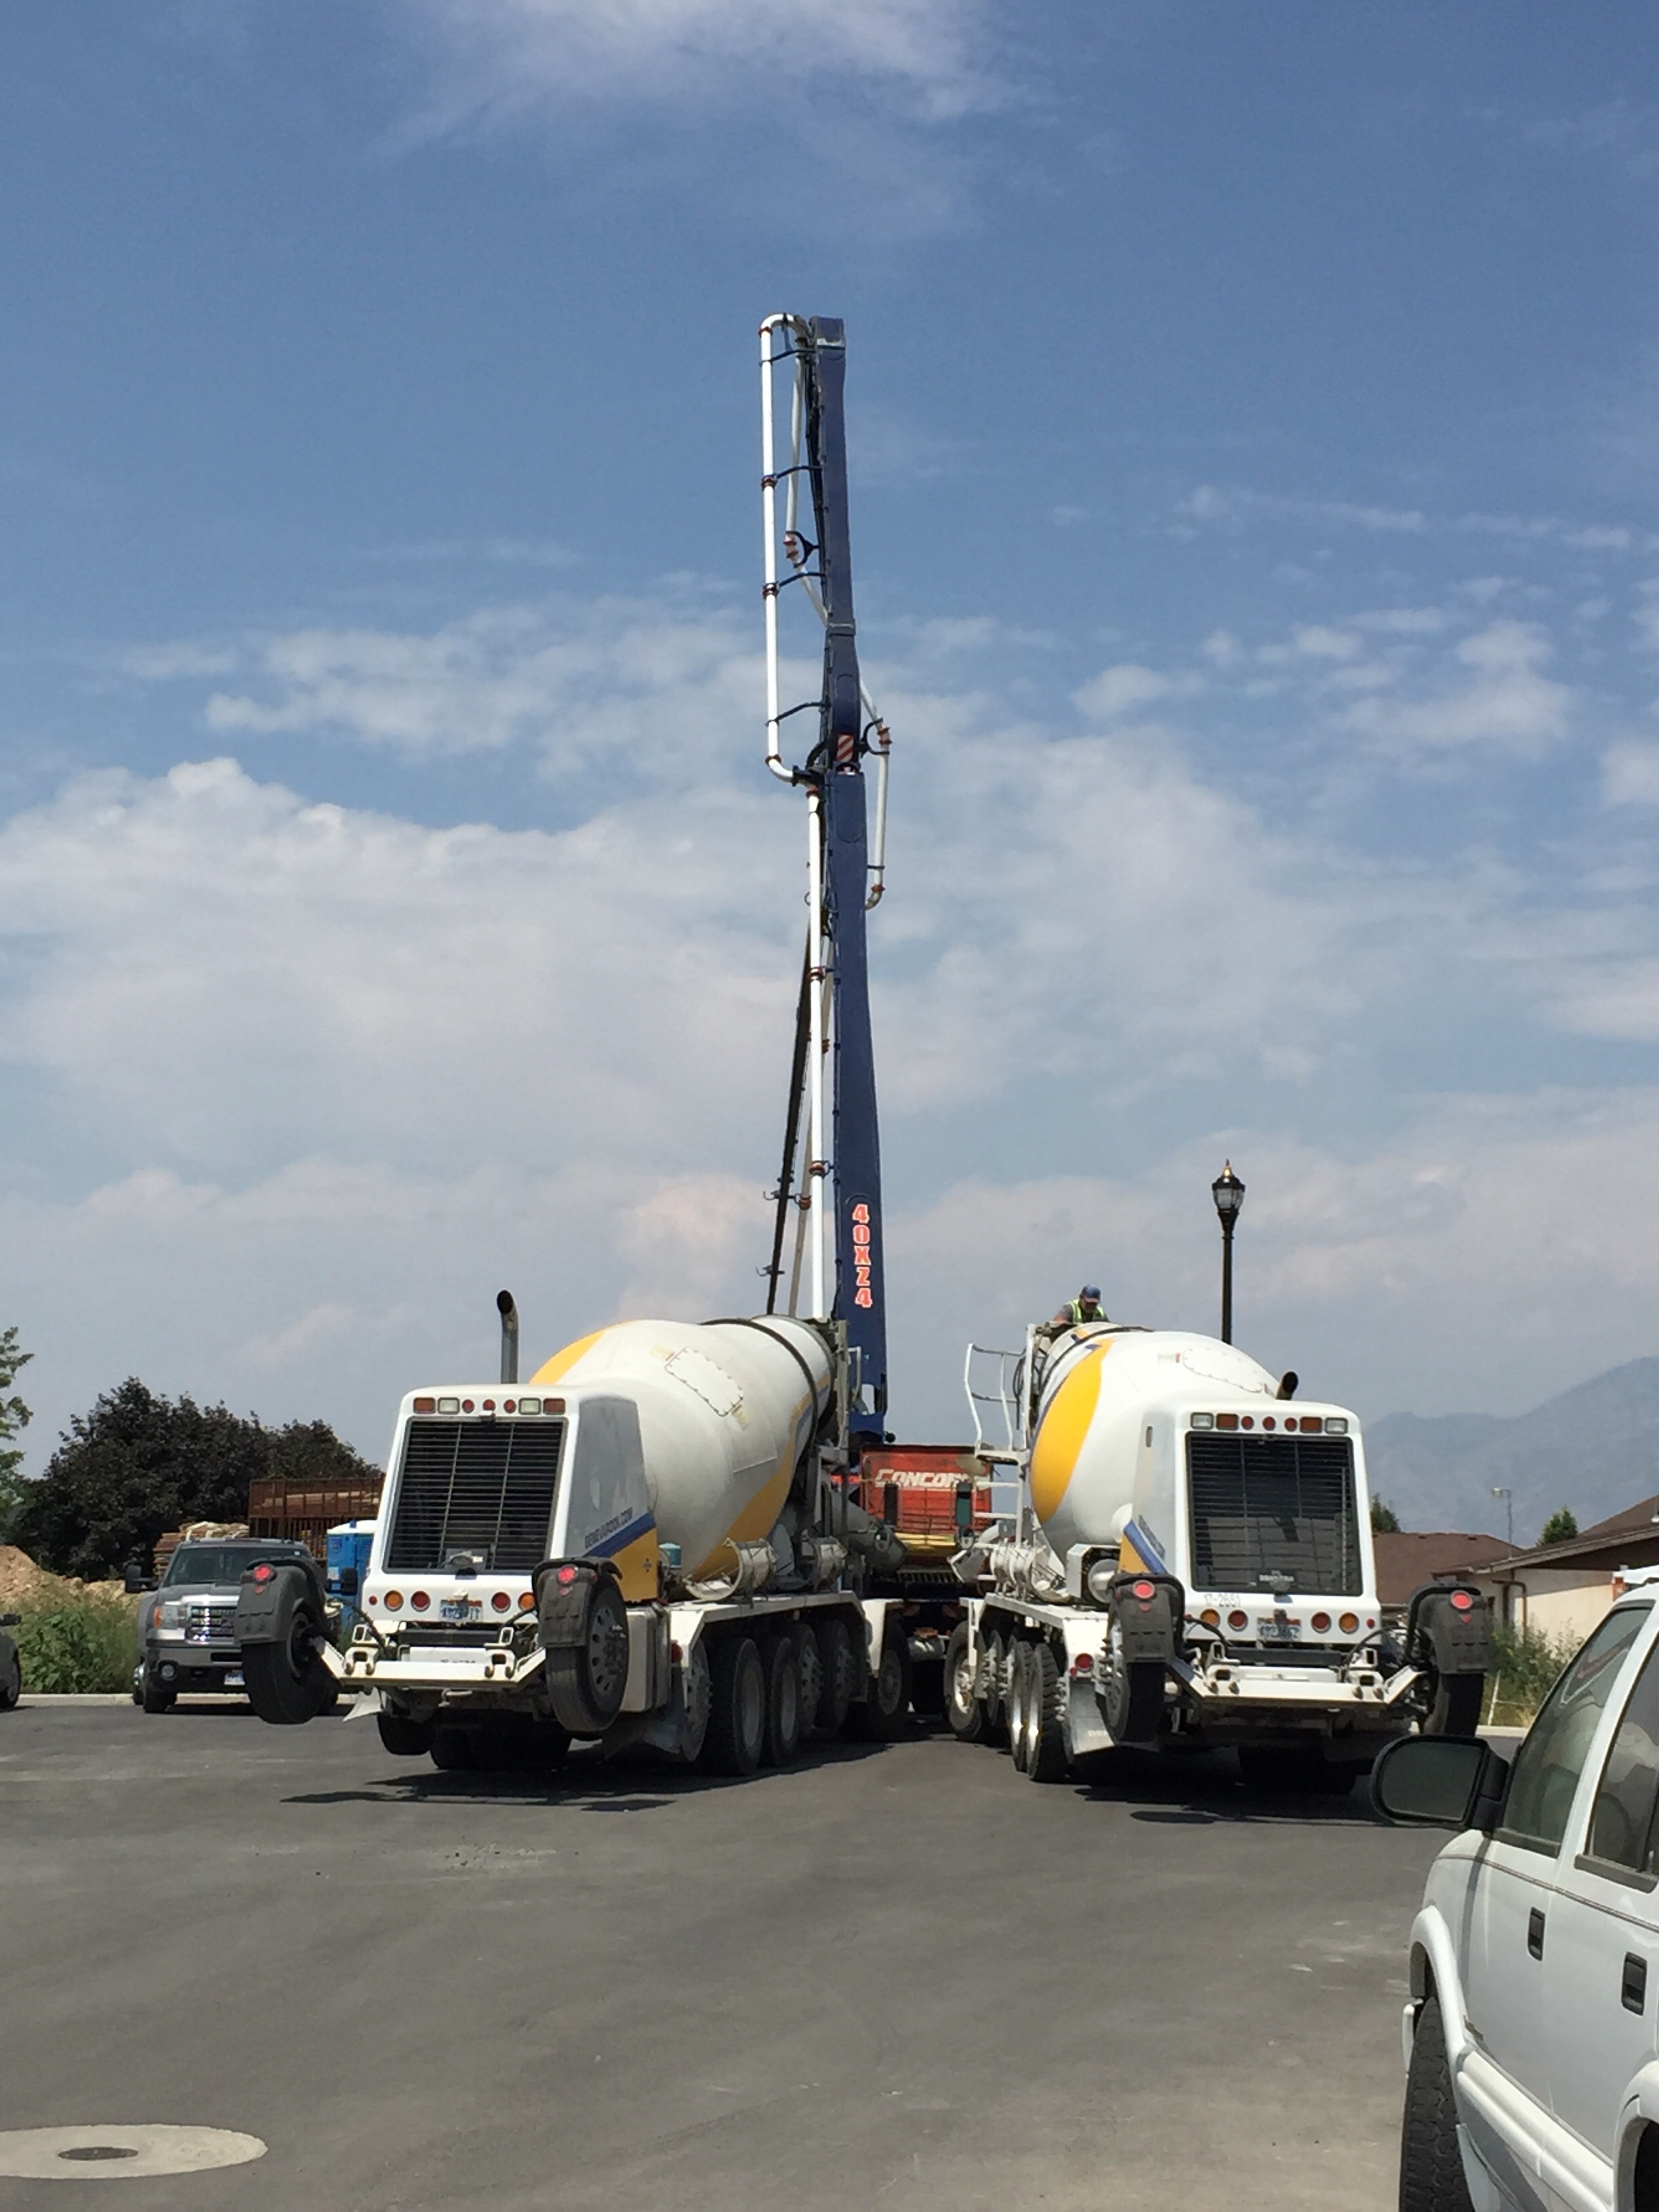
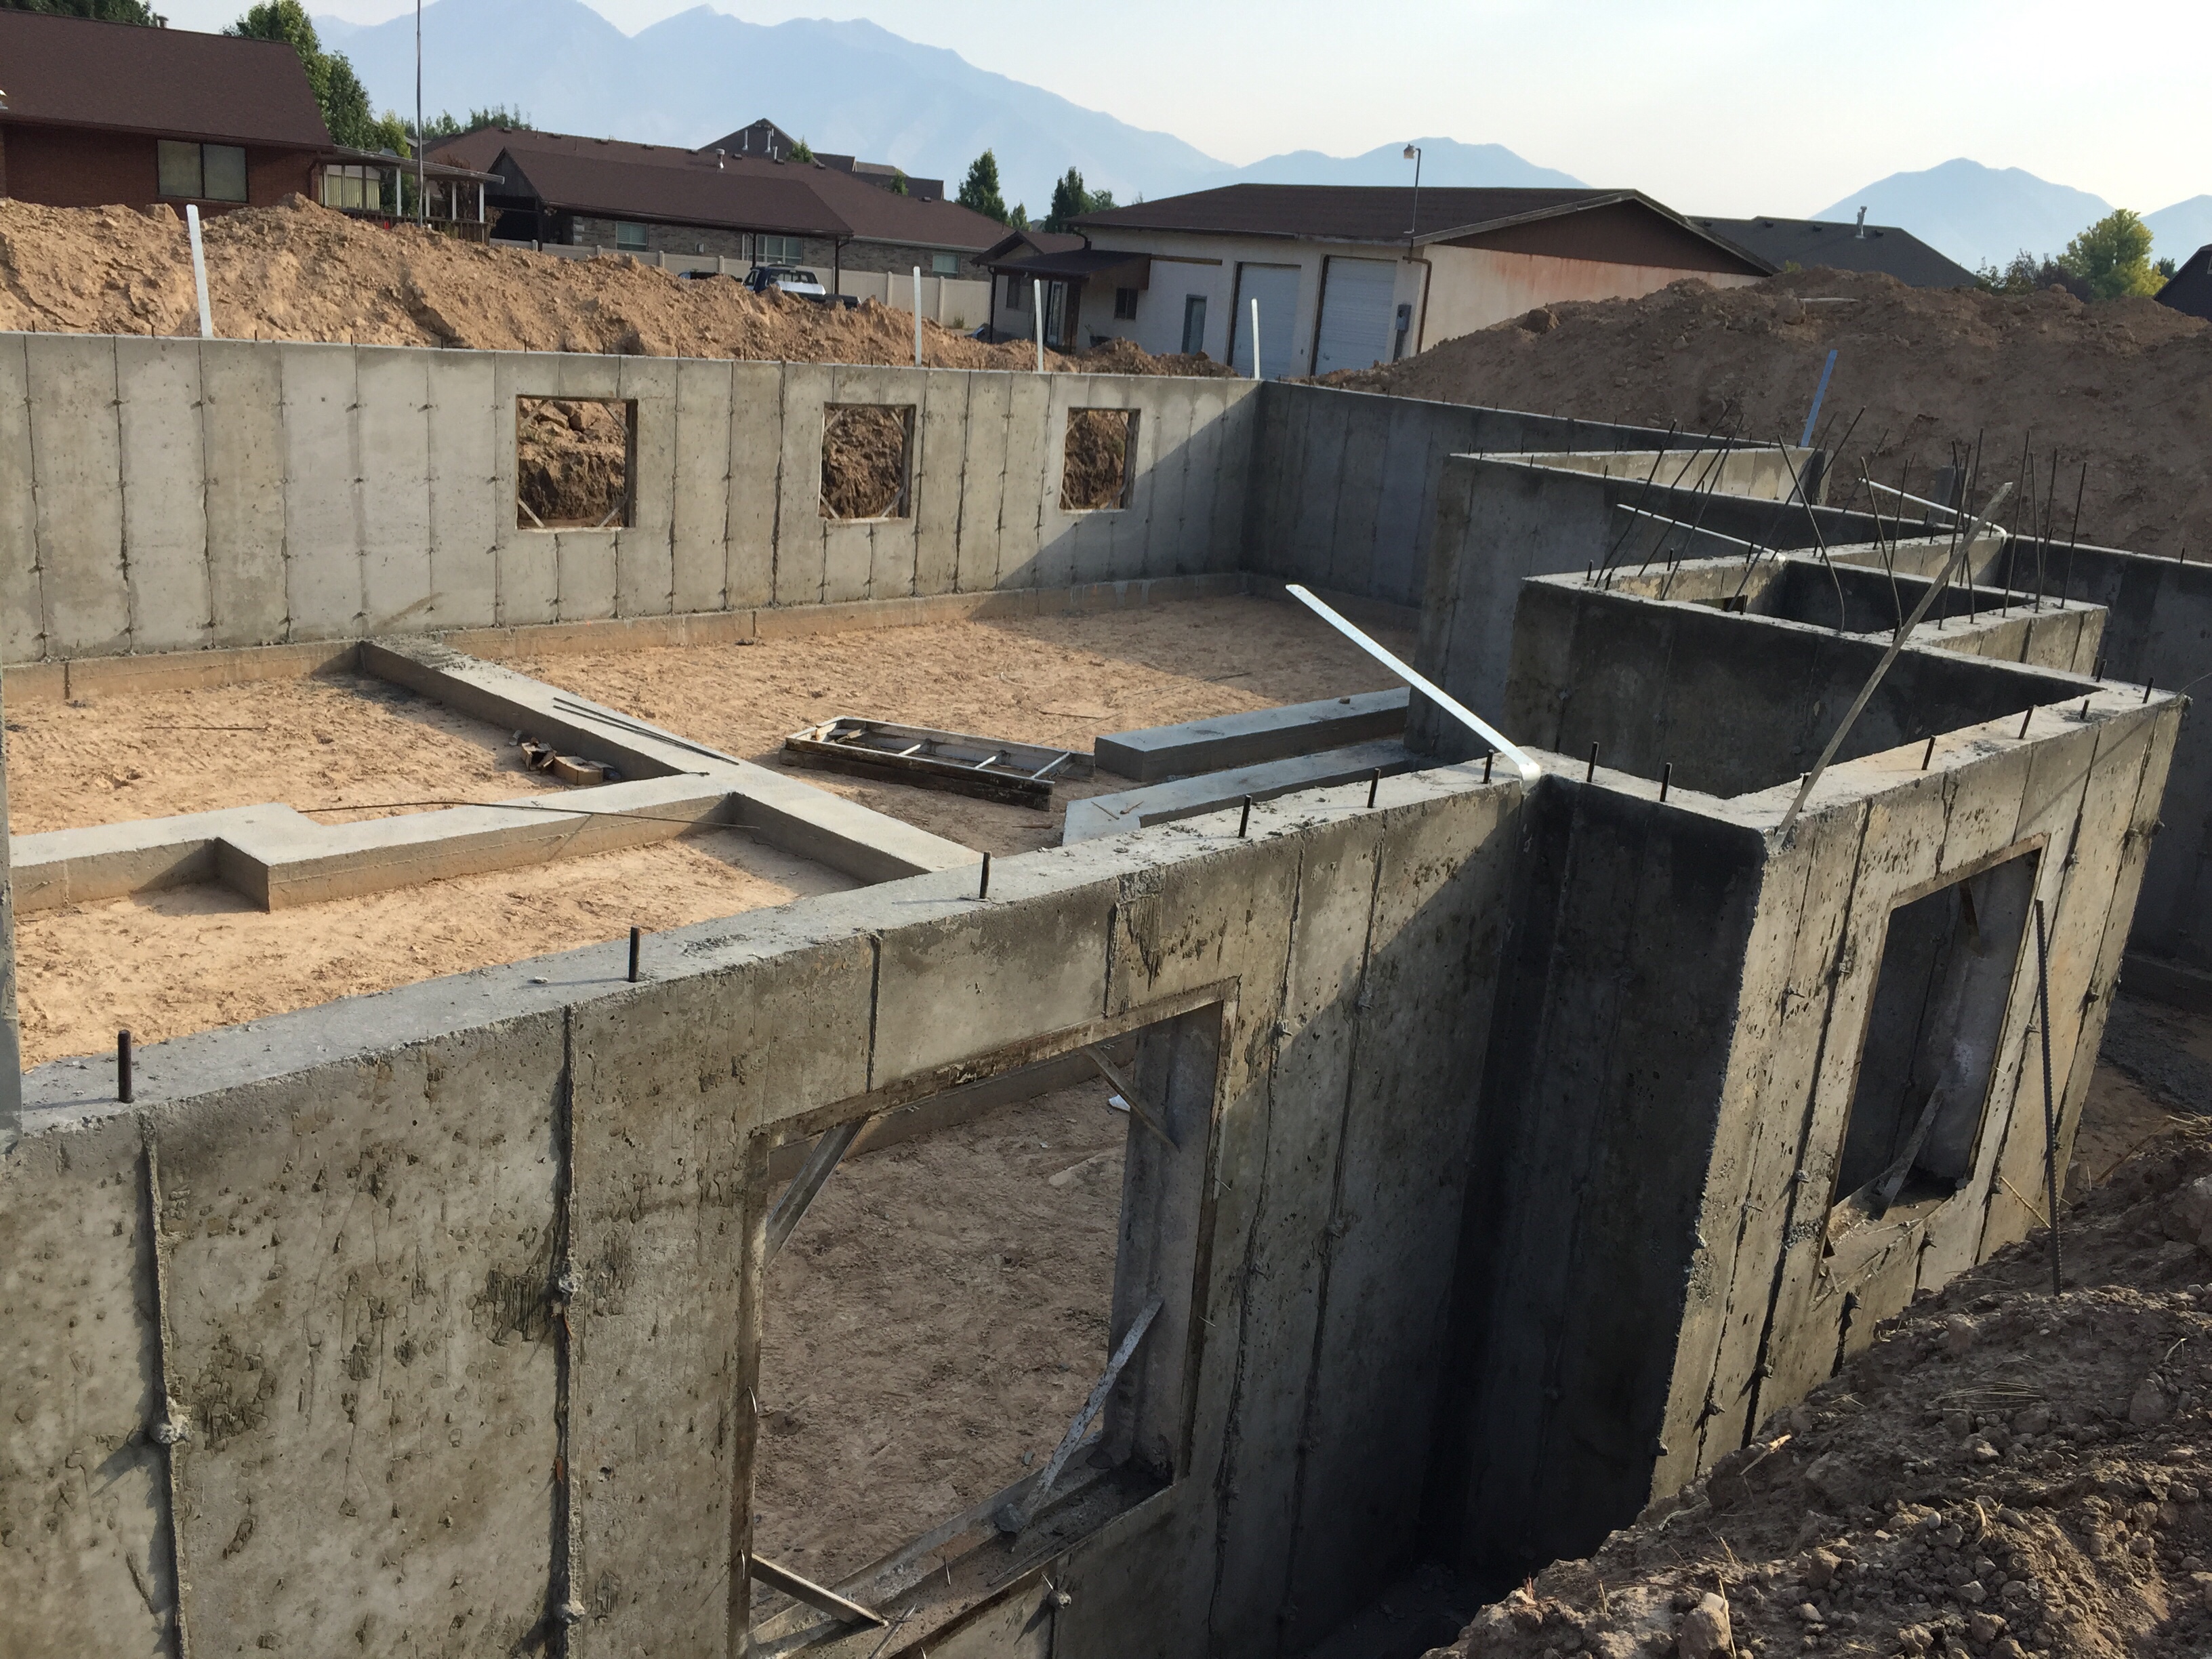
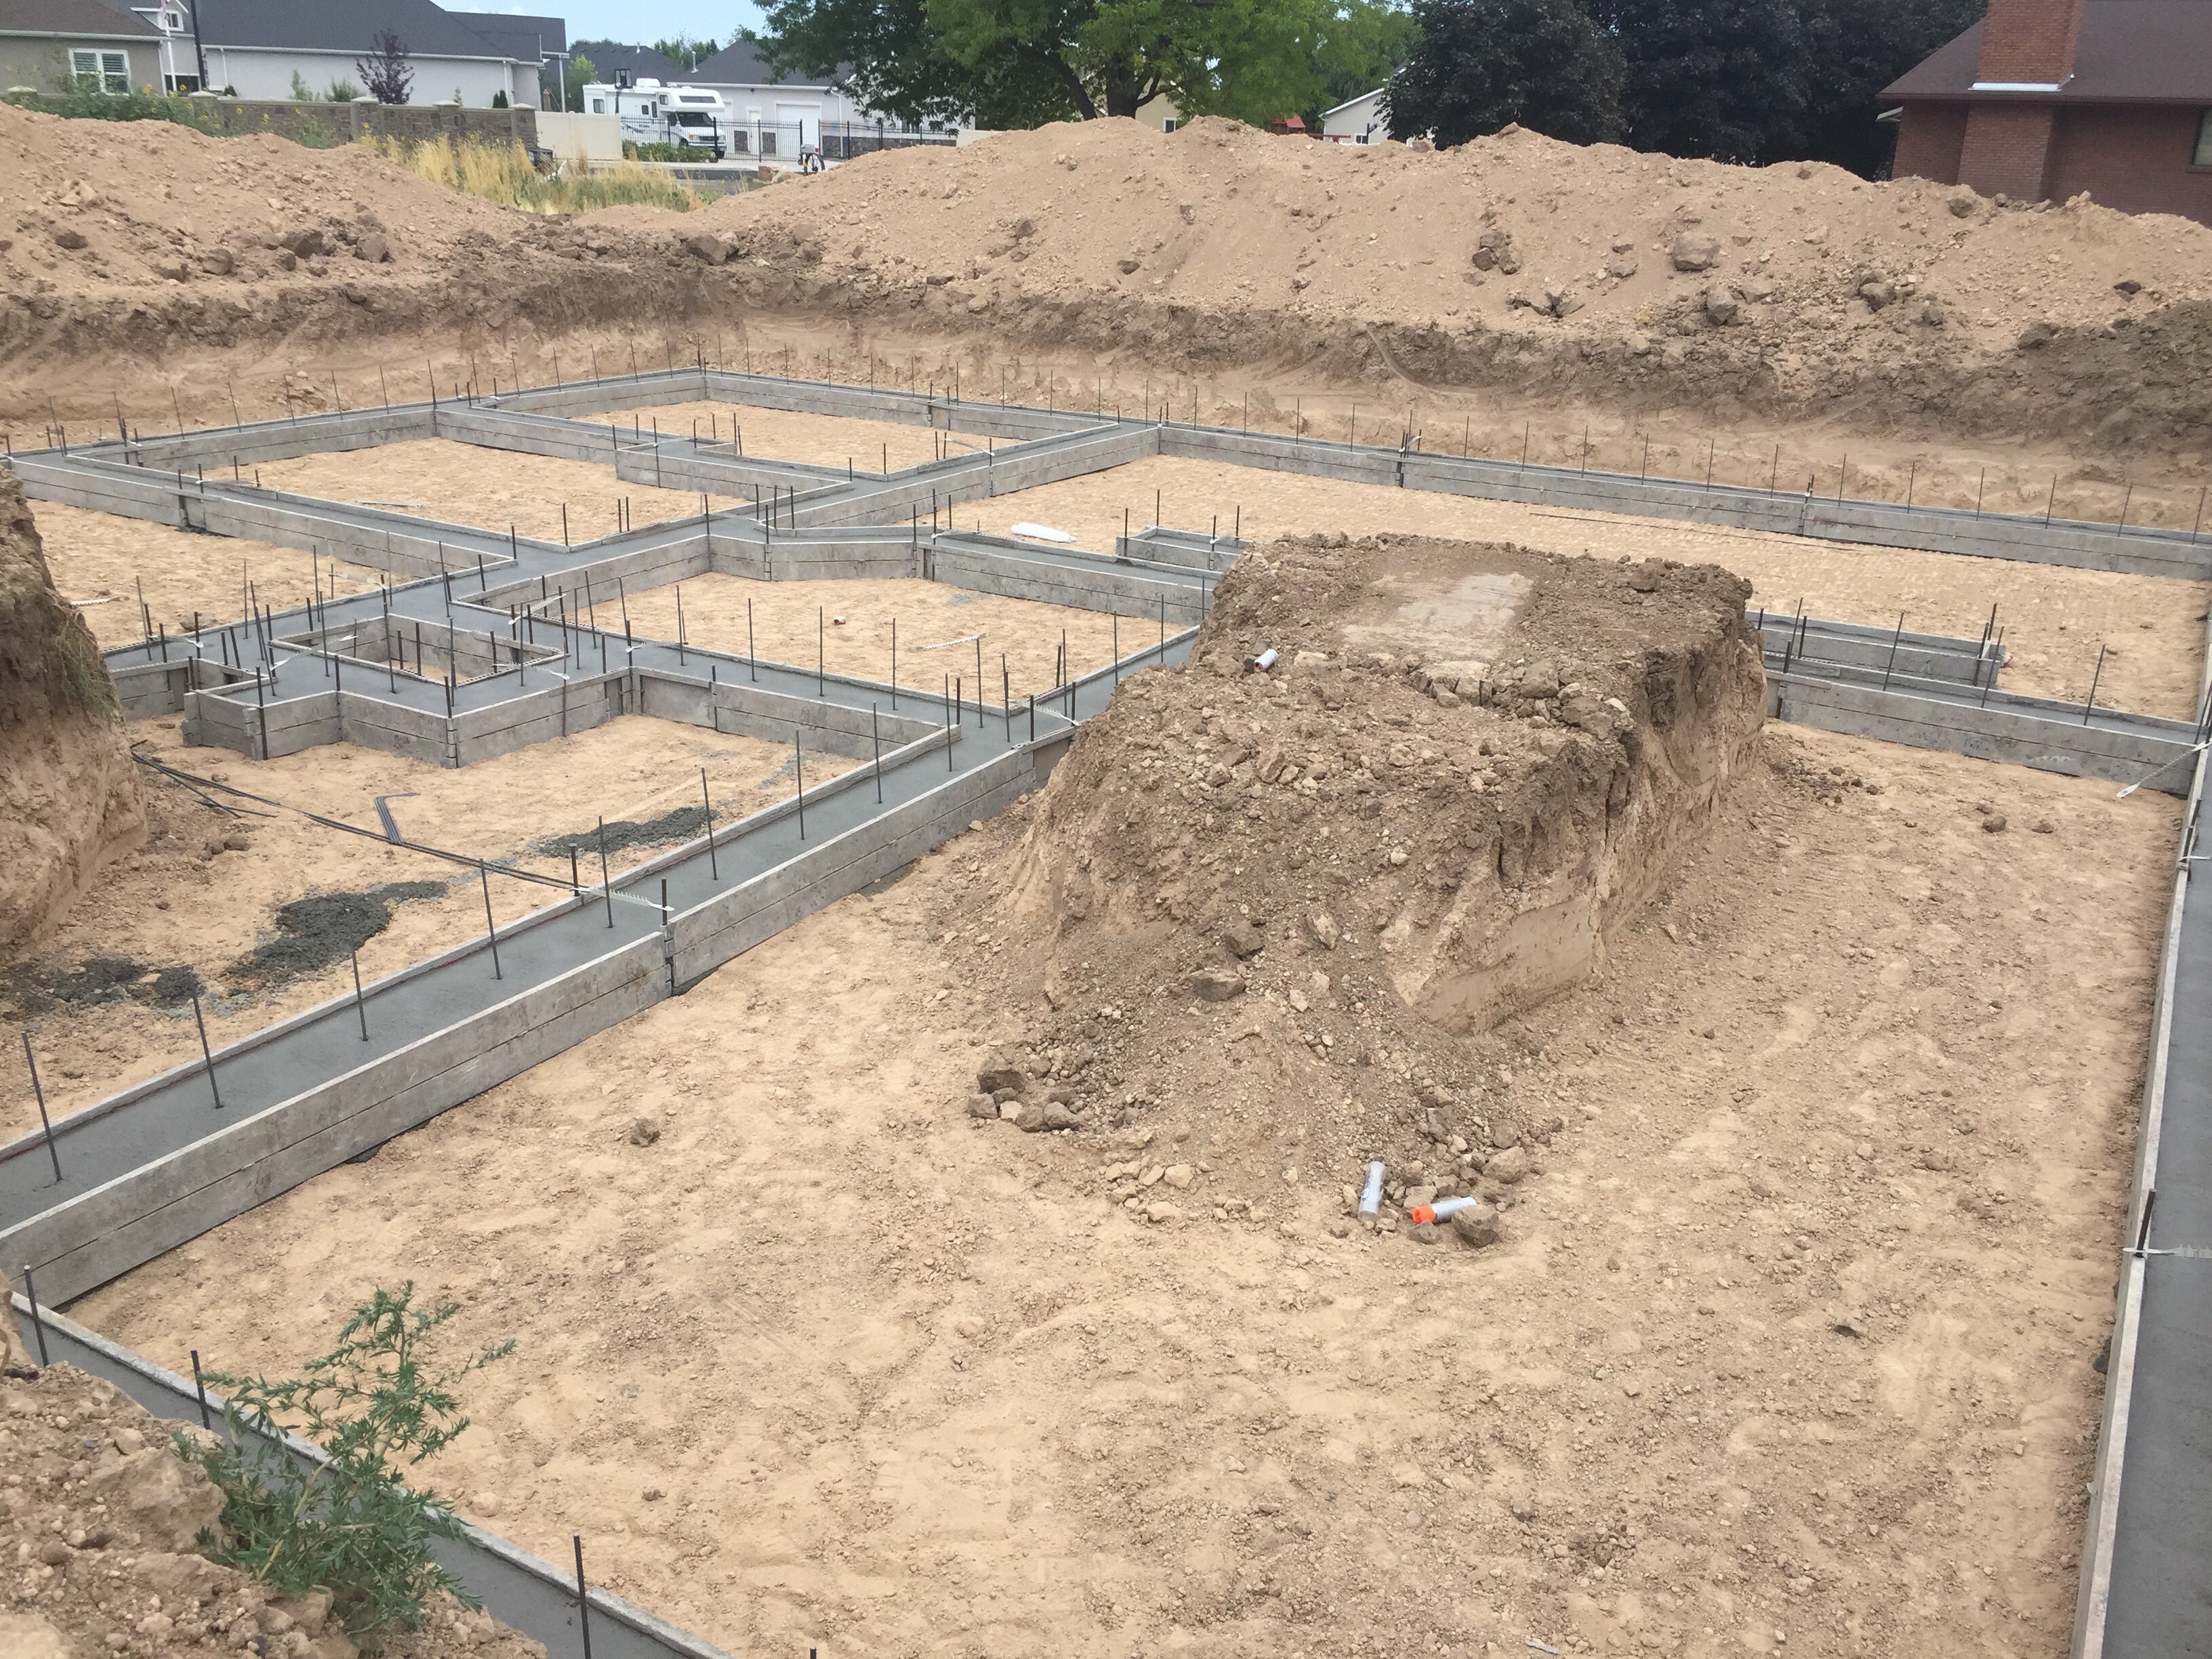
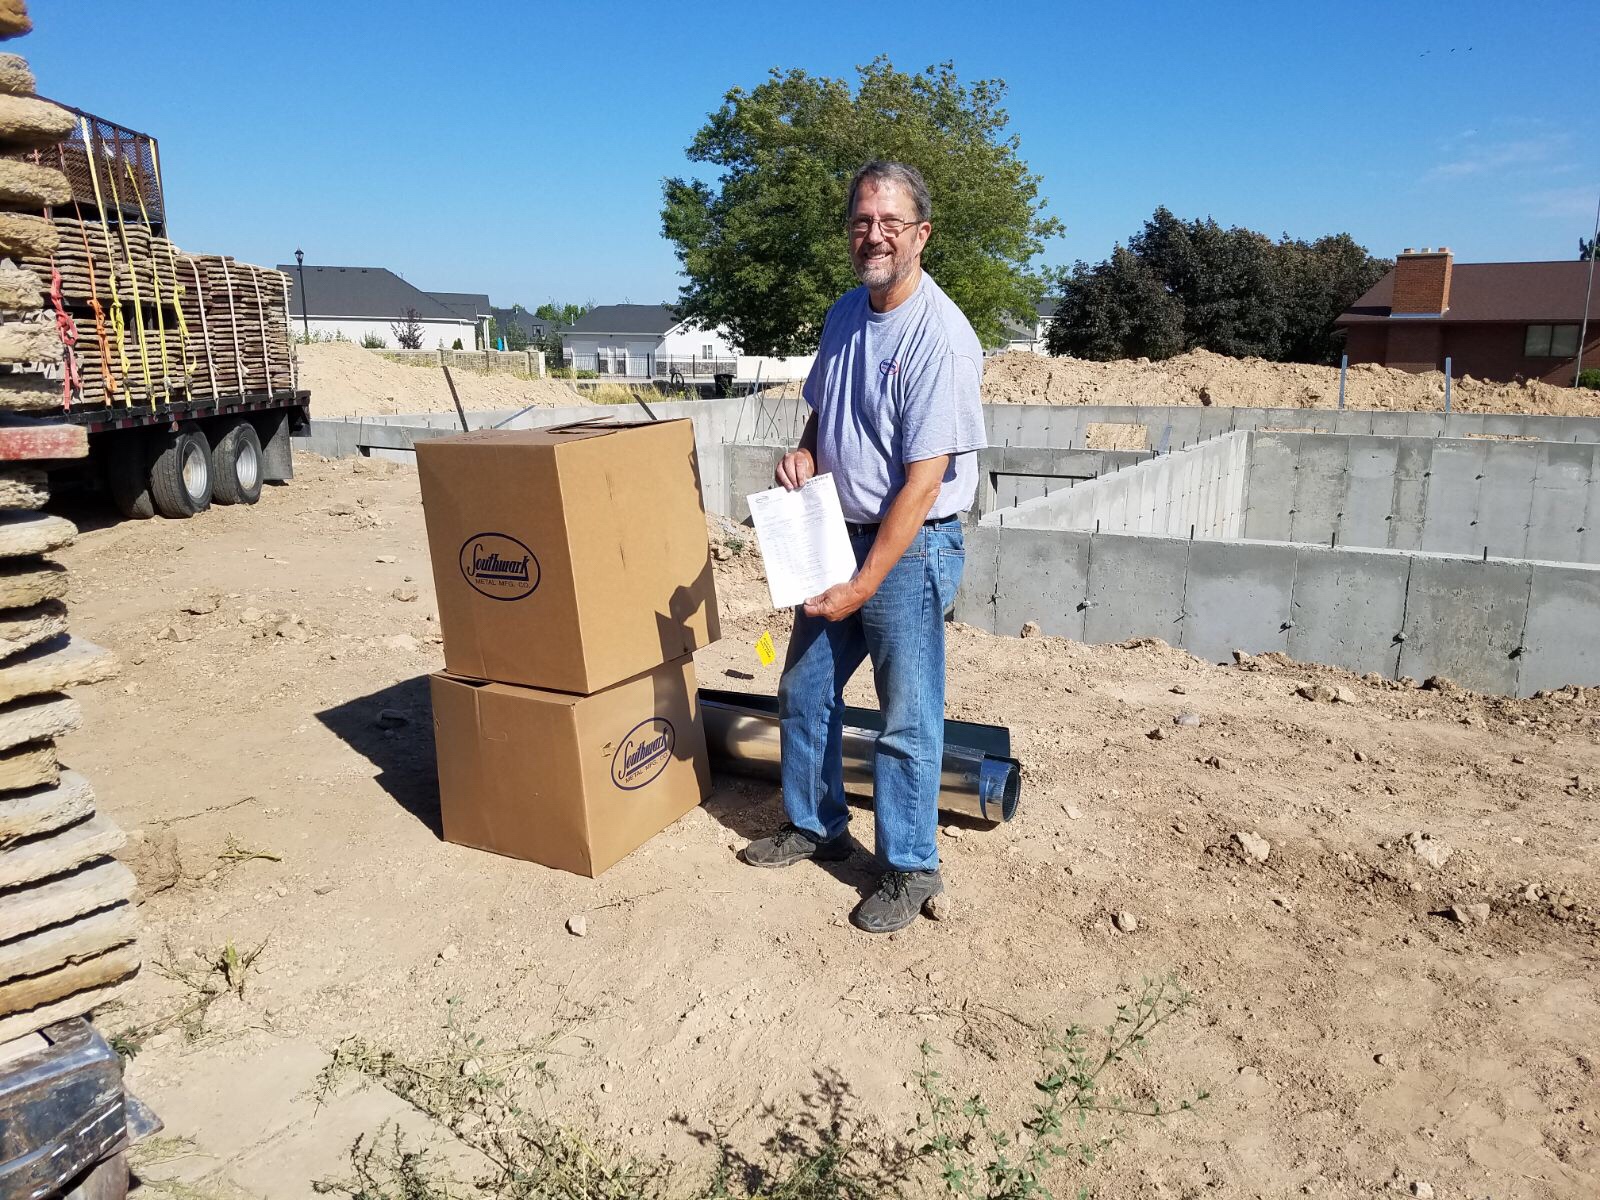 We’re having the duct work put in the floors both upstairs and downstairs which is why the HVAC guy is here at the point.
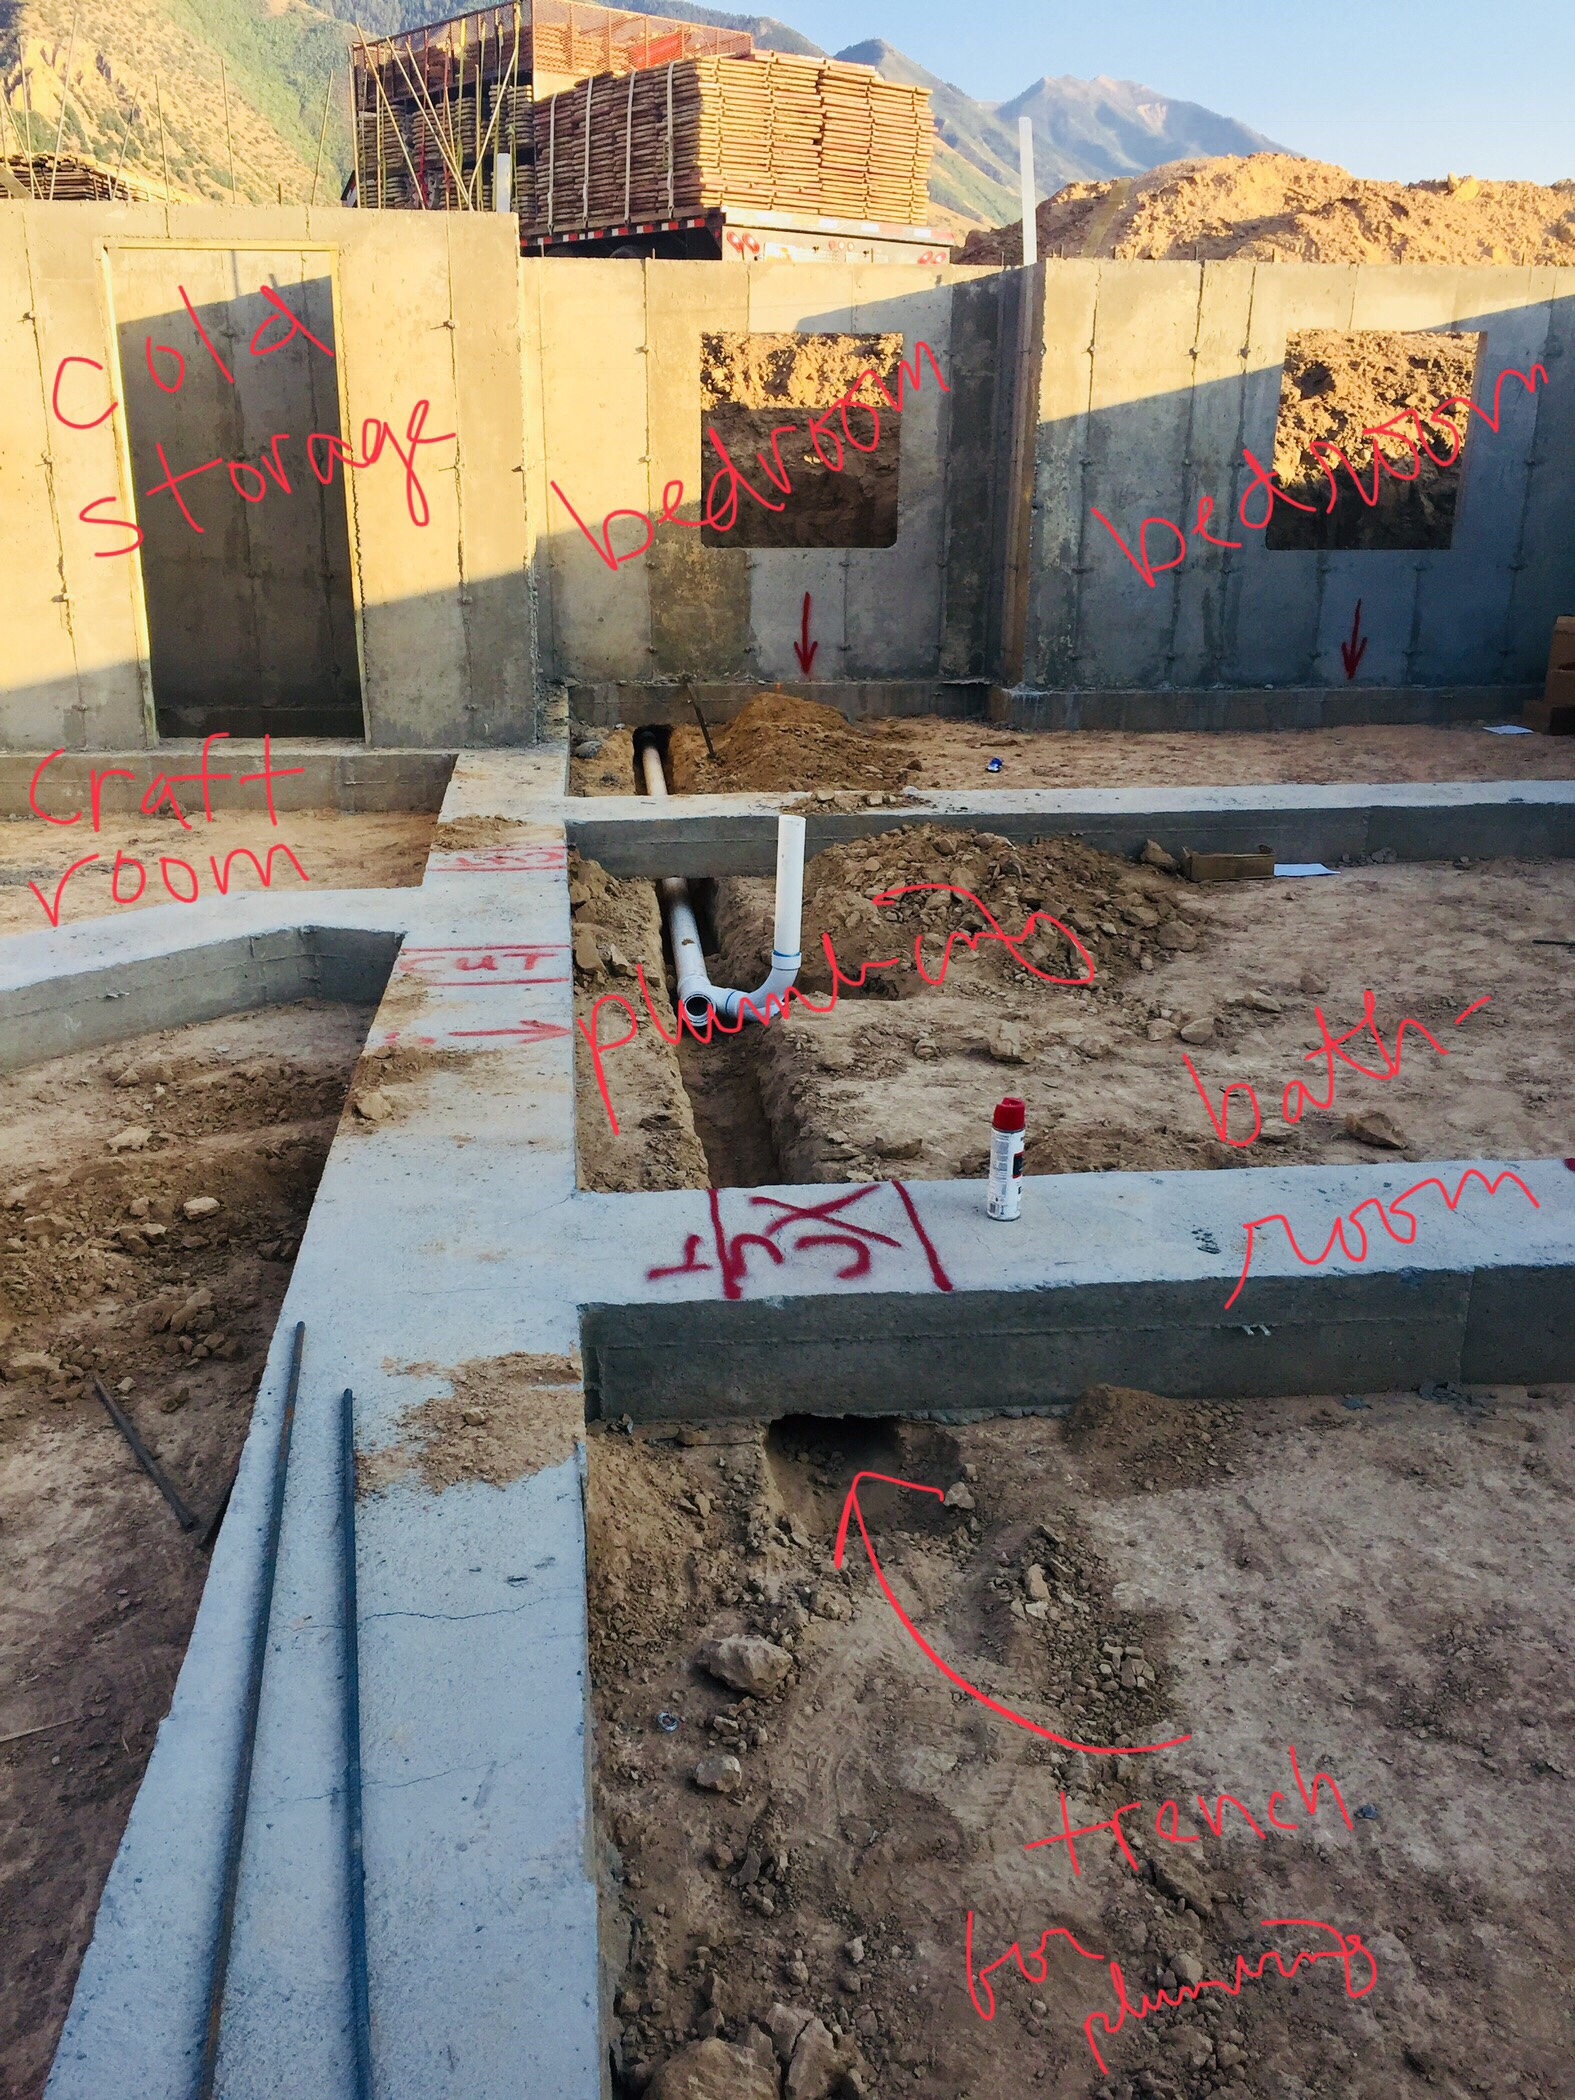
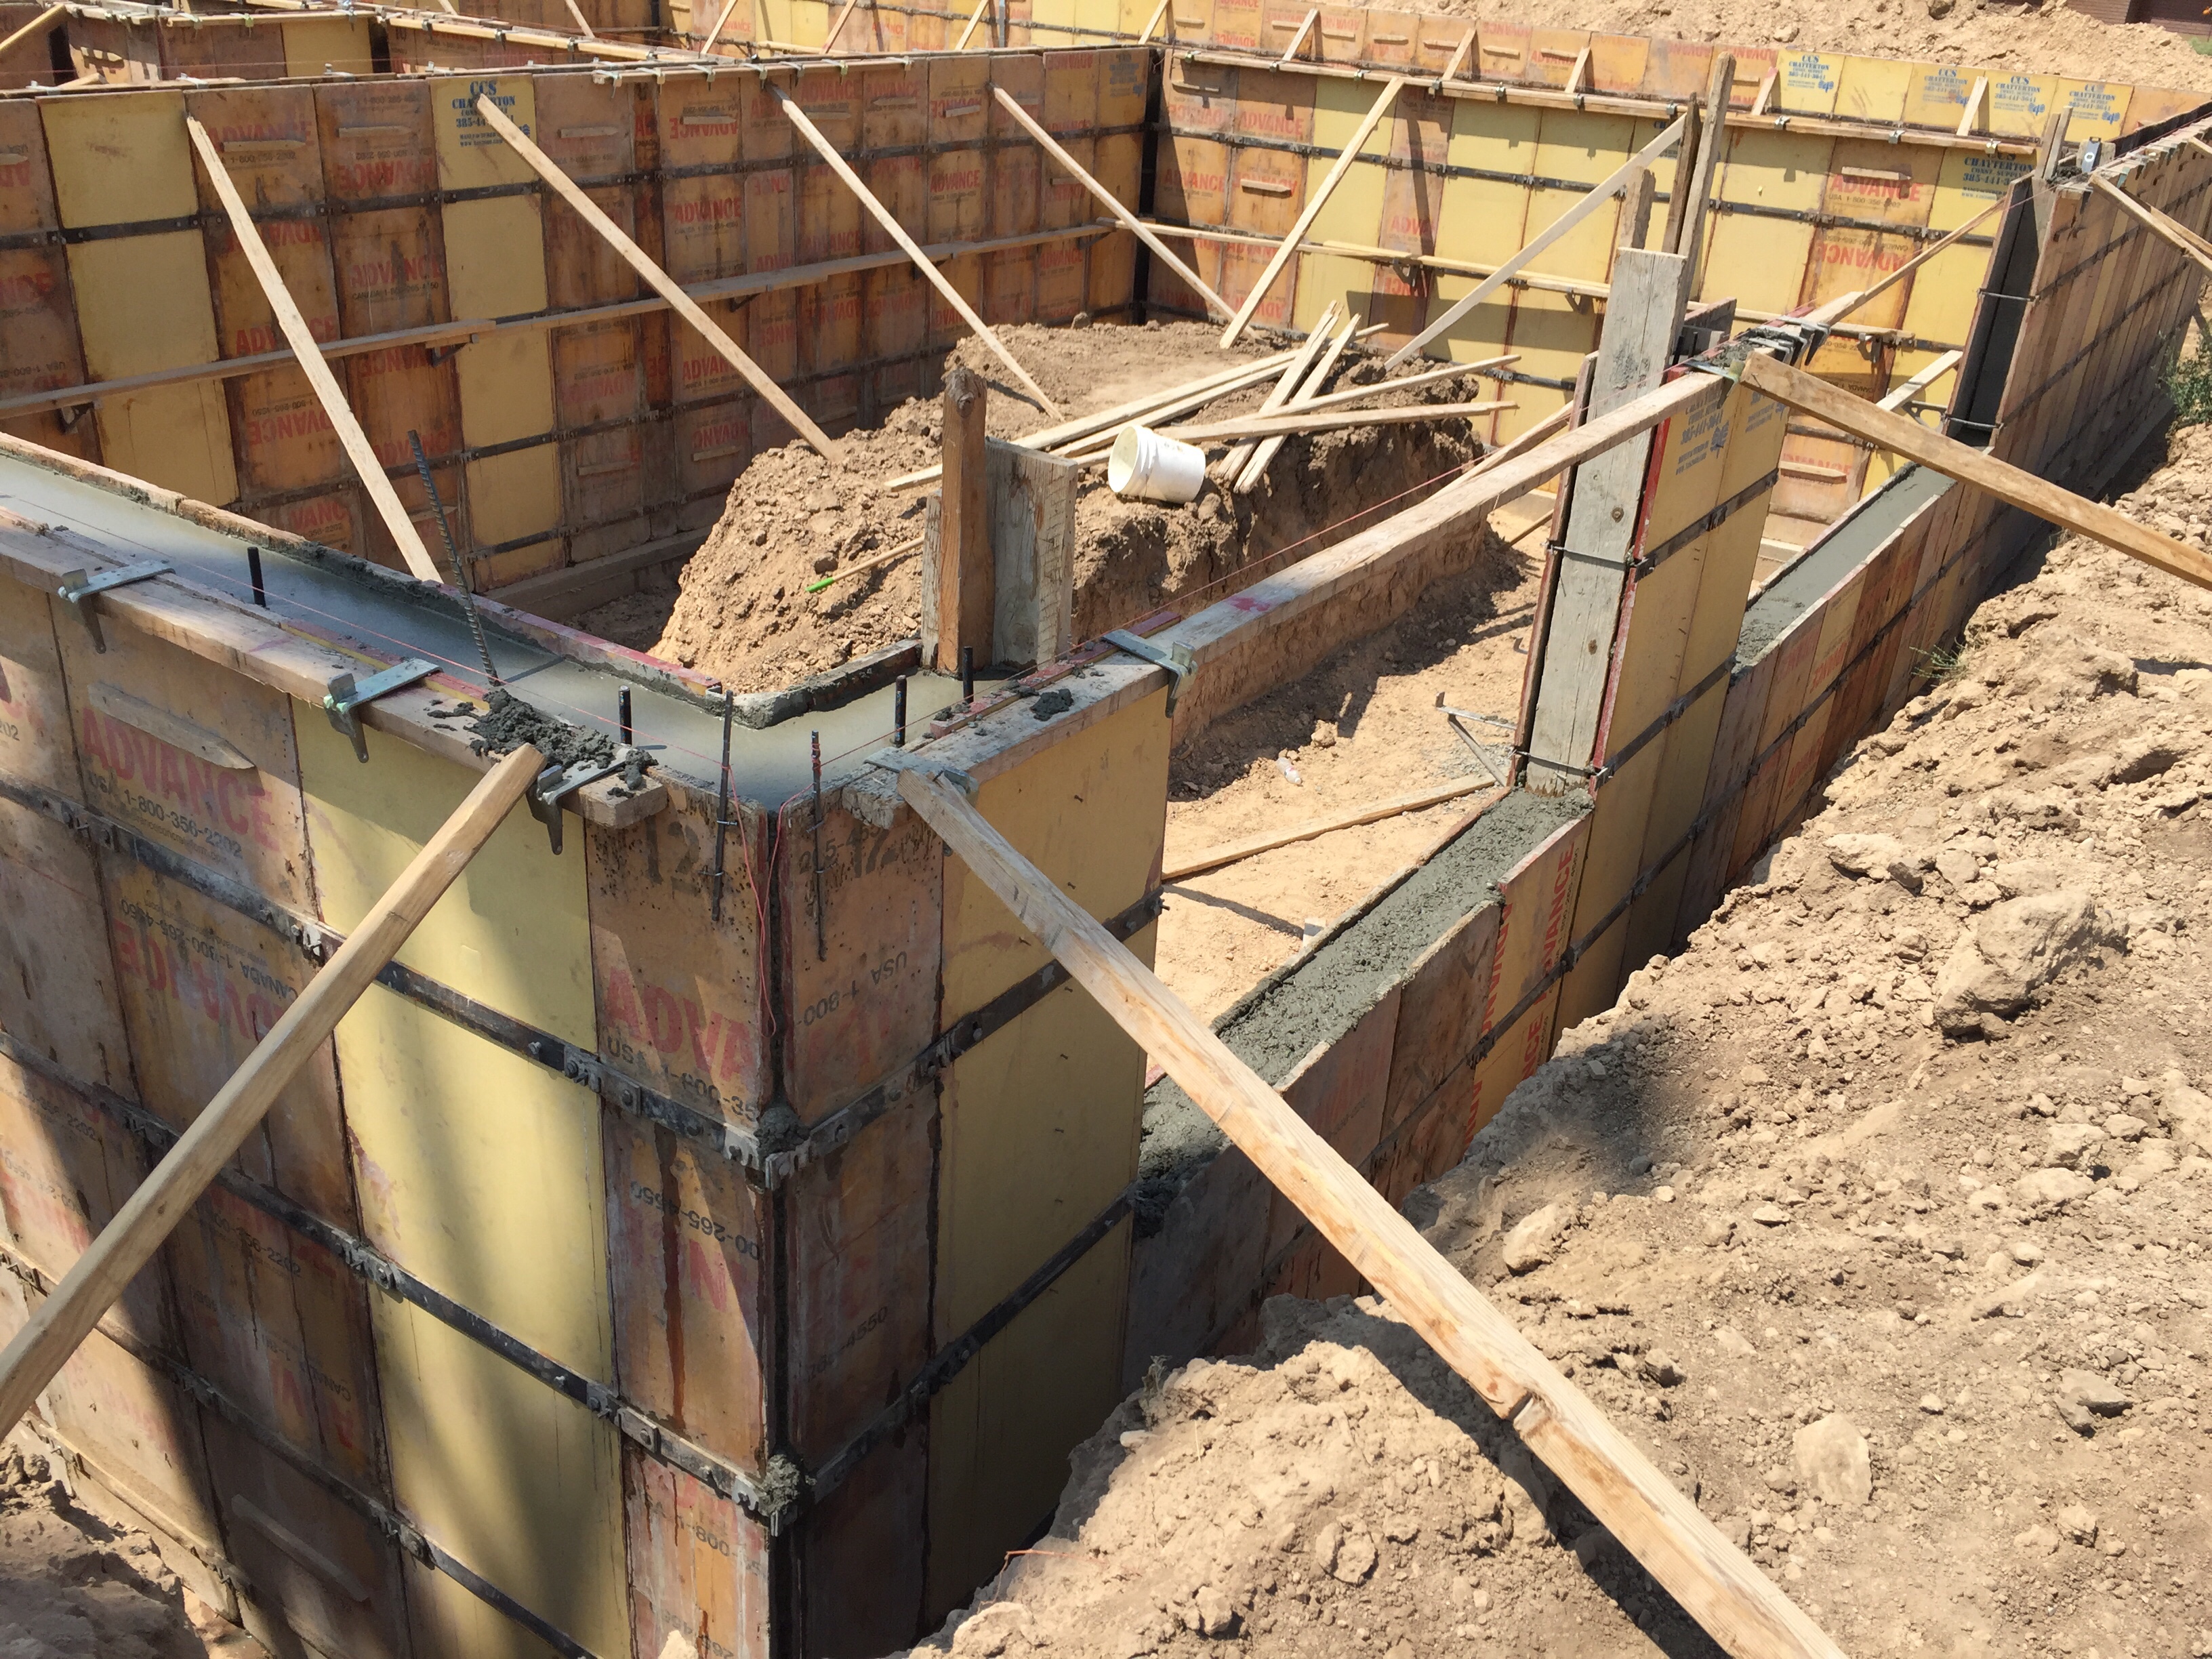
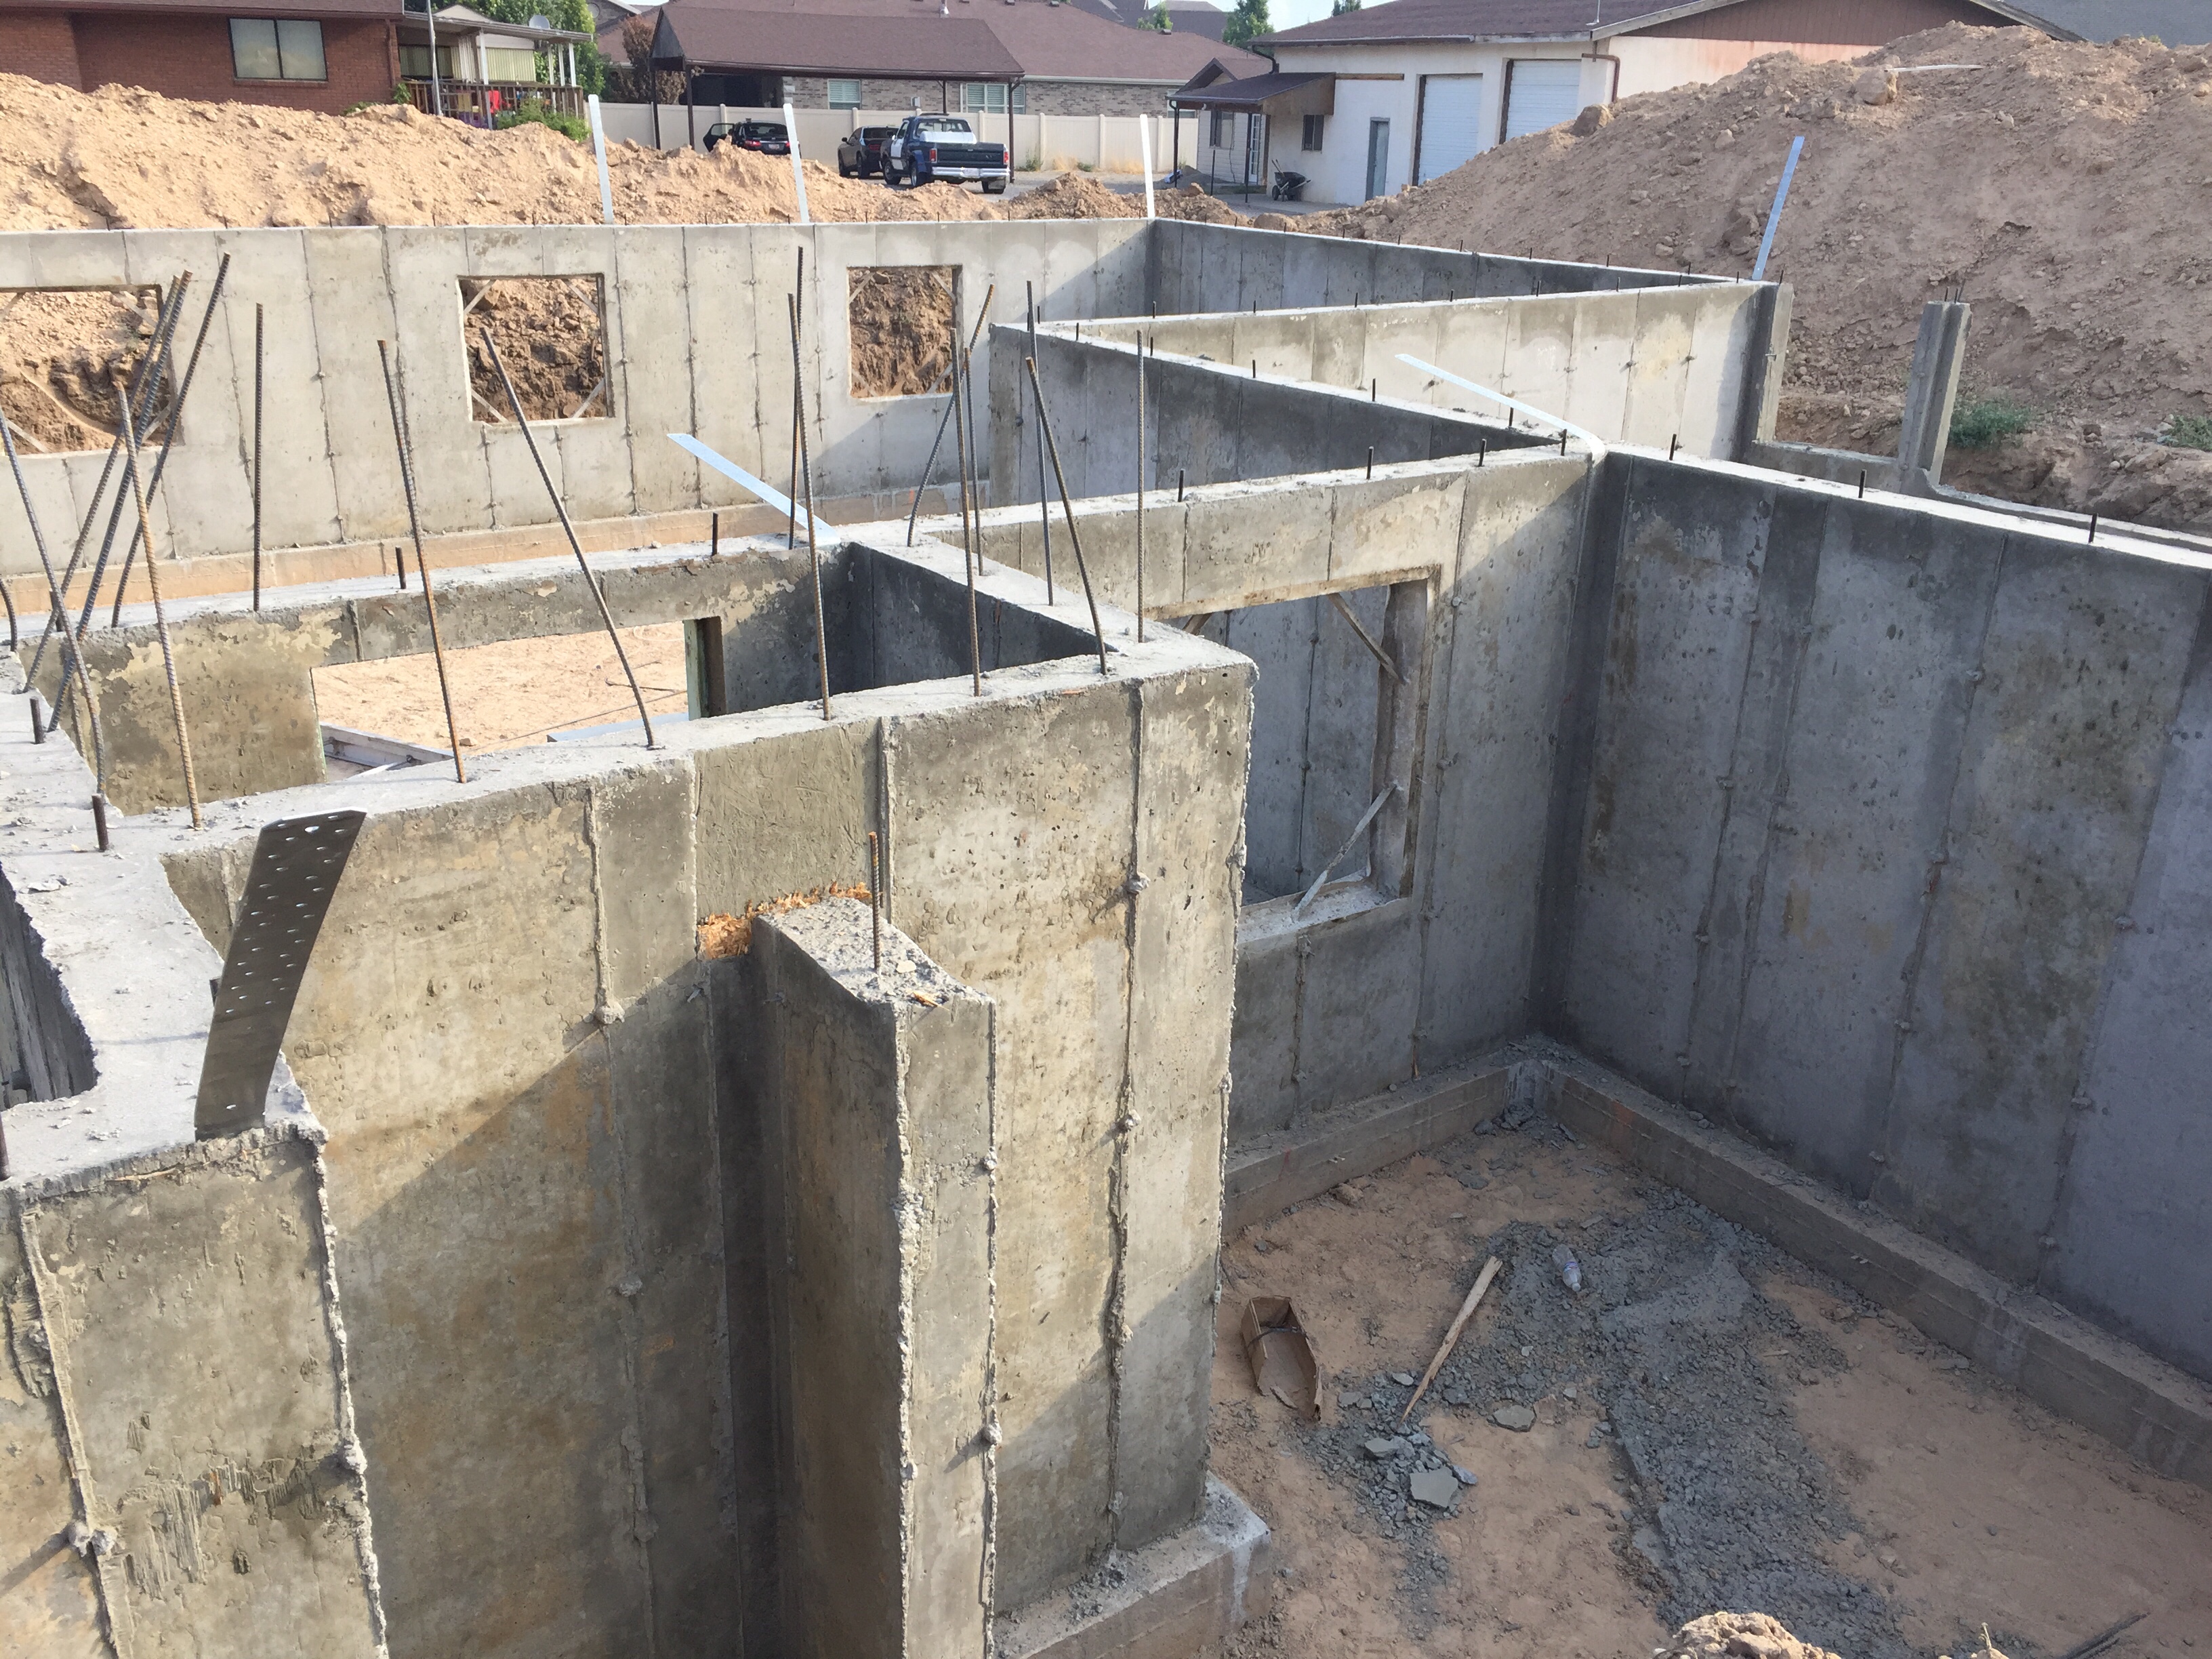
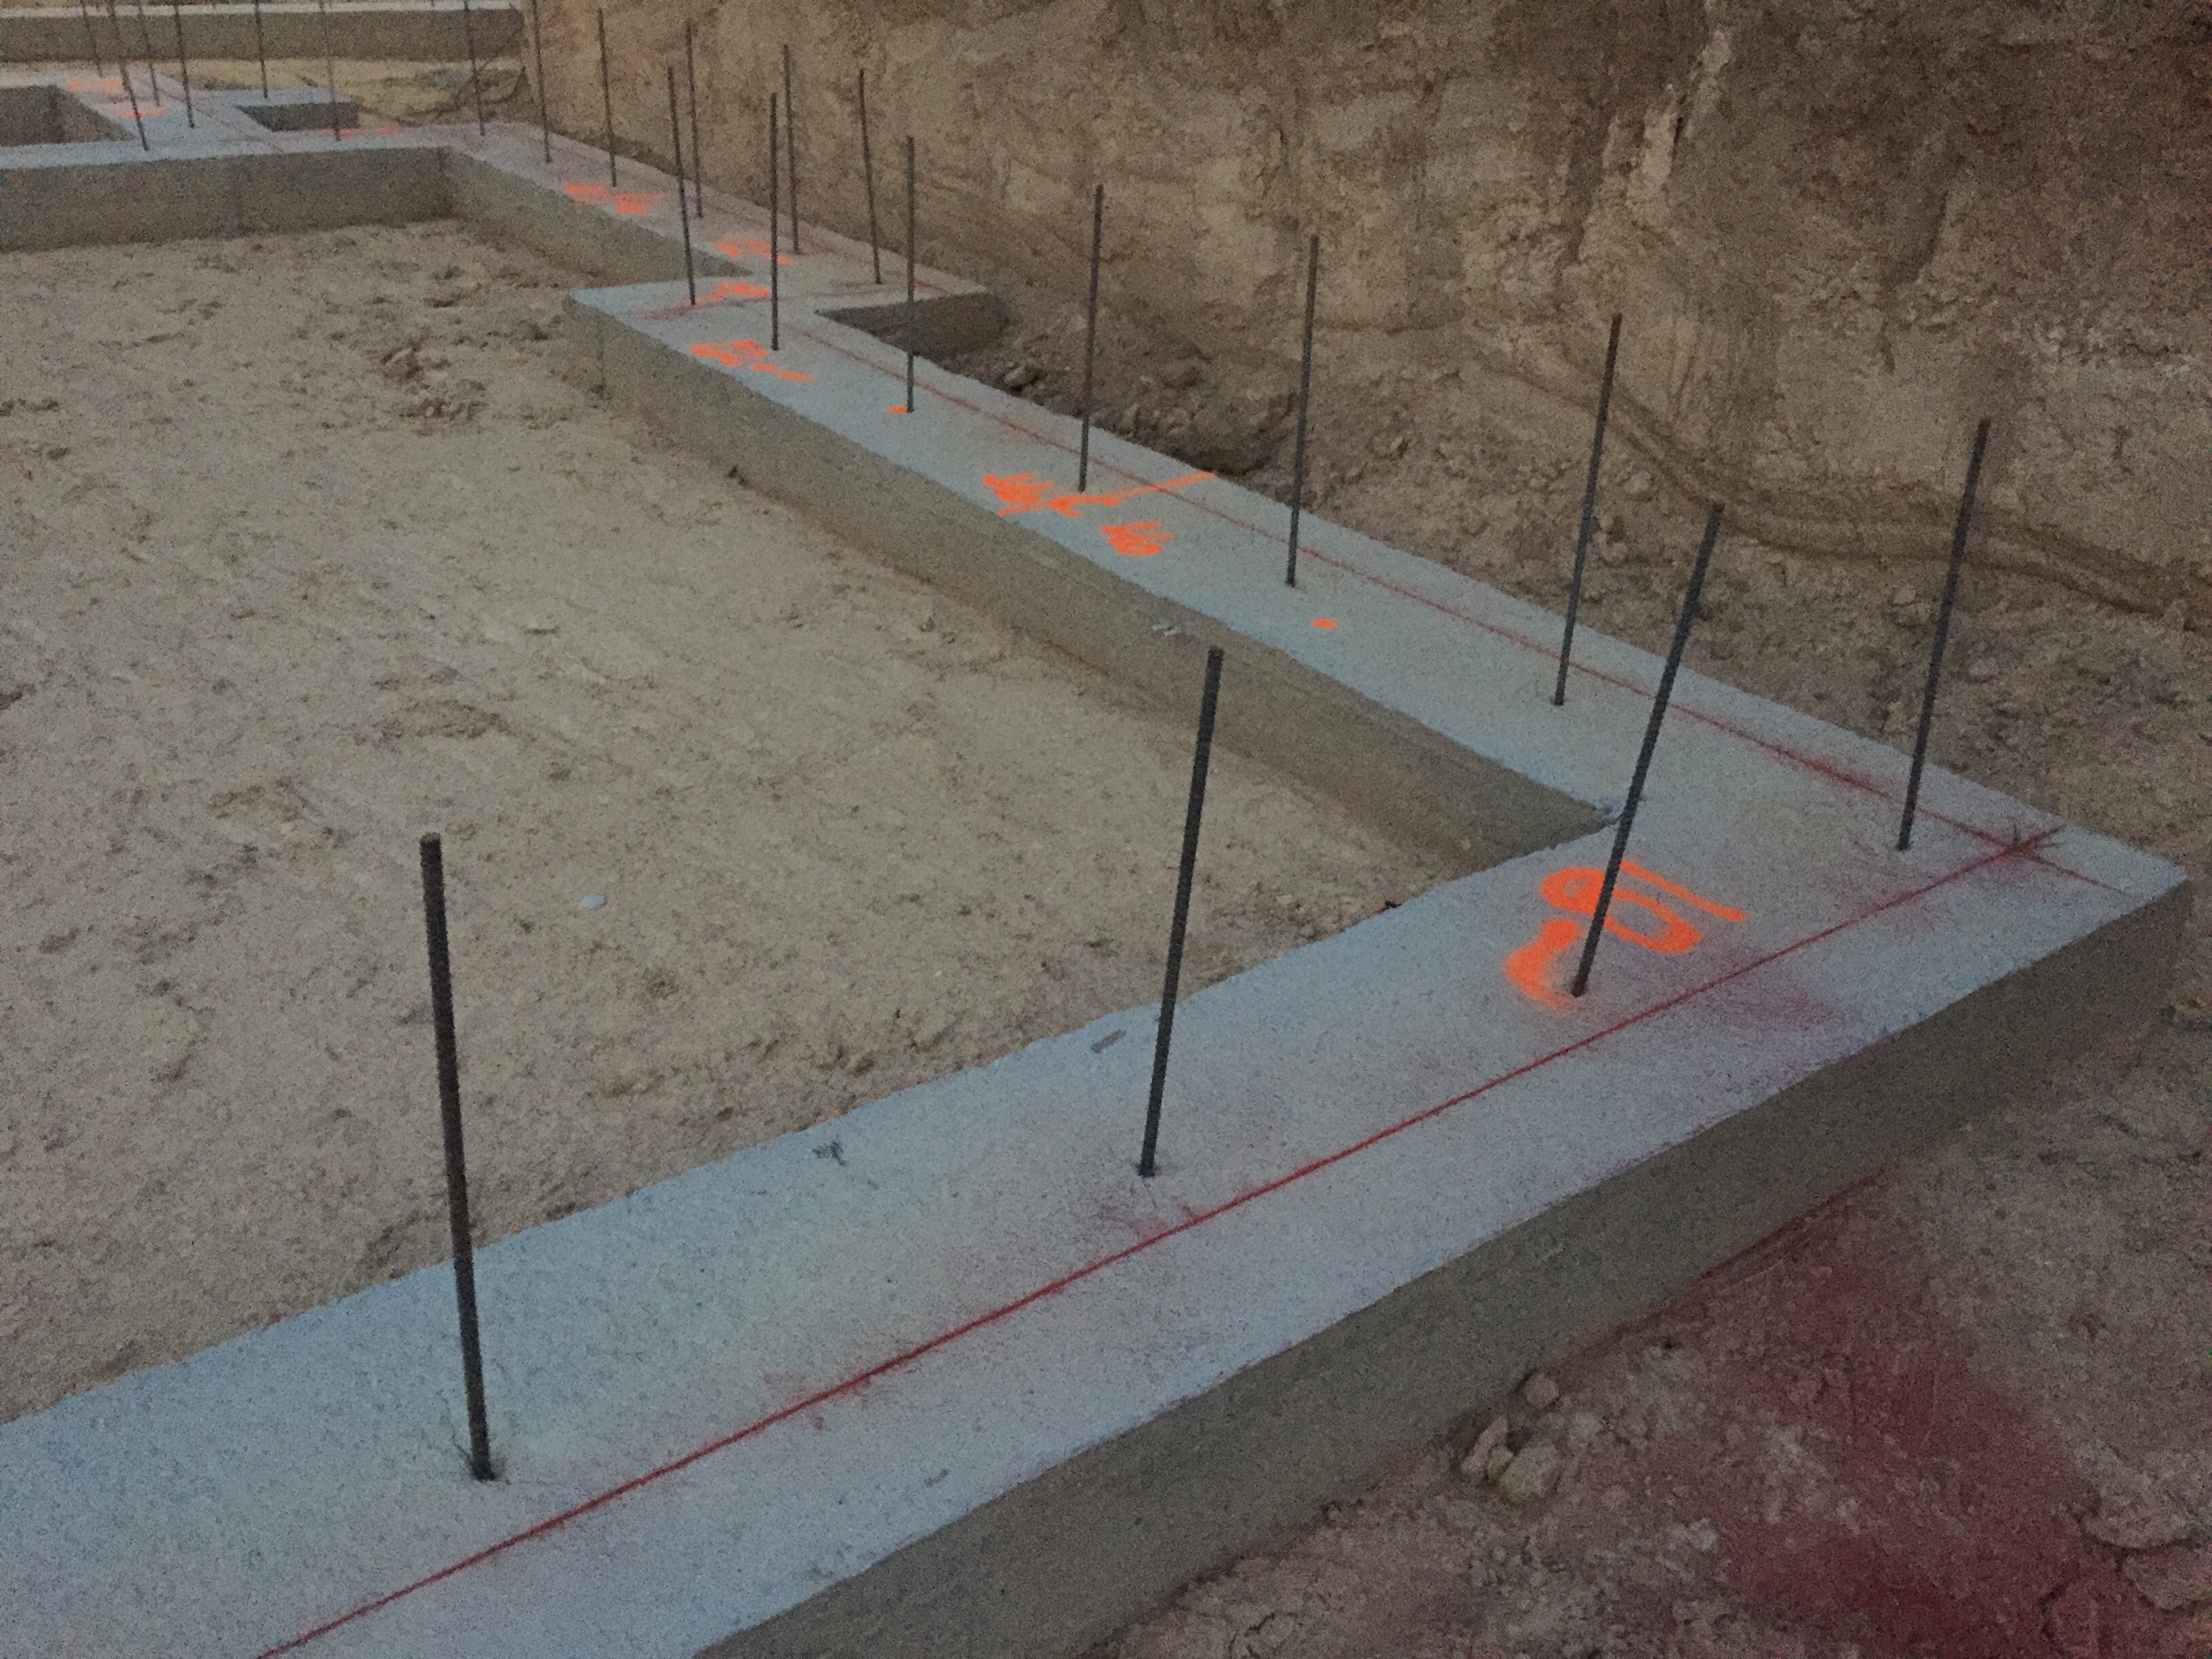
 And if you look at the top of the photo above you can see we’re still waiting for the forms to be taken away.
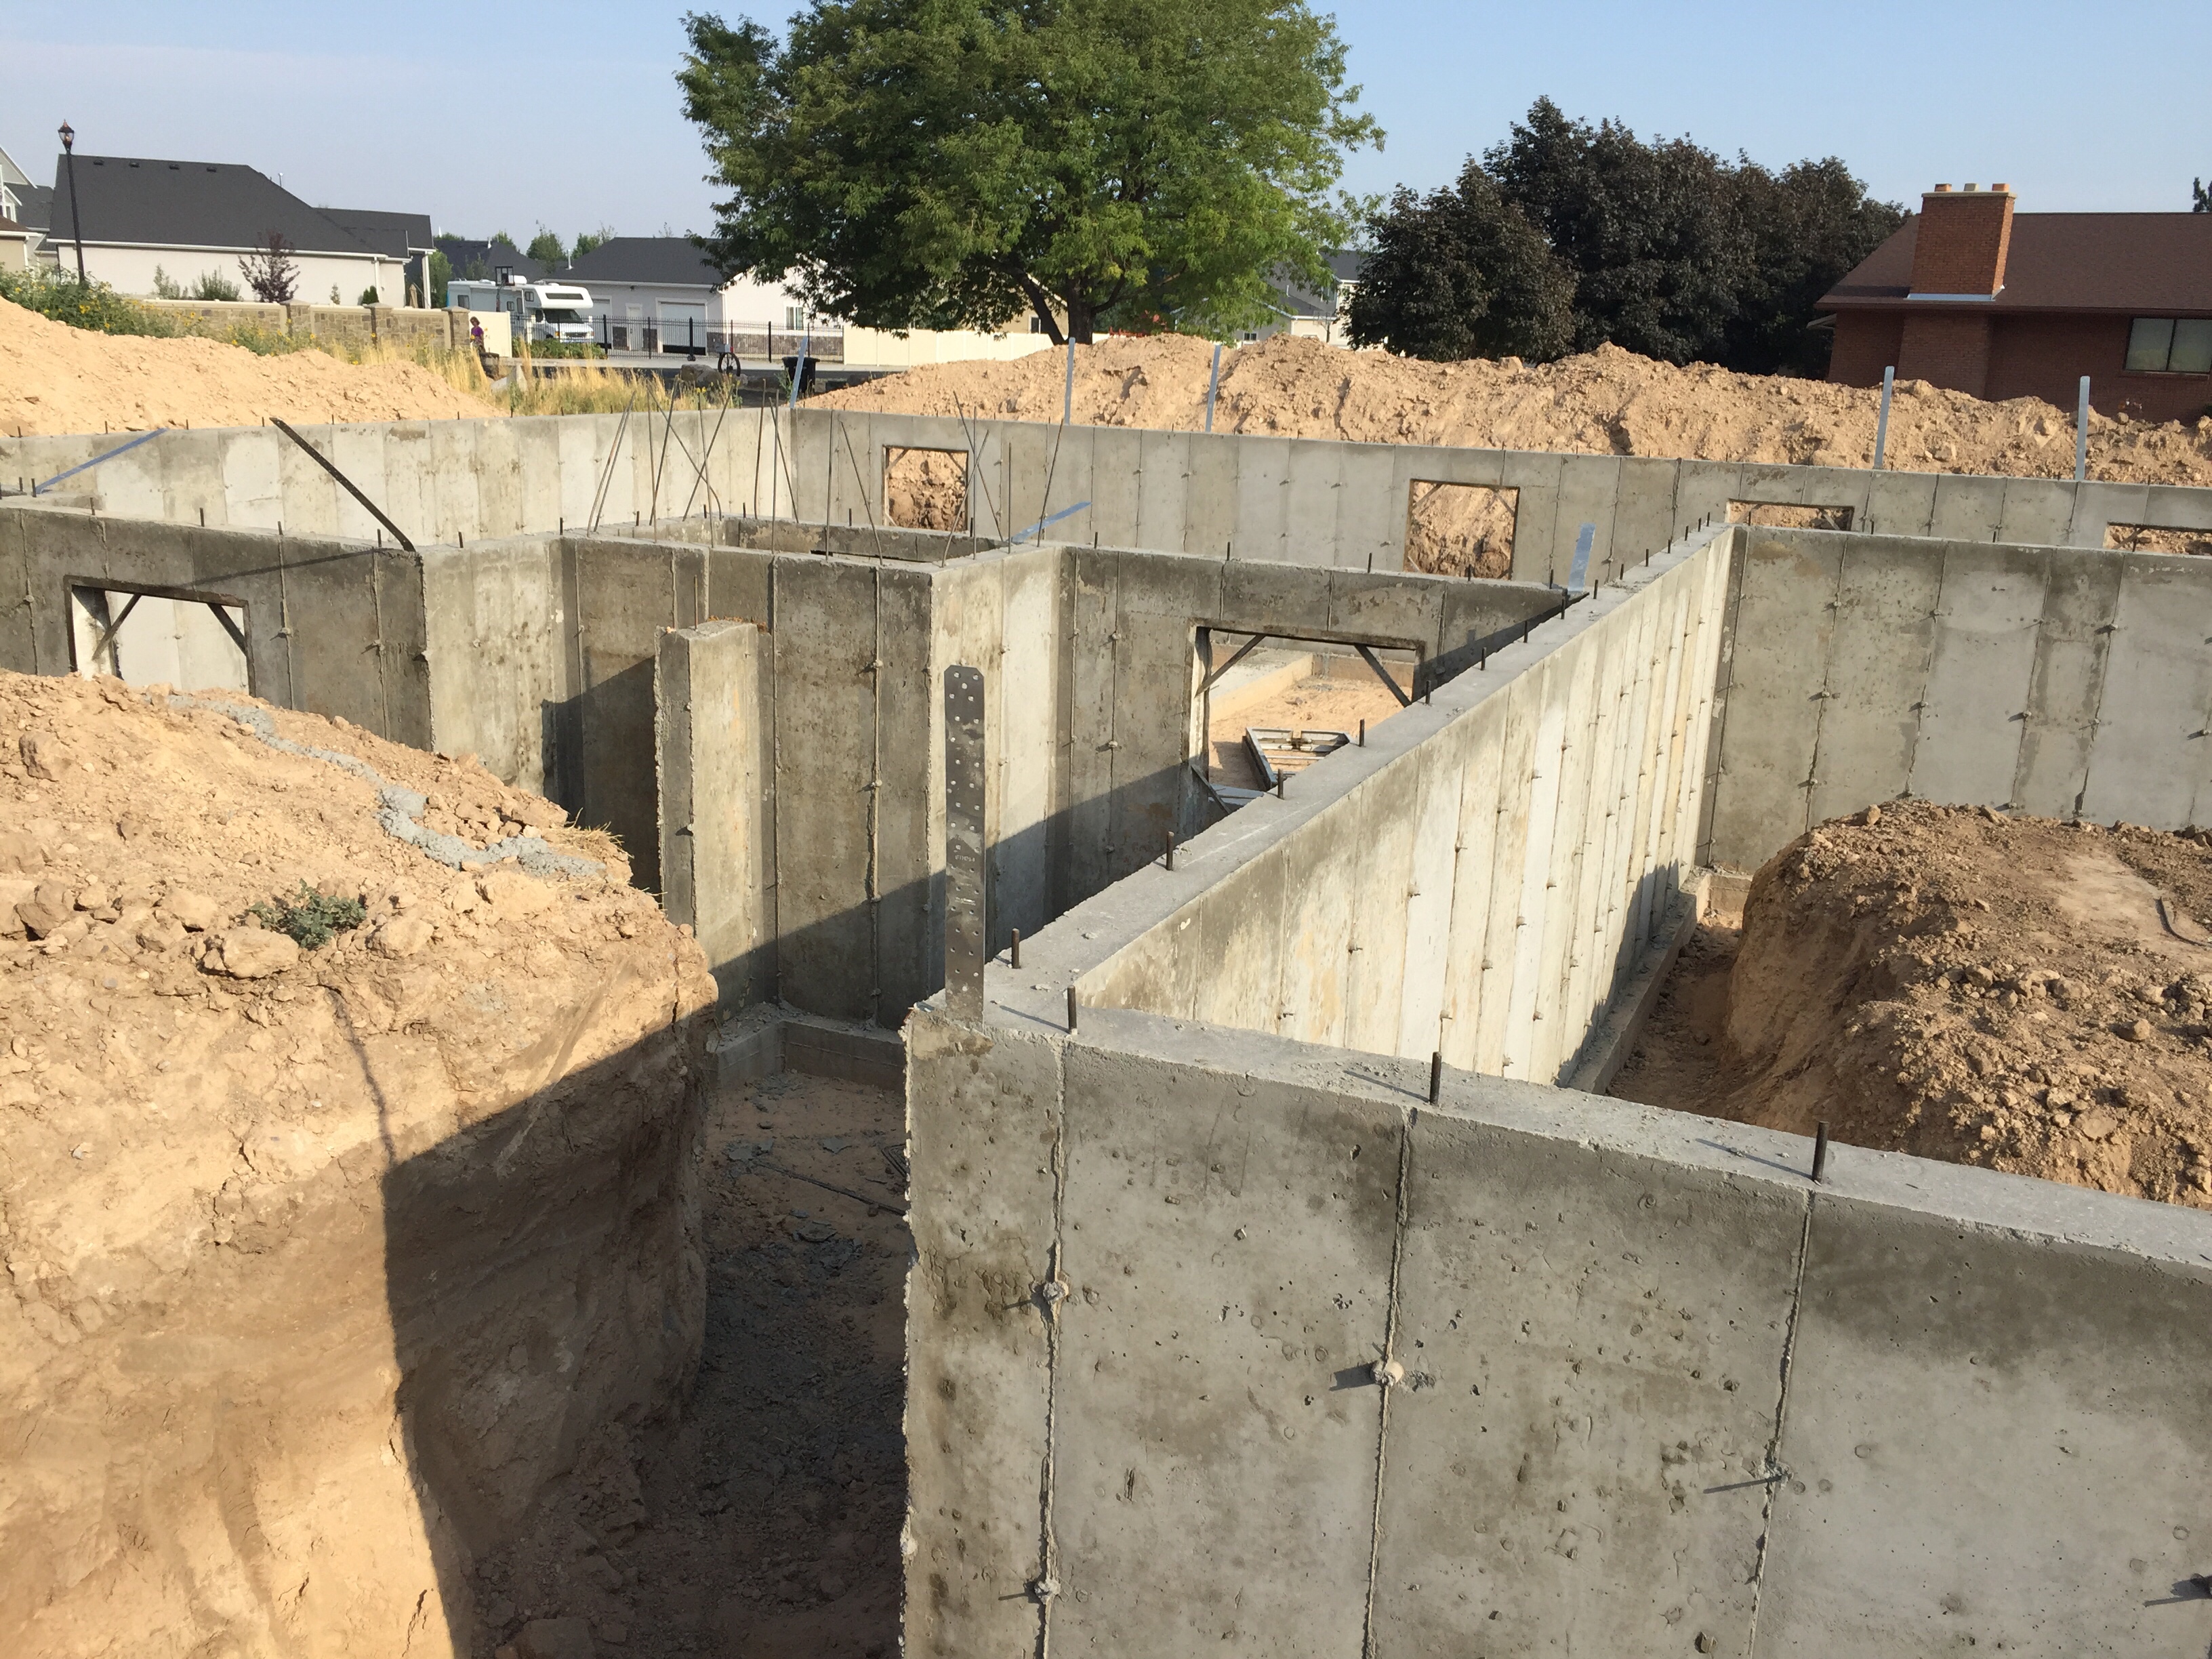
 We should be seeing the electrician soon, too. I’ll keep you posted.


 For two of the shirts I used an image called “oh my stars.”
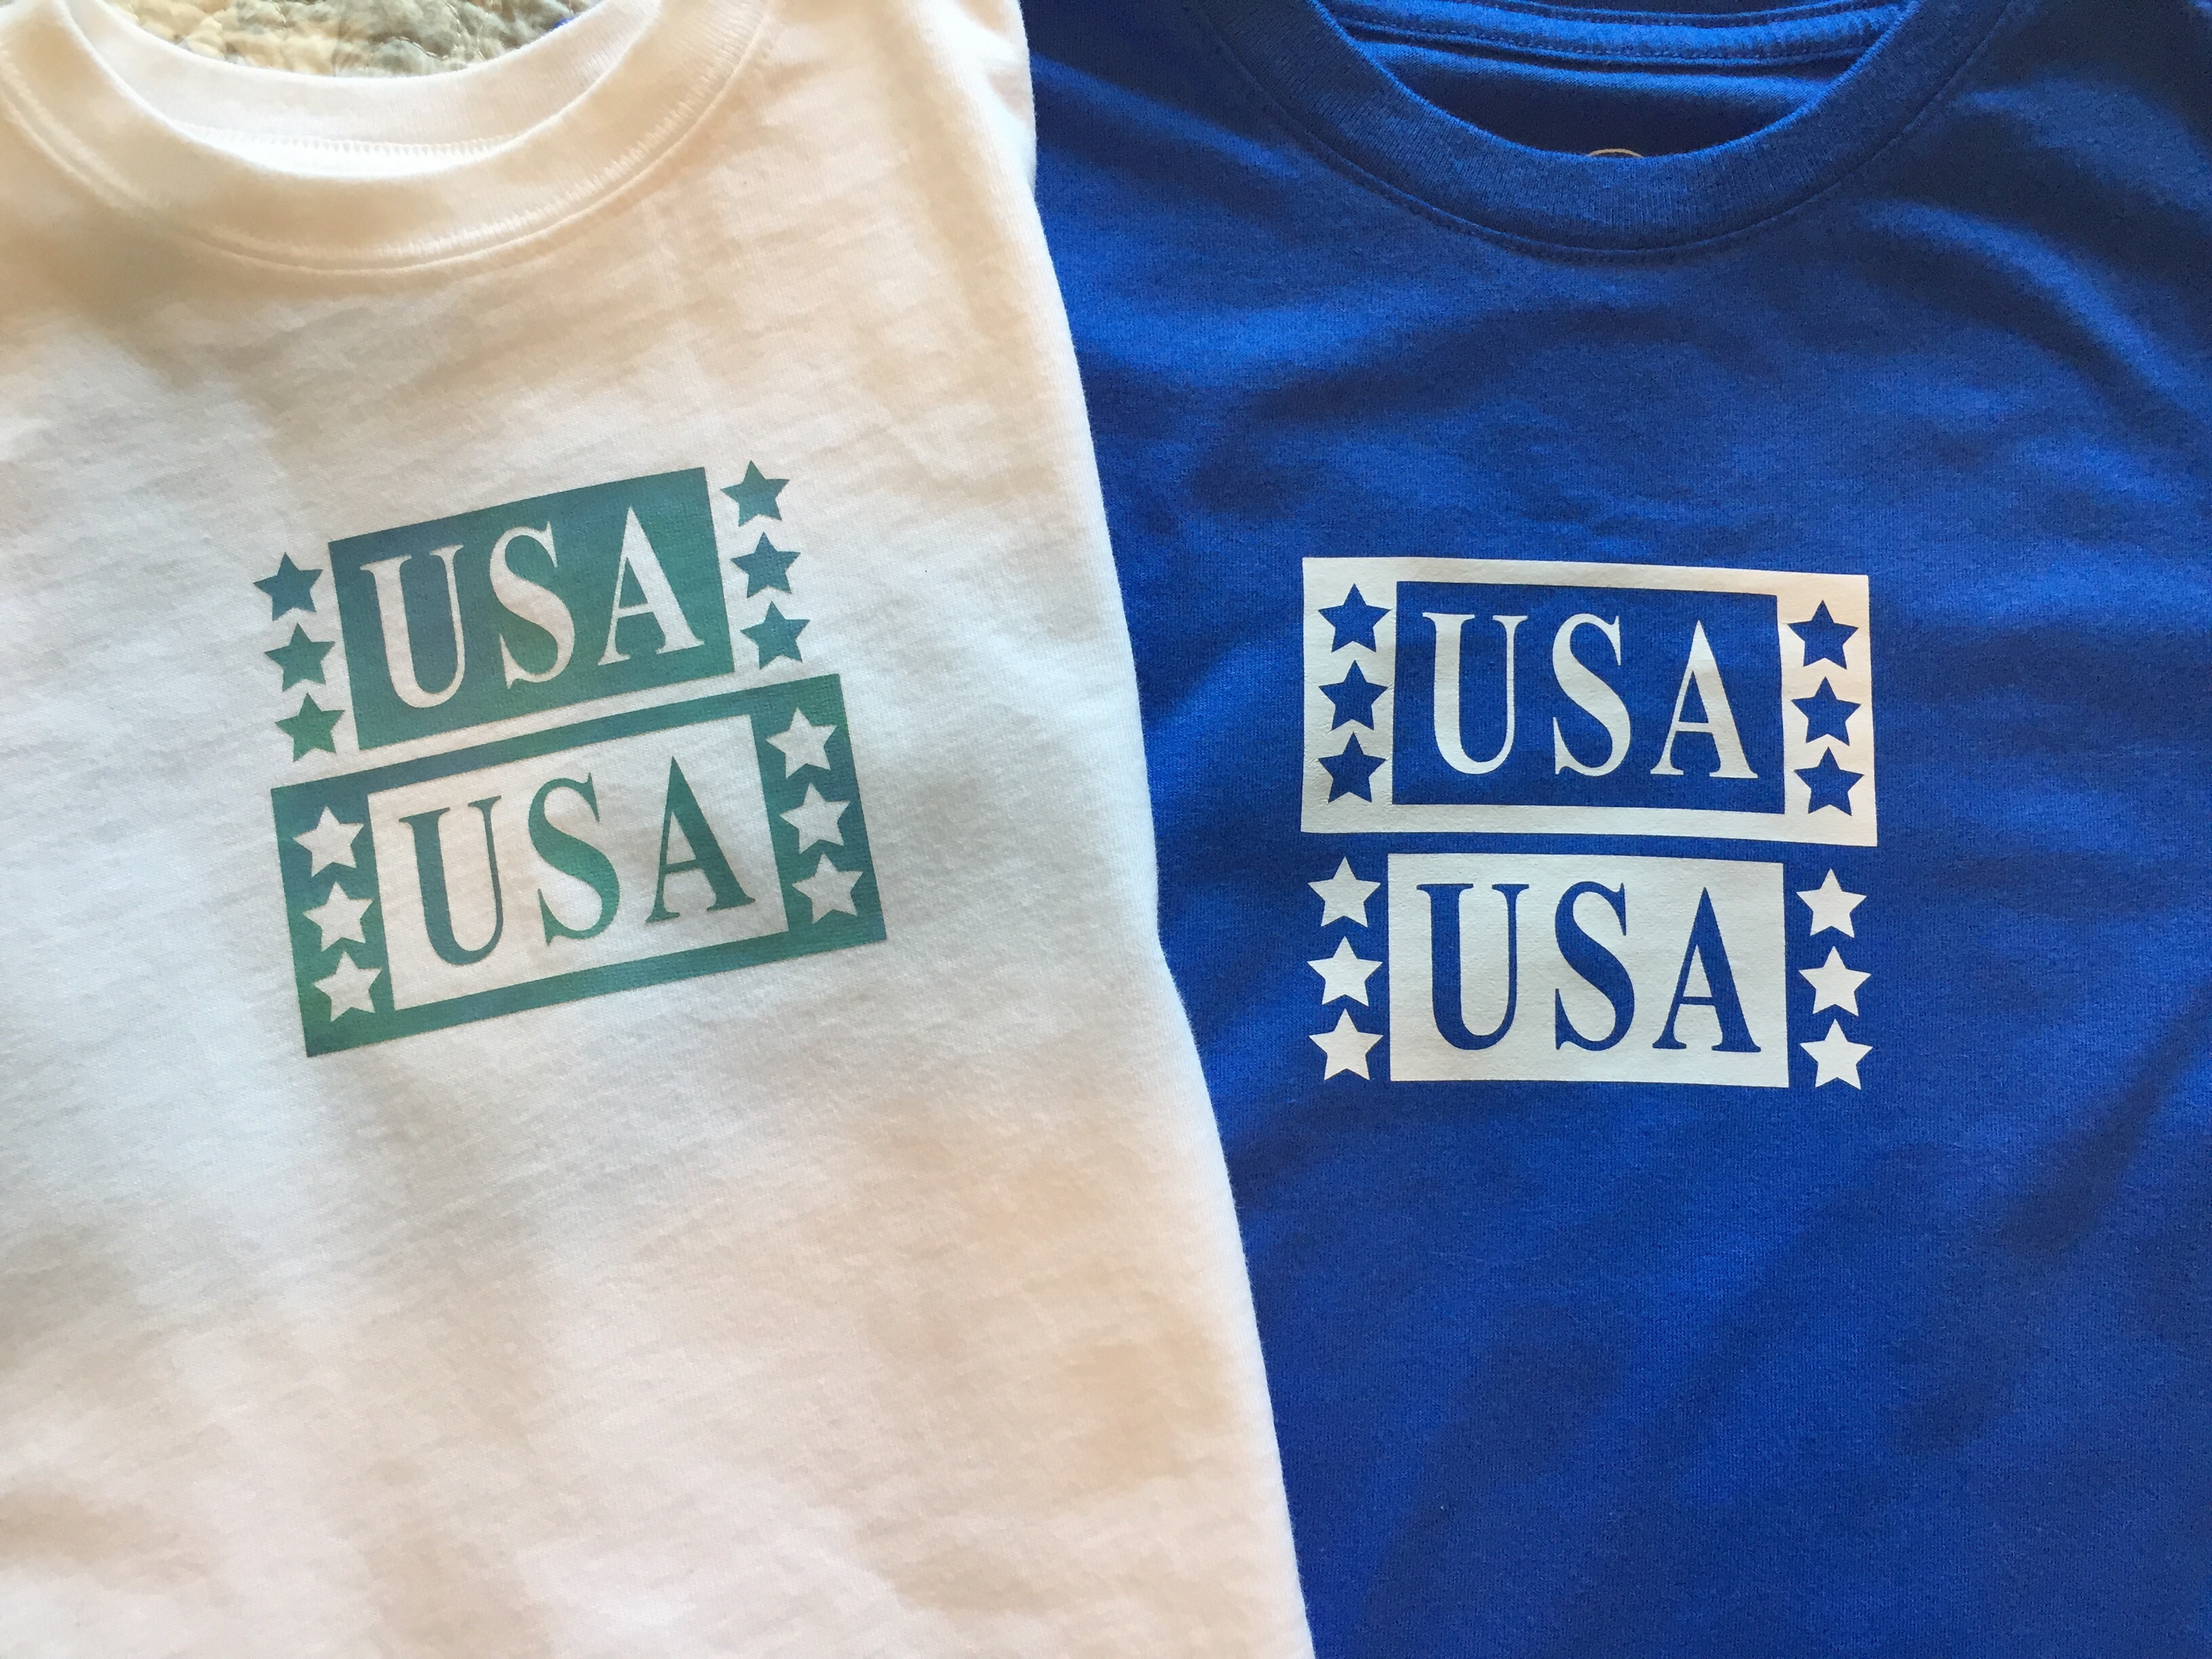 The USA shirts were my own design. I loved finding a way to use both the positive and negative space with the heat transfer vinyl (iron on).
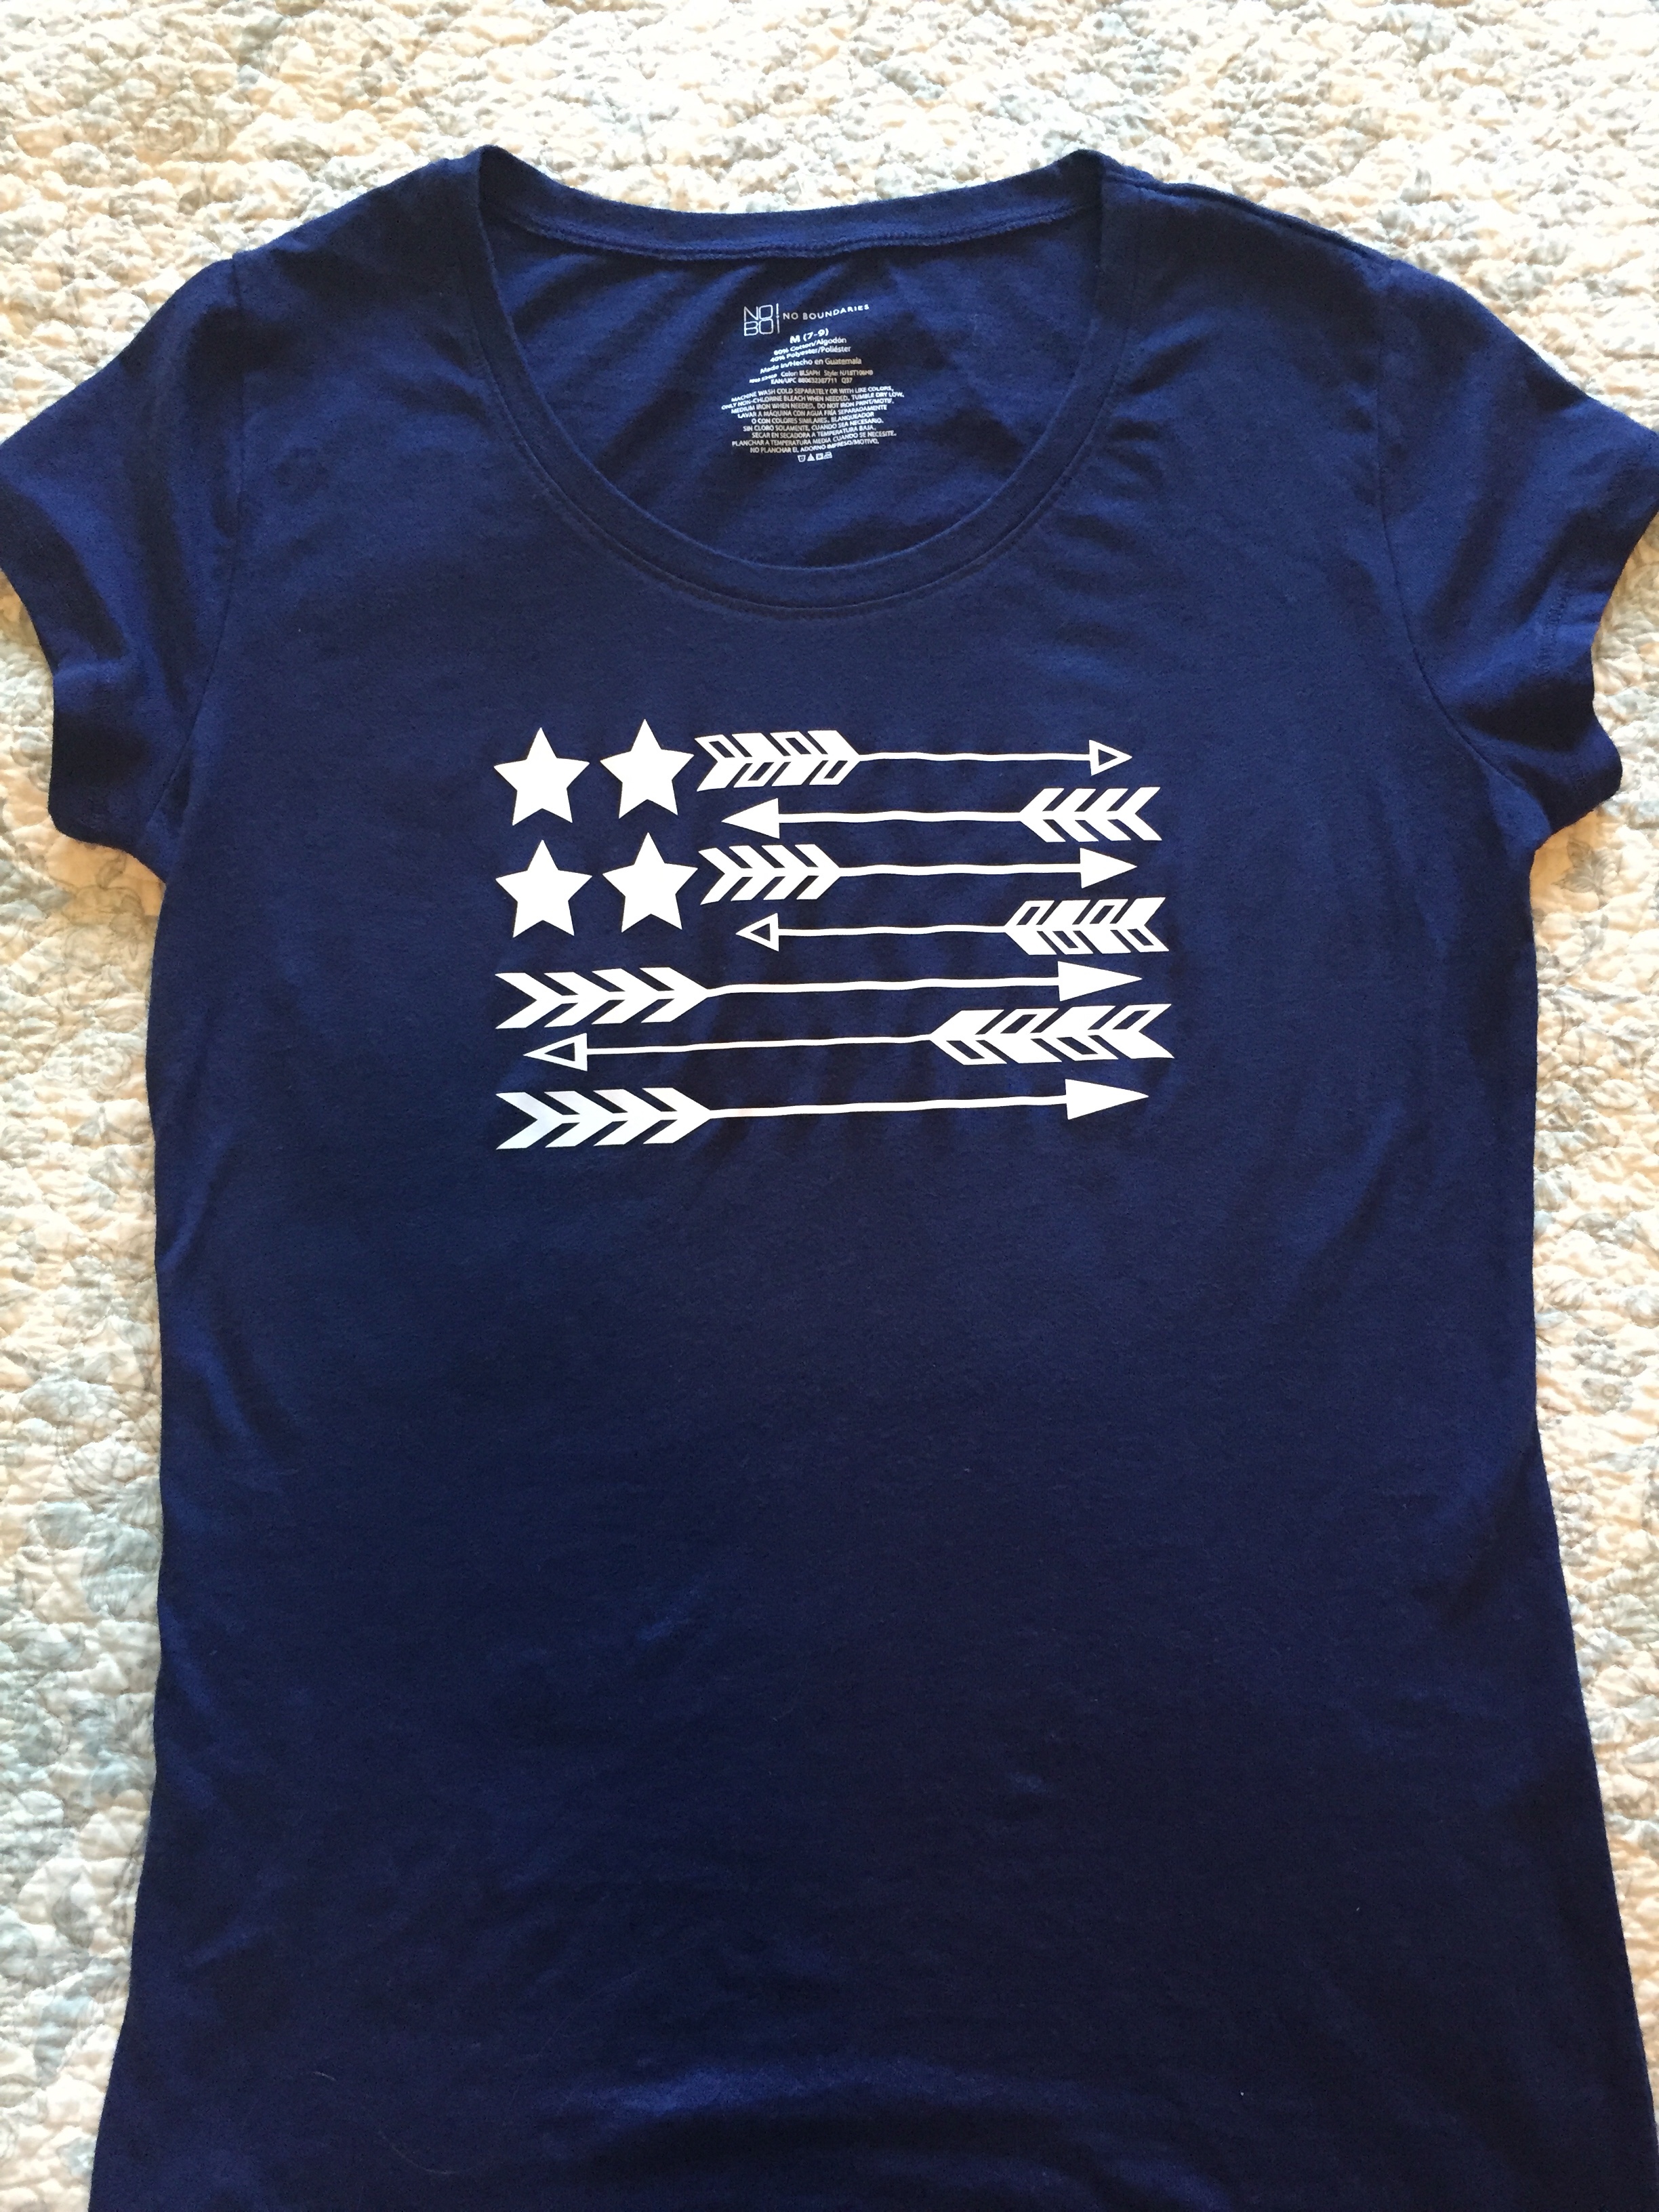 This arrow flag T-shirt is also my design…. I have to say it is probably my favorite in the bunch! My 14-year-old said she wanted a flag with arrows on it because she really likes arrows right now and voilà!


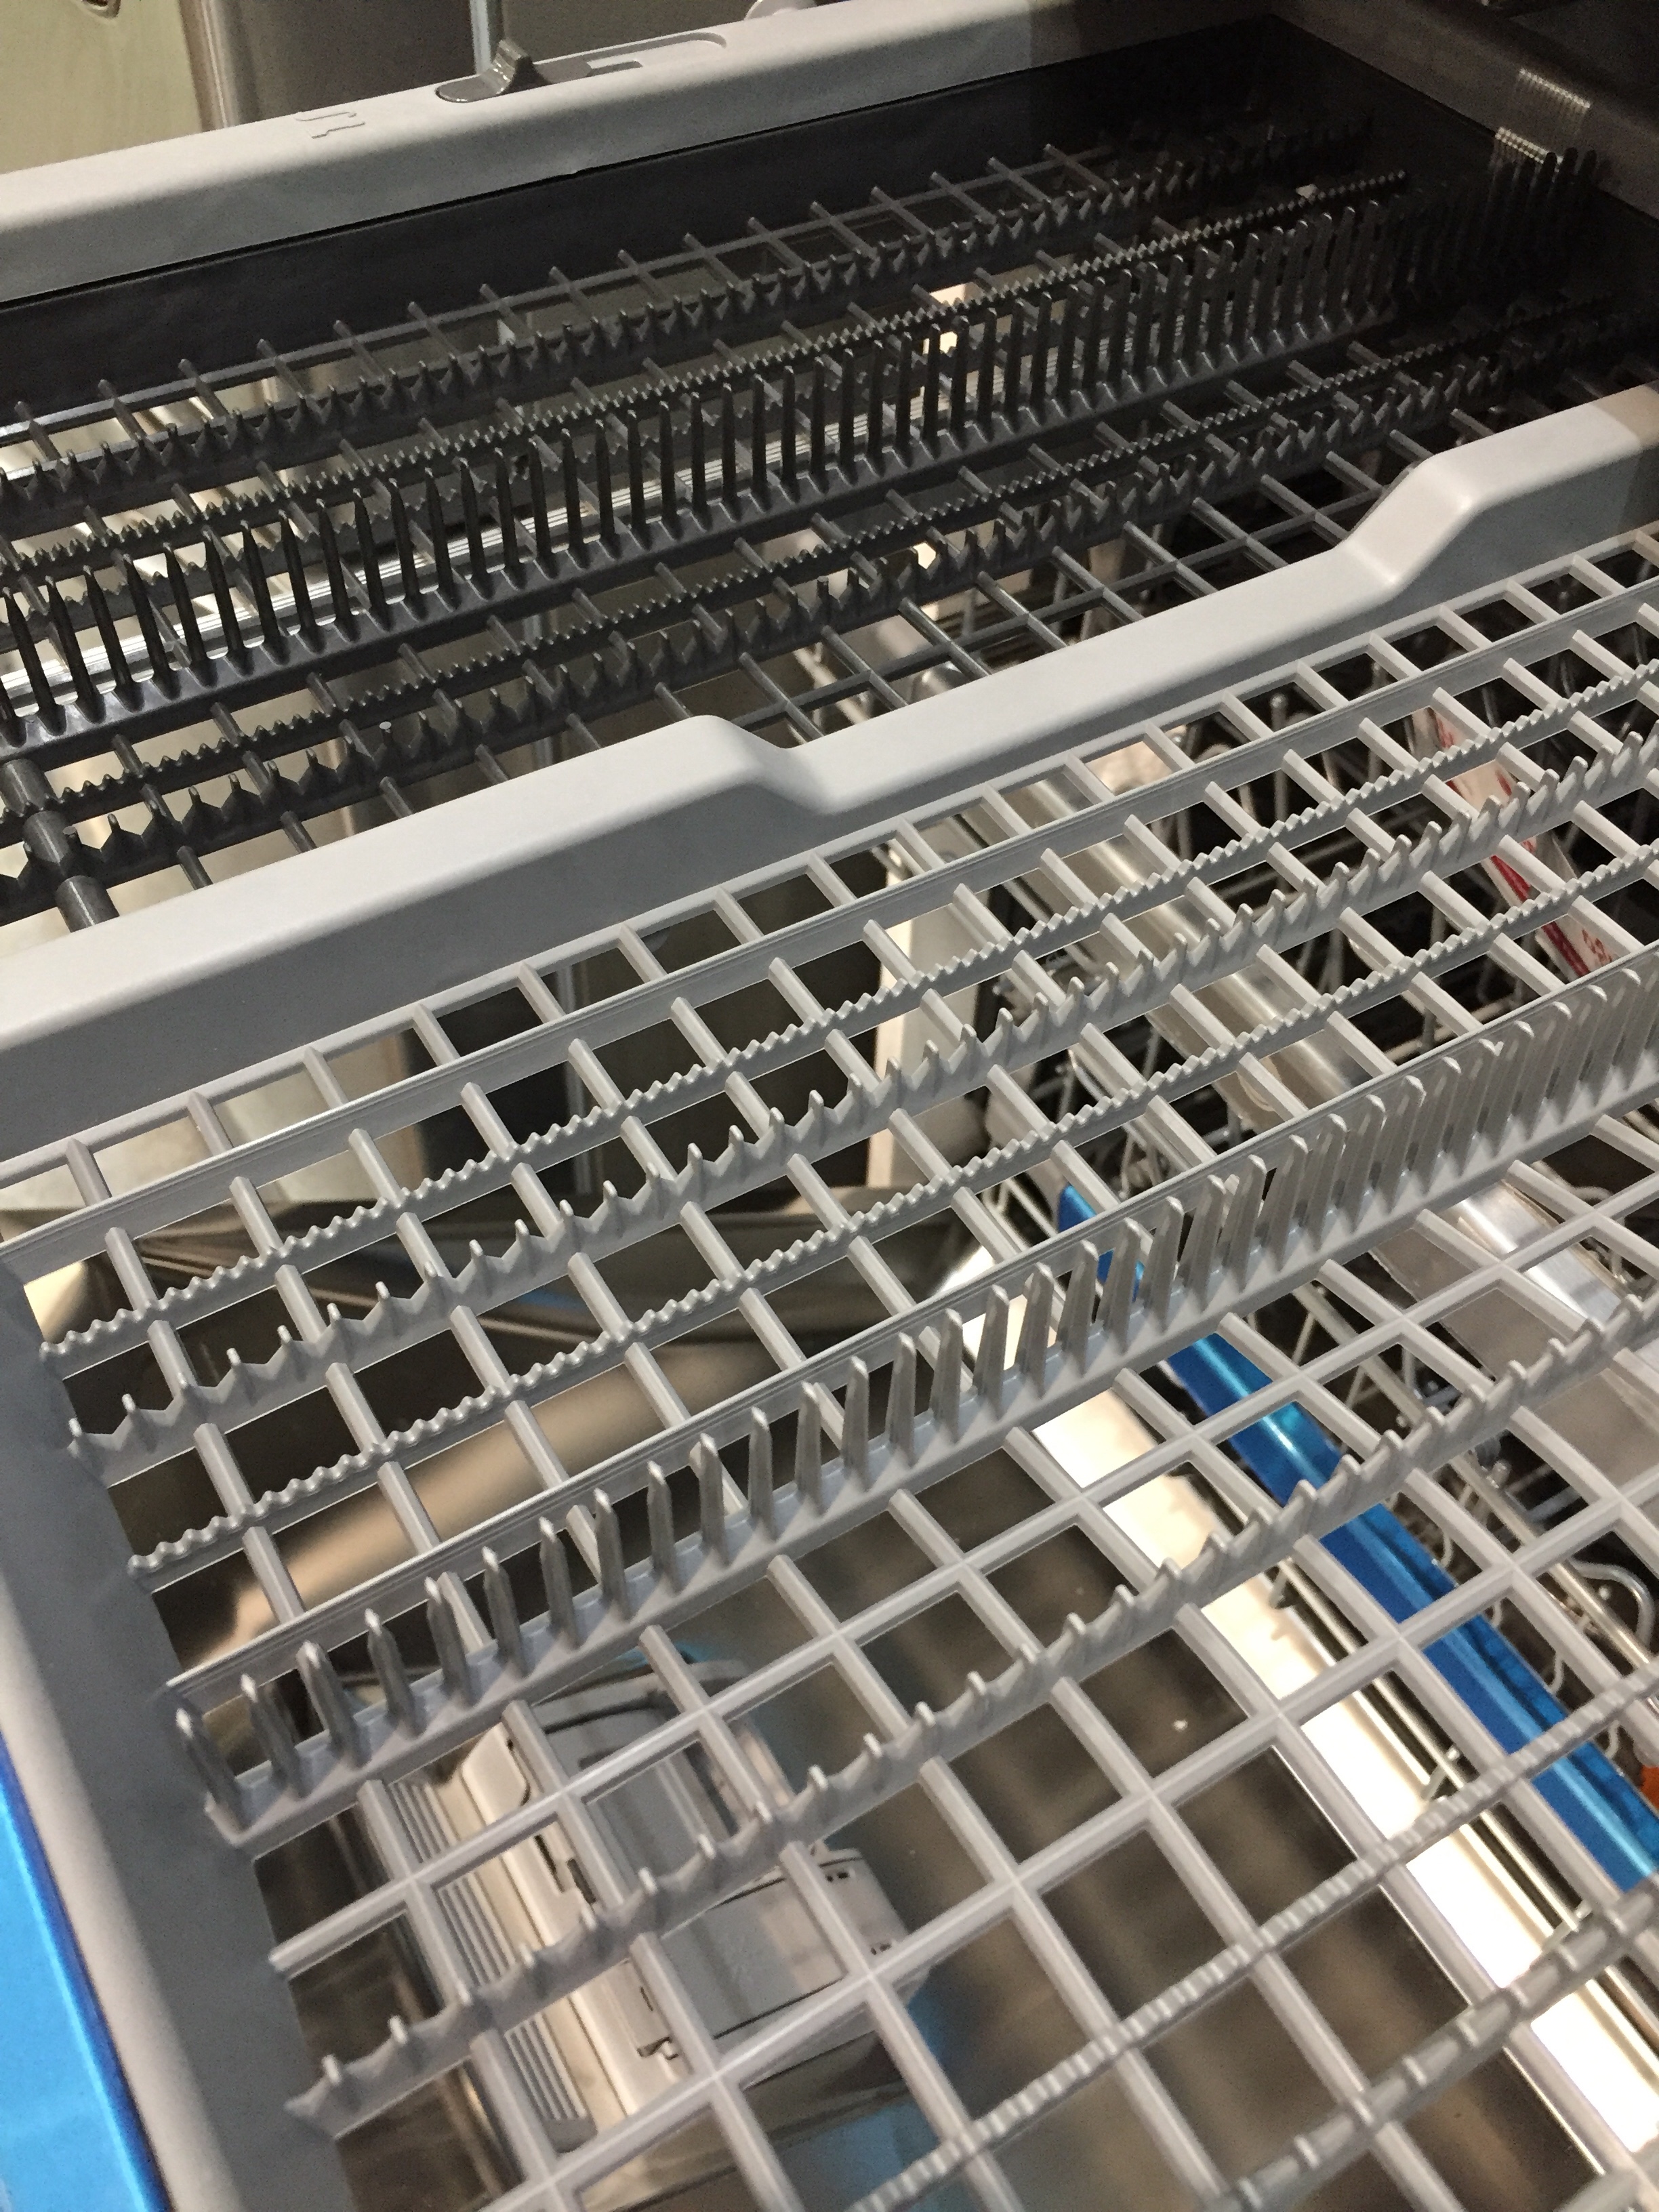
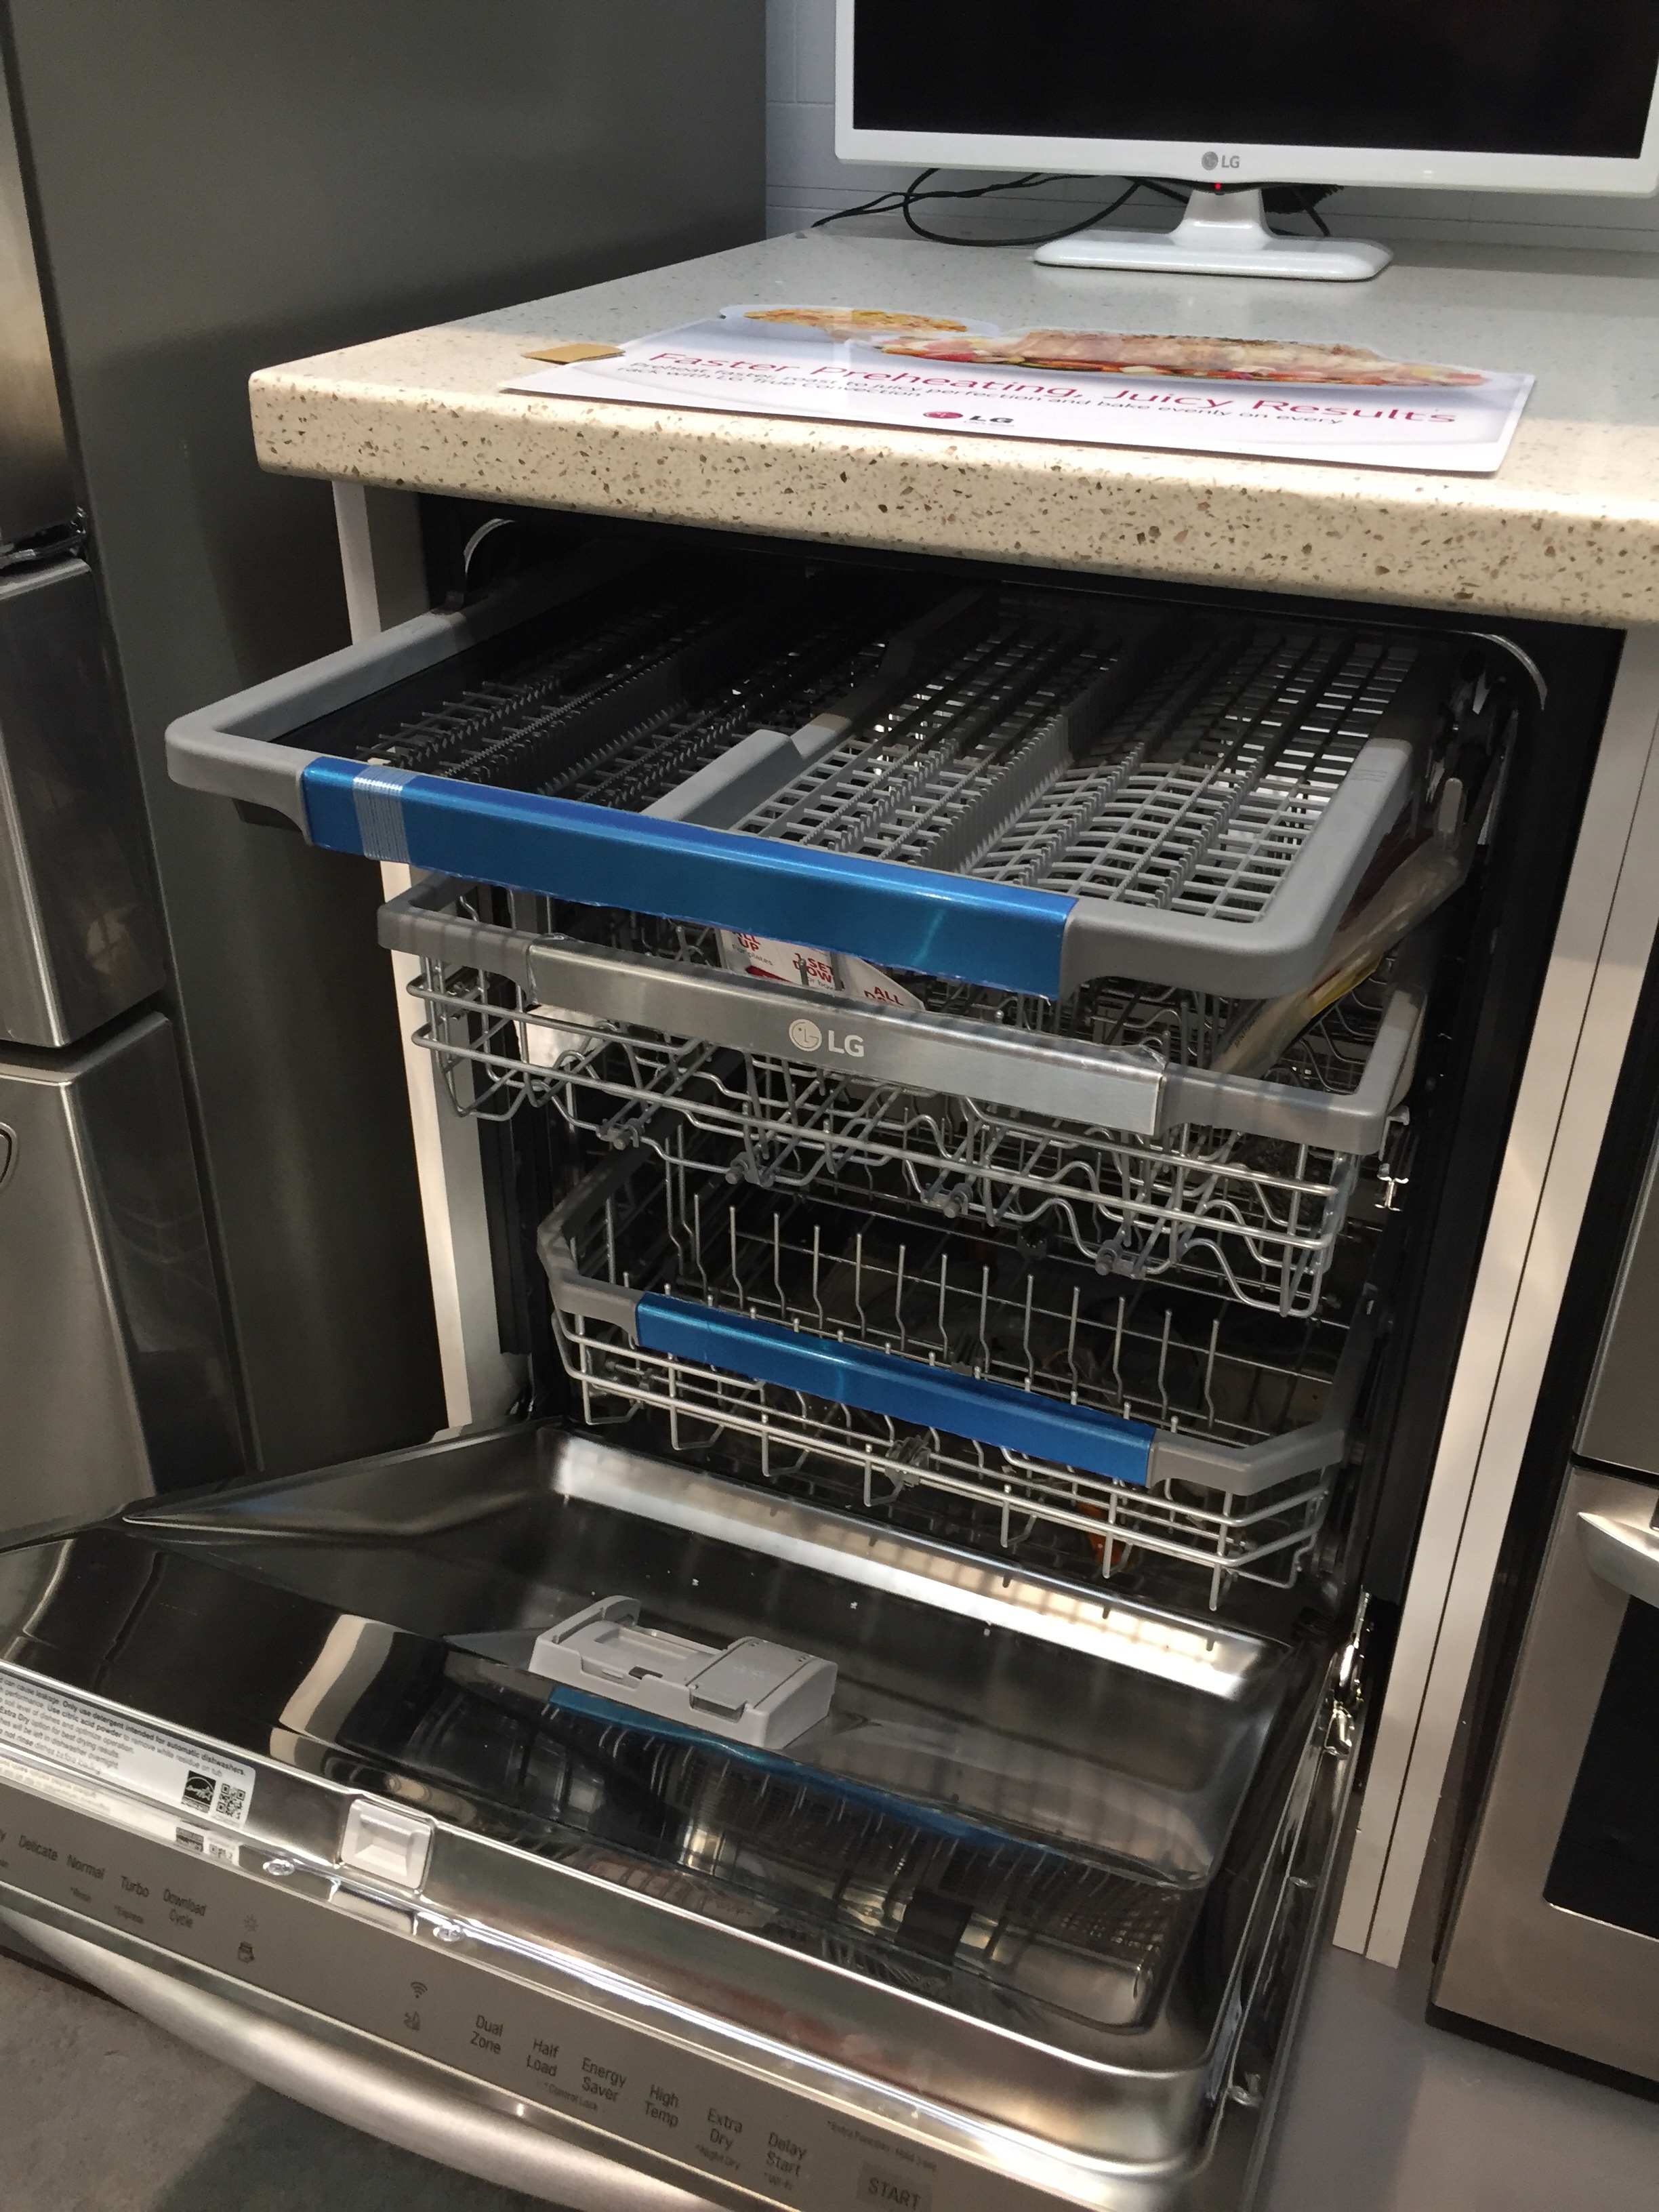
 This top rack is great for extra utensils and chopsticks!!!.