Sourdough Cinnamon Muffins

Our favorite muffins

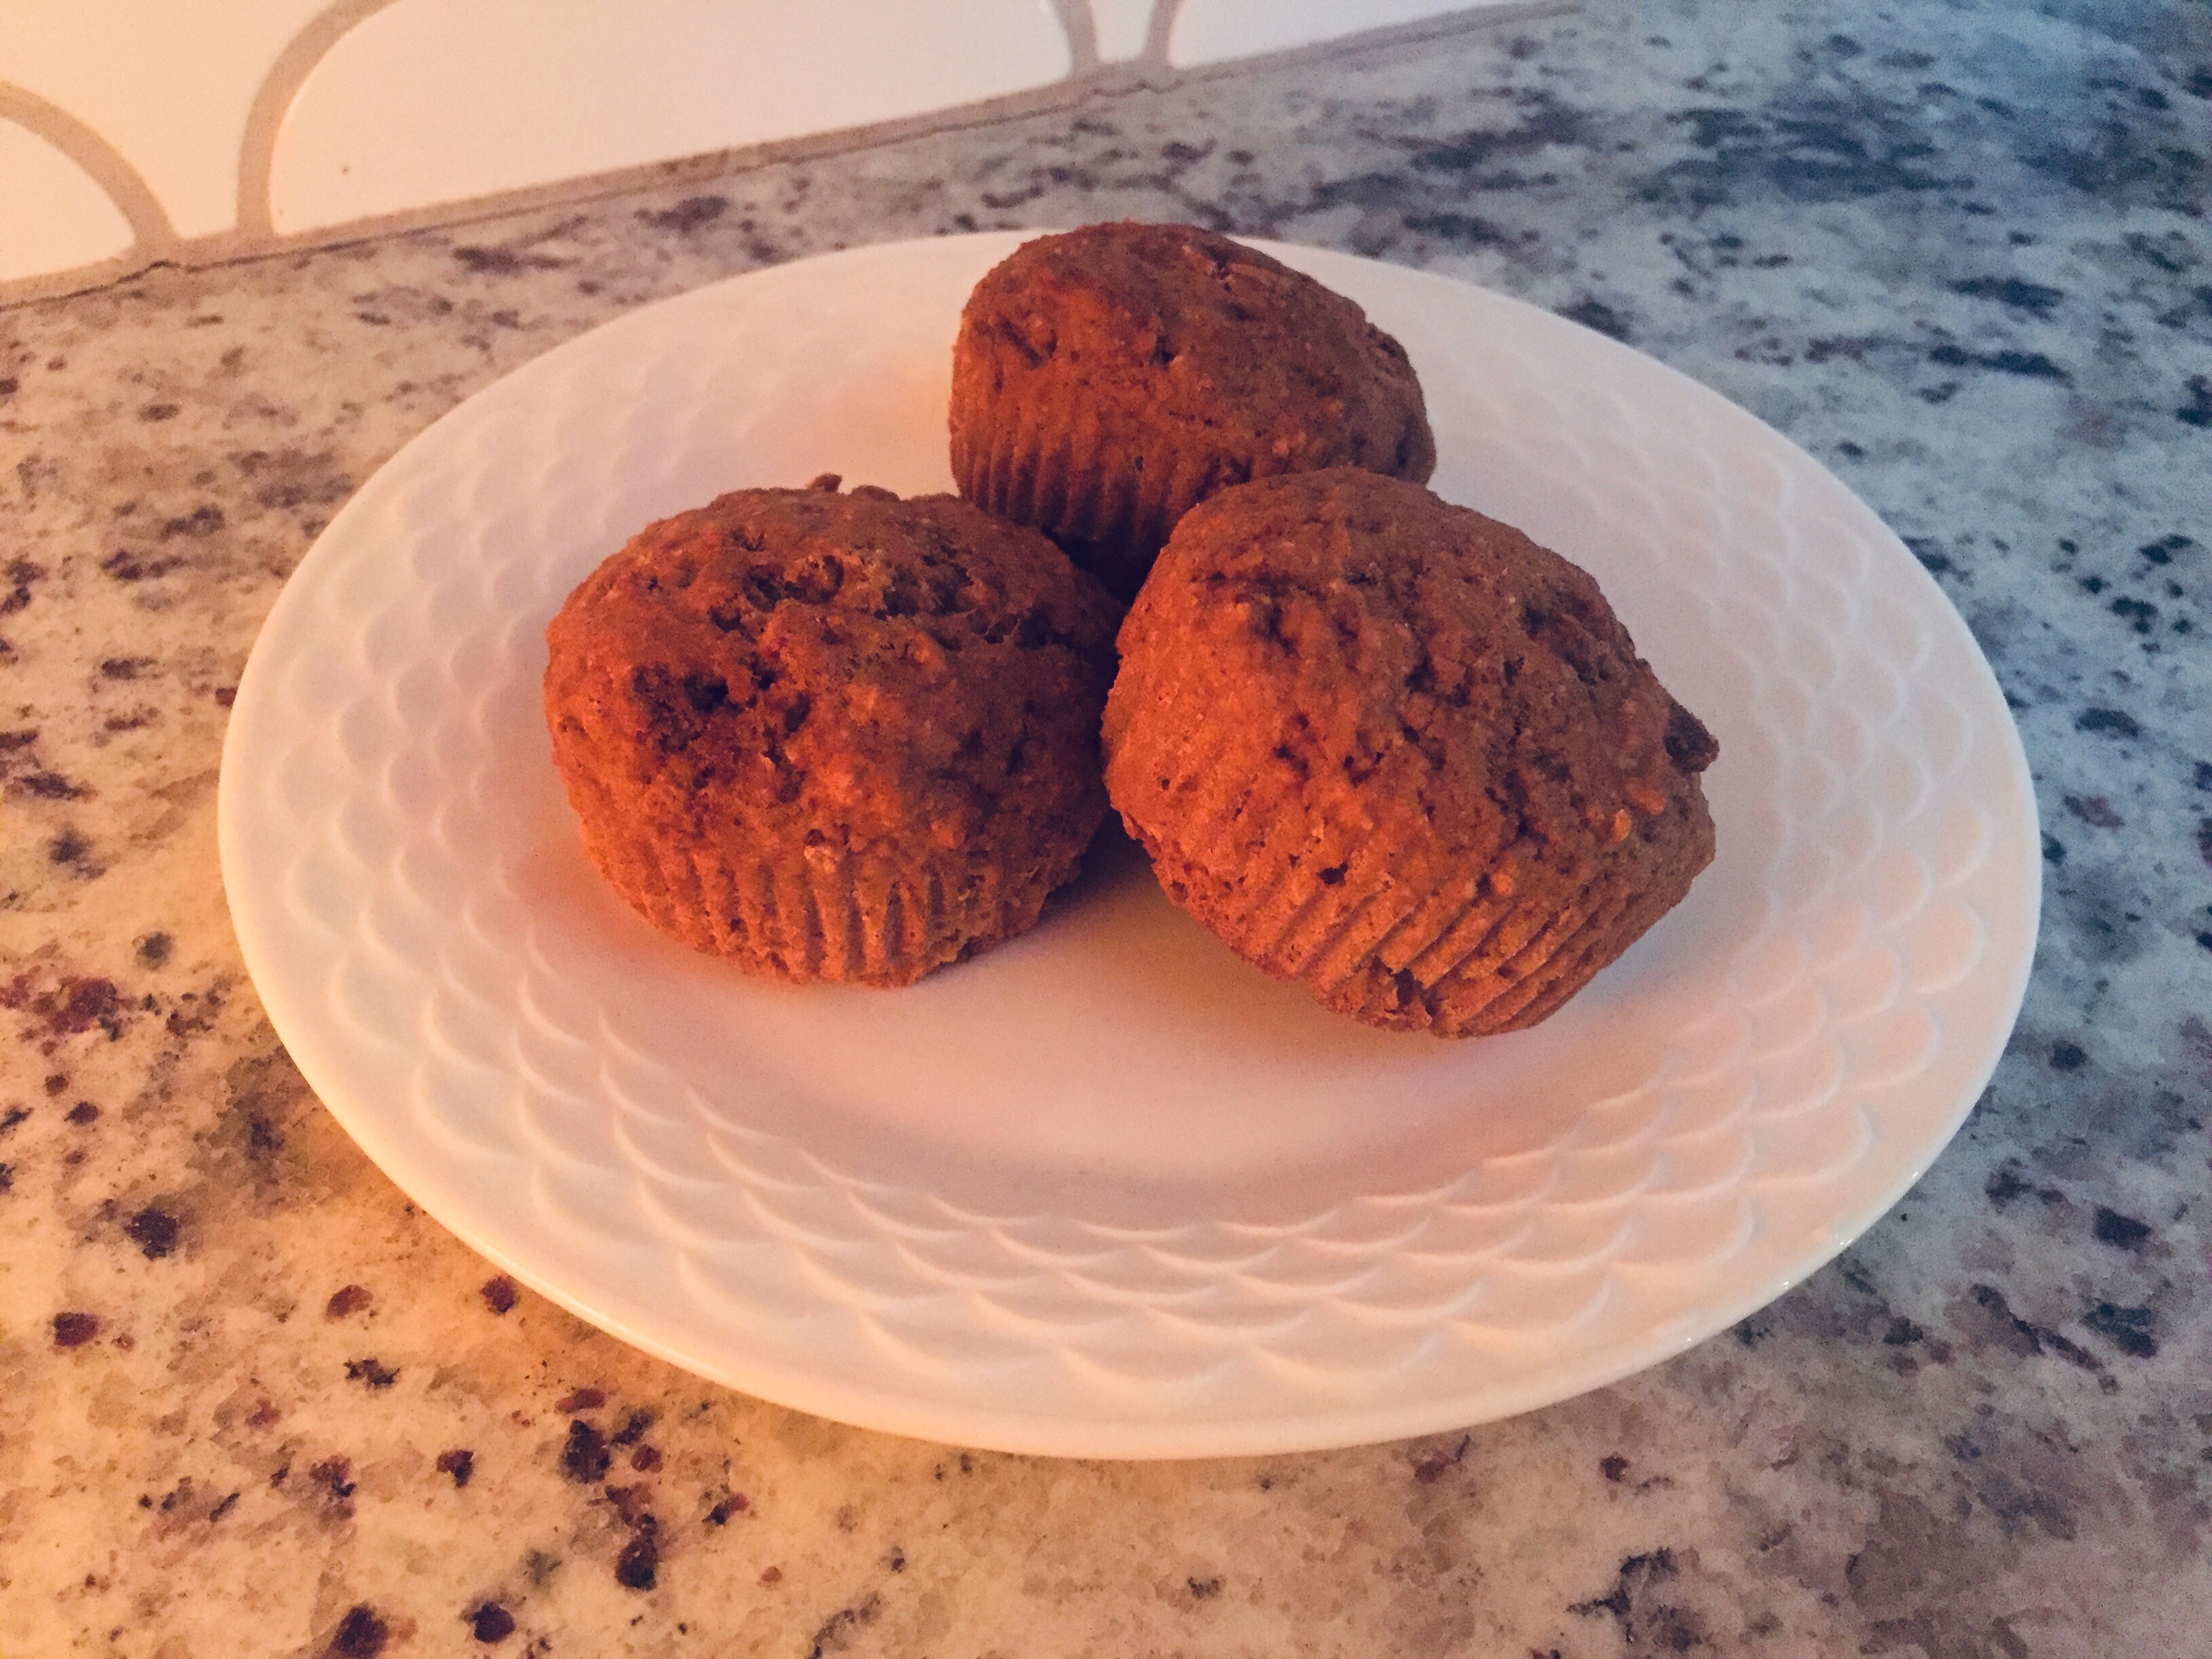
It can be challenging to find something everyone at our home will eat, but everyone likes these muffins! They make a great snack or an easy breakfast paired with a little fruit.

I had always LOVED eating sourdough bread and I knew there were WONDERFUL health benefits, but the idea of making my own really intimidated me!!

Enter 2020.

I’ve really enjoyed learning how to make things with sourdough. Bread, pizza dough, and sourdough cinnamon muffins are my favorite things to make! I’ll share the pizza crust recipe another time, we LOVE cooking that on the grill!!

I usually DOUBLE this recipe because my family will eat these SOO fast! And these muffins smell AMAZING as they are baking! The scent of cinnamon fills the air and it smells like Christmas!

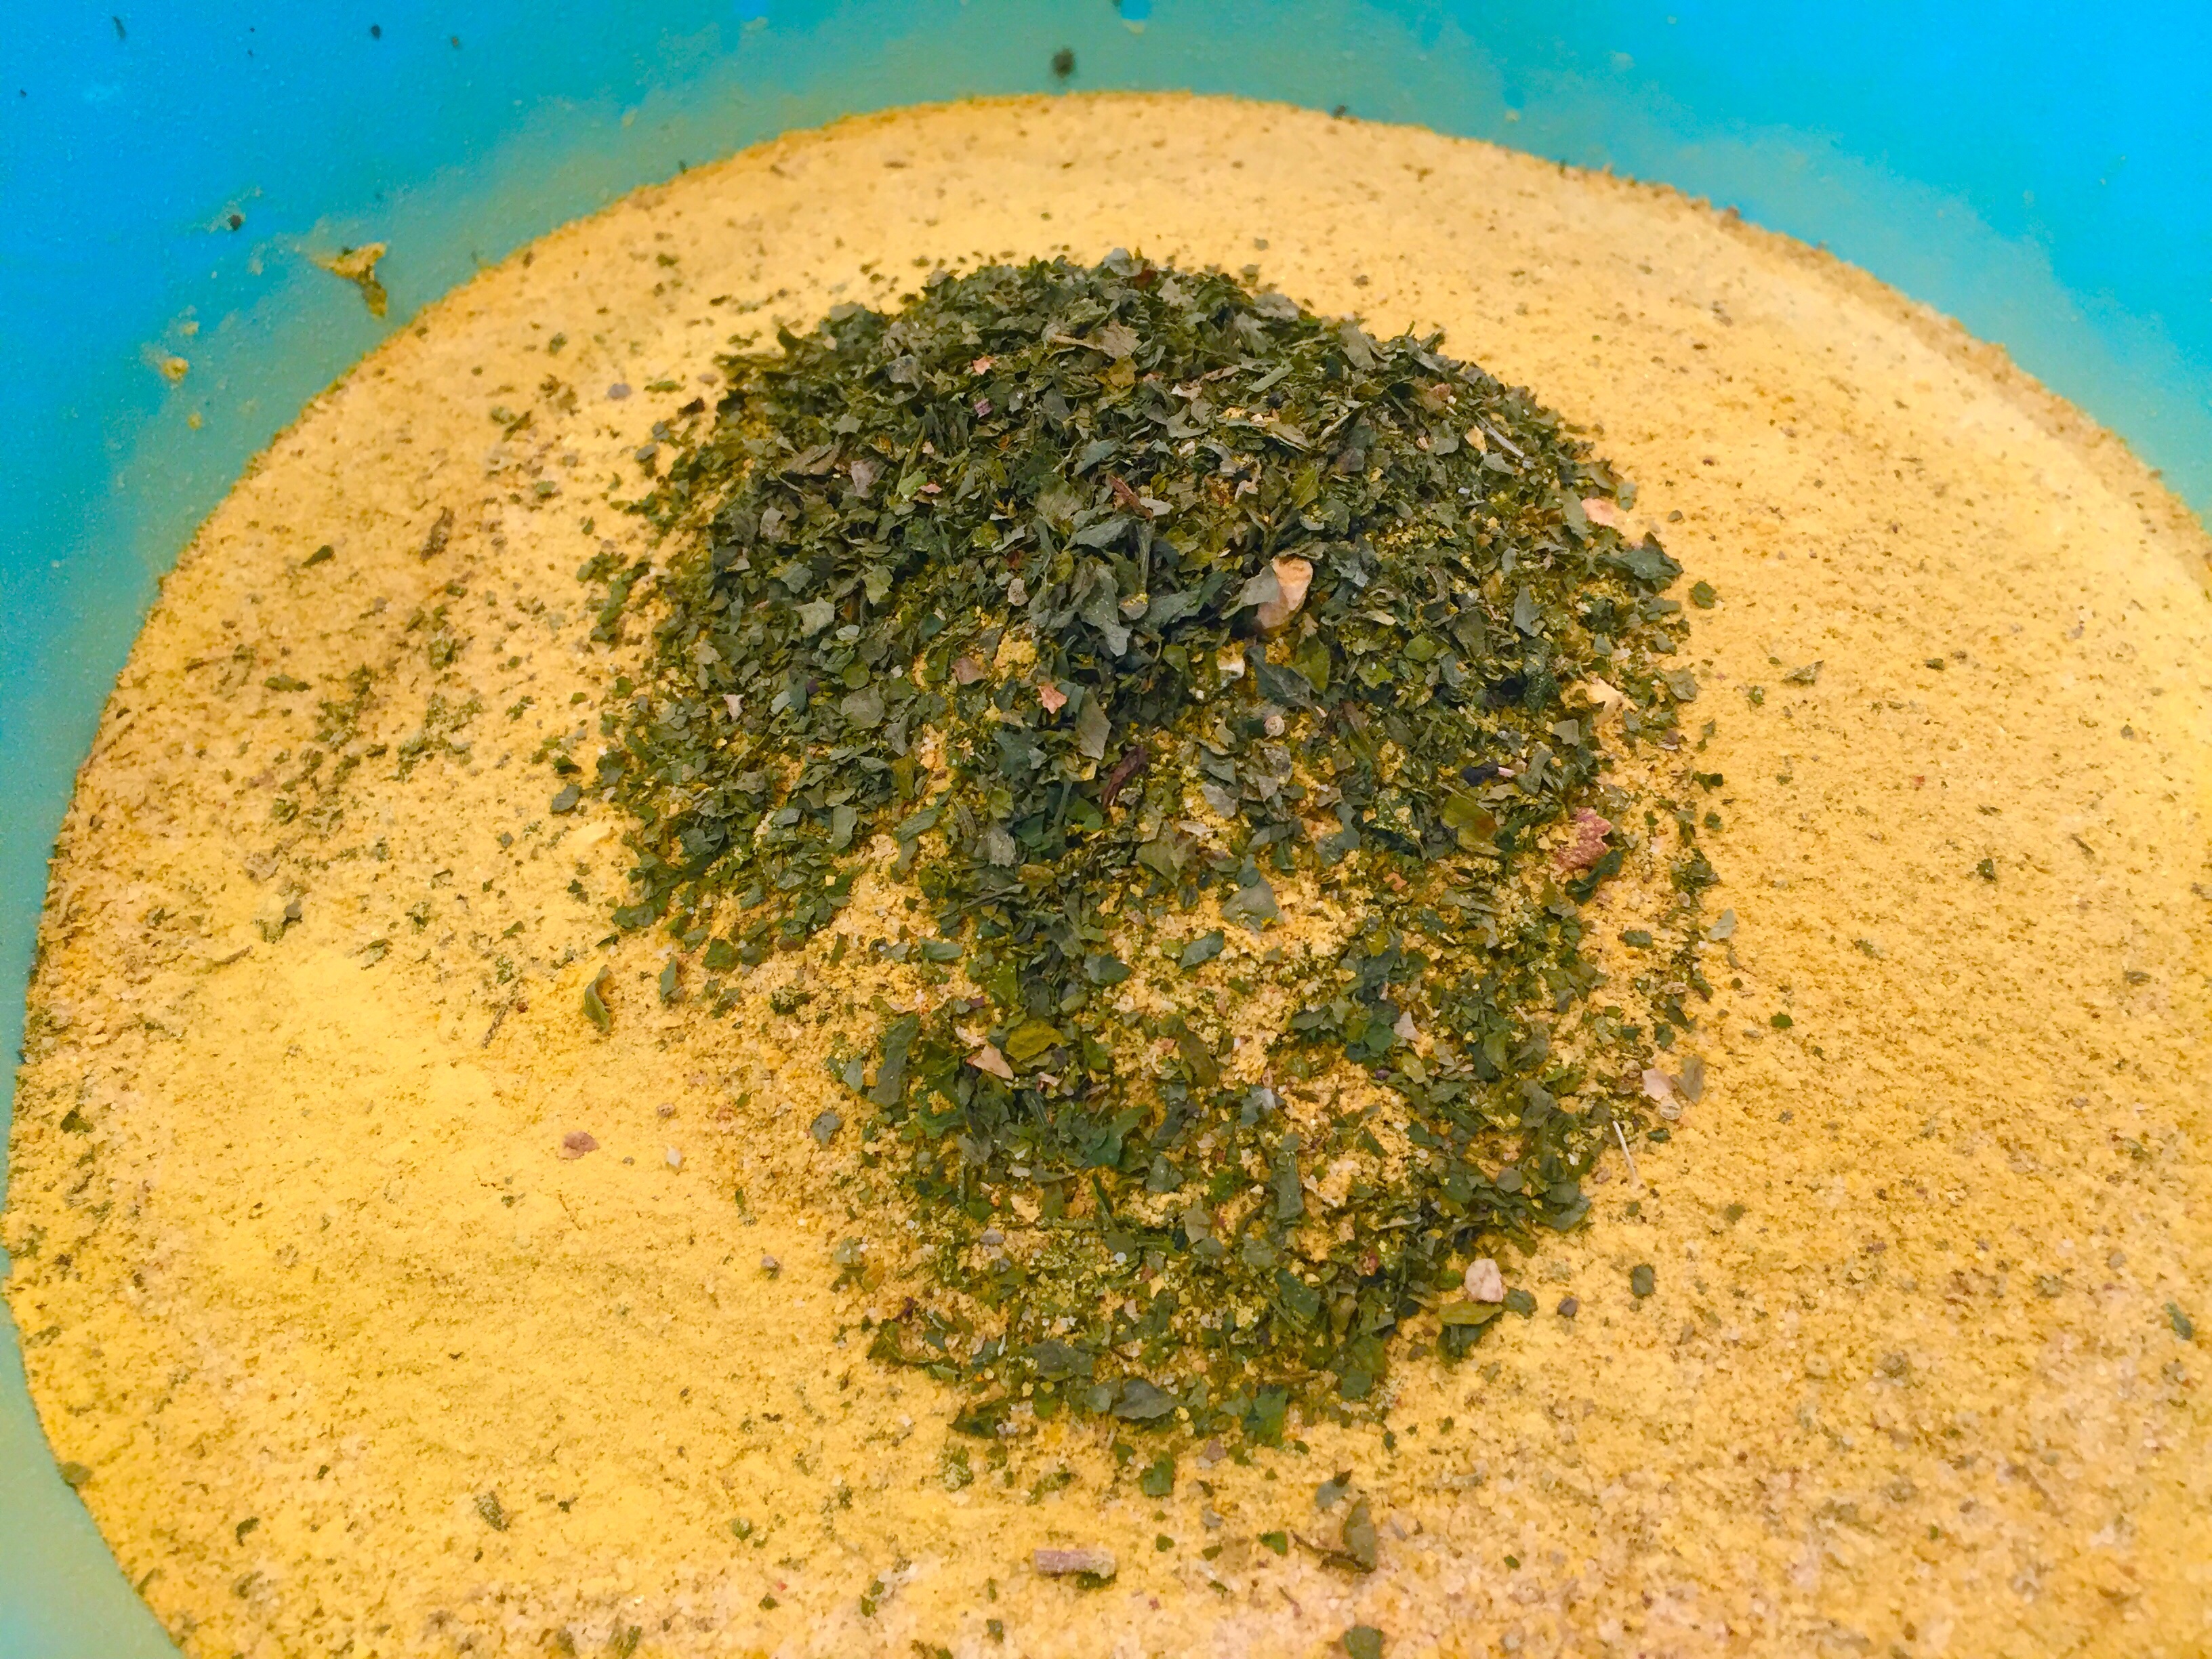
SOURDOUGH CINNAMON MUFFINS

* 1 1/2 cups wheat flour, preferably soft white wheat ground into floor.

* 1 teaspoon baking powder

* 1/4 teaspoon baking soda

* 2 teaspoons ground cinnamon

* 1/2 teaspoon ground nutmeg

(You can substitute 1 tablespoon pumpkin pie spice for the cinnamon and nutmeg.)

* 1/4 teaspoon salt

* 4 tablespoons coconut oil, melted

* 1 cup Sucanat

* 1 teaspoon vanilla extract

* 1/4 cup almond or cashew milk

* 1 regular egg or flax egg (1T ground flax and 4T water, mix.)

* 1 cup sourdough starter

Whisk together the flour, baking powder, baking soda, cinnamon, nutmeg and salt in a large mixing bowl.

Add melted coconut oil, sucanat, vanilla extract, almond milk and egg.

Mix well with a spoon. Pour in sourdough starter and mix with spoon.

Use 24 paper lines in a muffin tin. Fill cups about 1/2 full.

Bake in a preheated 400 degree oven for 17 to 20 minutes.

Makes 24 regular muffins. Enjoy!

Thank you for reading! Have a WONDERFUL day!

Easy Oven Bi Bim Bap

After we had lived in South Korea for 9 months the women that I went to church with started a cooking class on Wednesdays to teach me how to cook Korean Food. For three AMAZING months I was living my dream life!! If you know me you know I love, I mean LOVE Korean food.

When they taught me how to make Bi Bim Bap everything was cooked on the stovetop, sautéed in a pan. Each item was prepared one at time, it was beautiful. It was uncommon to have an oven in your home. Most homes don’t have large ovens like we do in the U.S. My apartment had a 2 burner stove (propane?) a rice cooker, tea kettle, microwave and small fridge.

This version uses the oven and speeds things up significantly.

Bi Bim Bap means mixed vegetables with rice. I love it so much! I love it even more when someone else makes it for me. Lol!

Kimchi!! A wonderful garnish for Bi Bim Bap.

BI BIM BAP

SPICY SAUCE

* 2 Tablespoons toasted sesame oil

* 2 Tablespoons rice wine vinegar

* 2 Tablespoons Gochujang (Korean chili paste)

Whisk together.

(If you like this recipe I recommend that you double or triple the sauce. I make a large batch and keep it in my fridge so I always have some available, it will keep for a long time.)

VEGETABLES & TOFU

* 10 oz. package firm tofu, drained, sliced into rectangles

* 2 medium carrots , cut into matchsticks

* 1 small zucchini, cut into matchsticks

* 1 red bell pepper, cut into matchsticks

* 1 medium onion sliced

Preheat oven to 400*F, Line 2 baking sheets with parchment paper or use a silicon mat on each pan.

Spread tofu slices out in a single layer on one pan, bake for 15-20 minutes.

Spread the vegetables out in a single layer on the second pan.

When the tofu has 5 -10 minutes left add the pan with the carrots, zucchini, peppers, and onions to the oven.

Roast veggies in oven 5 minutes or until veggies are tender.

EGGS (If you want this to be vegan omit the eggs)

* 4 large eggs

* 1 teaspoon roasted sesame oil

Fry eggs in oil 4 to 5 minutes, or just until set.

RICE

* 4 cups steamed rice (I love brown short grain rice with equal parts brown sweet rice)

If you don’t have leftover rice or you’re not using a rice cooker than START COOKING THE RICE FIRST!! You’re welcome.

SPINACH

* 2 cups spinach, steamed

KIMCHI

* 1/2 cup kimchi

HOW TO SERVE

Place one serving of rice in large bowls or on plates. Top with tofu, spinach, and vegetables, alternating so there are four tidy portions of each. Gently place eggs in center, drizzle with Spicy Sauce over the top and garnish with sesame seeds, kimchi, and red pepper flakes (gochugaru) optional.

My most recent batch of fresh, homemade kimchi.

Quinoa Vegetable Soup

Soup season is here!

This is a new recipe my daughter and I have been tweaking. Vegan, DELICIOUS, and high in protein, thank you quinoa. And the best part is it’s sooo EASY! Pretty much perfect. Enjoy!

Quinoa Vegetable Soup

QUINOA VEGETABLE SOUP

* 1 onion chopped

* 6-8 celery ribs chopped

* 3-4 large carrots chopped

*2-3 Tablespoons extra virgin olive oil (or 1/4 cup broth if you’re avoiding oil)

* 15 ounce can stewed or diced tomatoes

* 15 ounce can tomato sauce or use more broth, if you want a thinner soup

* 1 quart vegetable broth

* 1 cup dry quinoa, rinsed well

1. Sauté onions, celery, and carrots in the olive oil for 5 minutes.

2. Add diced or stewed tomatoes, tomato sauce, and vegetable broth. Stir.

3. Add quinoa and bring soup to a low boil, then simmer for 20 minutes.

4. Drizzle each serving with with a little extra virgin olive oil and sprinkle with a little garlic salt.

(If you’re feeling daring try a sprinkle of cayenne pepper.)

ENJOY!

Up Close Quinoa Vegetable Soup

My Favorite Broth

About once a year I make a huge batch of Veggie Broth Powder. I use it in EVERYTHING!

After trying about every kind of veggie bouillon cube or paste or broth sold in the grocery I have determined that this recipe is the only one I ever want to use. The flavor is wonderful and and it’s really easy to use.

This recipe was adapted from Traci’s Transformational Health Principles by Traci J. Sellers

I think this is so beautiful with all the herbs and spices waiting to be blended together.

VEGGIE BROTH POWDER (makes about 1 1/2 cups, but I usually quadruple or 8 times the recipe!)

1 cup Nutritional Yeast (scroll to the end for more information about yeast flakes)
1/4 cup RealSalt (or Himalayan salt; something with those trace minerals)
1 Tbsp. onion powder
1 1/2 tsp. turmeric
1 1/2 tsp. dried parsley
1 tsp. dried dill weed
1 tsp. marjoram or oregano, optional
1 tsp. dried lemon peel, optional
1/2 tsp. celery seed
1/2 tsp. dry basil
1/2 tsp. ground thyme

Can you tell what all the different spices are?

Put everything except parsley in a blender or food processor, in the order given. Blend until powdered. Add parsley, pulse just enough to chop it a little bit (you’re aiming for small bits). Store in an airtight container indefinitely.

Last step! It’s all blended together now just stir in the parsley.

HOW TO USE:

Add a heaping 1/2 tsp. per cup of water, or 1 Tbsp. of powder for every quart of water.

BONUS RECIPE: SOOOO EASY VEGAN TOMATO SOUP

Don’t be scared because of the word “Vegan,” it’s delicious! Just ask my little boy, he would eat it EVERYDAY if I let him!! In fact he LOVES to make soup with me.

I’ve taken full crockpots of this soup to family parties and it gets devoured by both plant eaters and carnivores! I’ve even received complements! Srsly.

* 2 cups canned or fresh diced tomatoes

* 2 cups hot water

* 1 T. Broth Powder

* 1/4 cup raw cashews

* 2-3 basil leaves (optional)

Blend all ingredients in a high power blender.

(I have great results with my Blend-tech Blender, but the Vitamix blender is fabulous, too!)

Enjoy with croutons, crusty French bread, or a Caesar Salad….or all three!

Have a WONDERFUL day!

Traci

Check out these great benefits of Nutritional Yeast!

Hair Loss, Thyroid & Kelp

Seaweed Rice Rolls (Sushi)

KELP STORY

When my hair was falling out after baby number five I wasn’t terribly alarmed, at first.  I knew that was normal after pregnancy. I had lost hair after my other babies, too.

But this time I felt like I was losing more hair, more often. I’ve always had thick hair and I love to wear it long, so I was not thrilled about the idea of ongoing hair loss!

So I did what I always do, I went to my favorite books about healing and started reading.

What I learned was when a woman has extreme hair loss it is usually because the thyroid is struggling.

So my next question was, if my thyroid is struggling what does it NEED?

The answer I found was KELP.

Kelp FEEDS and HEALS the thyroid.

I started taking kelp IMMEDIATELY and it seemed my hair started growing back INSTANTLY! If I hadn’t tried it myself I may not have believed how well it worked!

It’s amazing how the body can respond when we give it what we need!

But HOW DO YOU GET KELP IN YOUR DIET?

You can get a kelp supplement. I use one that’s just dried kelp in capsules, whatever you use make sure there are no fillers.

This is the EXACT one I use: KELP

But you can also EAT it. Think SUSHI!

Below is a fun and delicious way to eat kelp! It can be a little “fishy” so if that bothers you a supplement might be the best way for you to go.

KIM PAP/SUSHI/SEAWEED RICE ROLLS

* 2 cups cooked brown rice

* 4-6 sheets nori (dried seaweed sheets)

* 1 carrot shredded or julienned

* 1 cucumber julienned

* 1 avocado in slices

* 1 red bell pepper sliced thin or julienned

Spread 1/3-1/2 cup rice on one half of seaweed sheet leaving a one inch border on the bottom.

Layer vegetables down the center of the rice patch in a long line.

Roll from the bottom up.

As you let the roll sit the seaweed will collect moisture from the rice filling, this helps it stay sealed.

OPTIONAL: Brush with roasted sesame oil for a wonderful Korean flavored rice roll. Sprinkle with sesame seeds.

Slice in 1/2 inch slices, dip or rinse your knife in water between each slice, it helps your knife to NOT stick to the slices.

Want more kelp ideas? Try this seaweed soup with a side of rice.

http://drbenkim.com/recipes-seaweed-soup.html

And The Medical Medium has so many great resources for healing and health. Here is more information specifically for the thyroid. https://www.medicalmedium.com/blog/foods-that-heal-thyroid

Have a WONDERFUL day!

Traci

My Two Favorite Health Drinks

It’s getting to be that time of year when I want to make sure I have ingredients in my home to make my two favorite health drinks. I love them both and use them for slightly different things.

The Apple Cider Vinegar Drink is WONDERFUL for prevention, my goal is to drink it every day. And the Ginger Root & Lemon Drink is a fabulous remedy for colds and respiratory ailments. I ALWAYS keep ginger root and lemons in my fridge especially from late fall to early spring! I want to have them when I need them!

Apple Cider Vinegar Drink. These are two different colors because one is mine and one is for my husband. I used a chamomile tea in mine and a peppermint in his.

APPLE CIDER VINEGAR DRINK

* one fresh quart of herbal tea (still hot) or hot water

* 2 Tablespoons raw local honey

* 2 Tablespoons Apple Cider Vinegar

*1/2 teaspoon – 1 teaspoon cayenne pepper (start with a sprinkle)

Add the honey, vinegar and cayenne to your hot tea/water, adding these things while your tea is still hot helps the honey melt.

Let it cool a bit and ENJOY!

I prepare mine in a quart jar and just drink it right out of the jar with a straw. You can find special wide mouth jar lids that have a place for a straw. I really like using the lids, but I’ve done it for years without a lid and just a straw.

Apple Cider Vinegar Drink with wide mouth jar lid for straws.

GINGER ROOT & LEMON DRINK

* 2 lemons

*4 inches ginger root

Wash lemons and ginger, quarter lemons with peel on and cut ginger into 1” lengths, feed through juicer (not a citrus juicer)

Use 1 Tablespoon juiced lemons and ginger and add to one cup of hot water. Sweeten with honey if desired.

I usually double, triple or quadruple this recipe. I pour the extra into ice cube molds and keep it in the freezer. I love having it in the freezer all ready to go for when I need it.

When I’m really sick I try to drink lots of liquids, herbal tea, broth, etc. I’ll make a quart of this at a time and drink it throughout the day. If I do that for 2 or 3 days I’ll usually start feeling remarkably improved!

I hope this is helpful!

Please let me know if you give it a try.

Have a WONDERFUL day!!

Traci

Let’s Sprout

Hello!

What if for some reason you decided to stay home for a few weeks, like in a self-quarantine situation?

Has anyone ever heard of anything like that? 😉 Hasn’t happened to anyone has it? 🤷🏼‍♀️

Well just in case you find yourself at home because you’re avoiding stores/people but you still want fresh food, sprouting is a wonderful resource!!

Sprouts are highly packed with nutrients! And they’re pretty simple to grow.

Honestly, you could probably live on sprouts and you would be super healthy!

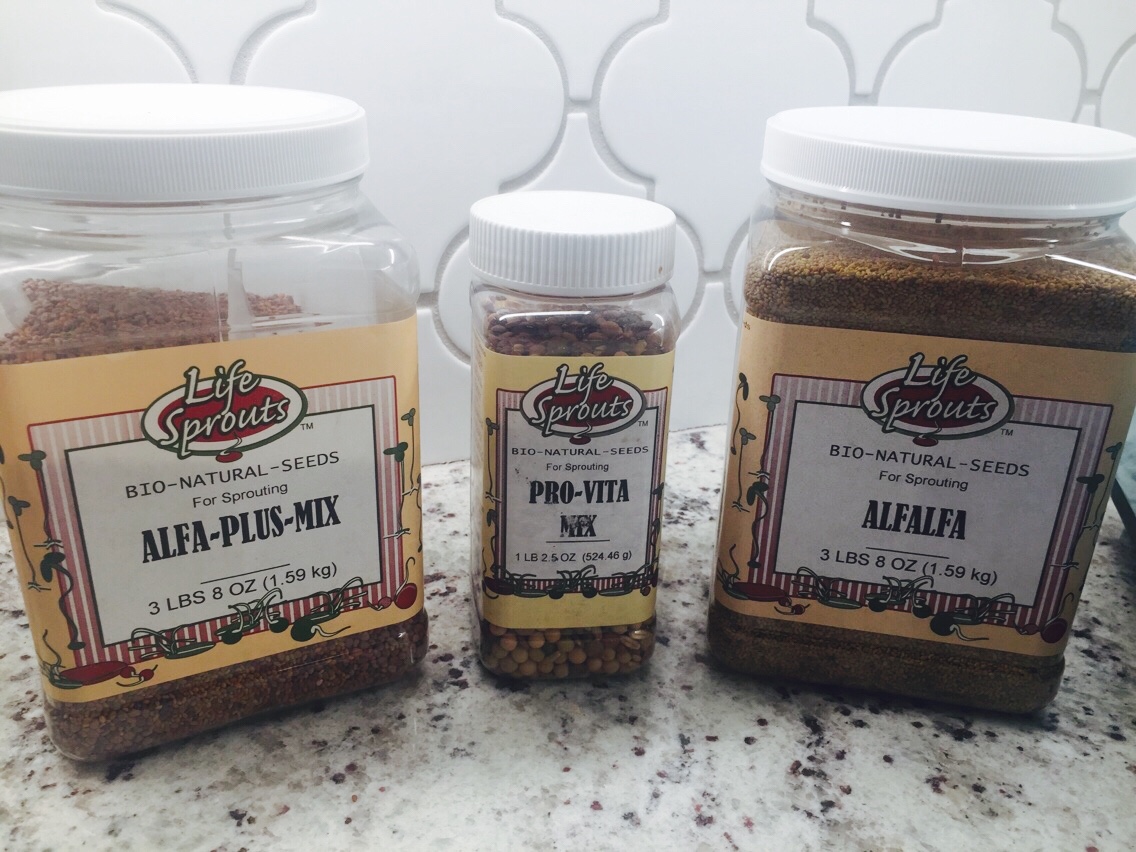
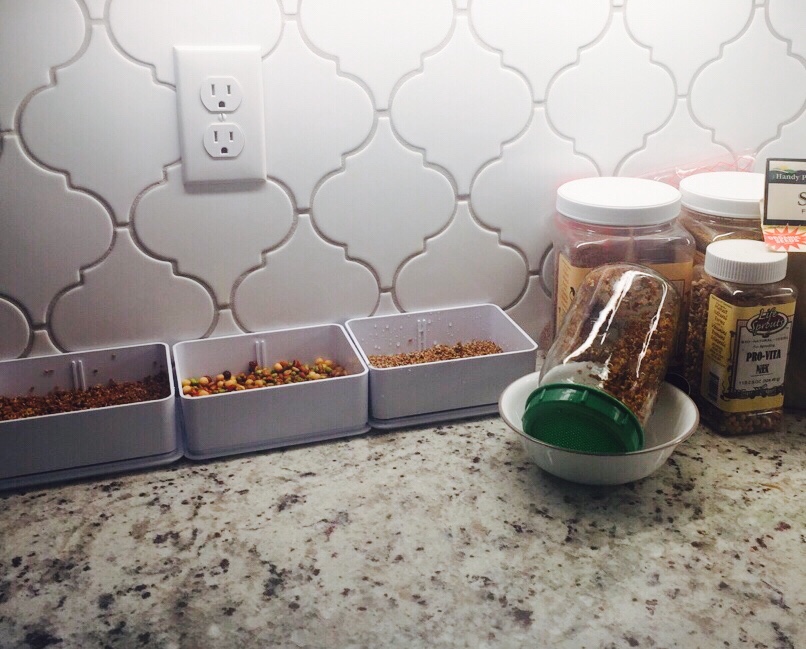
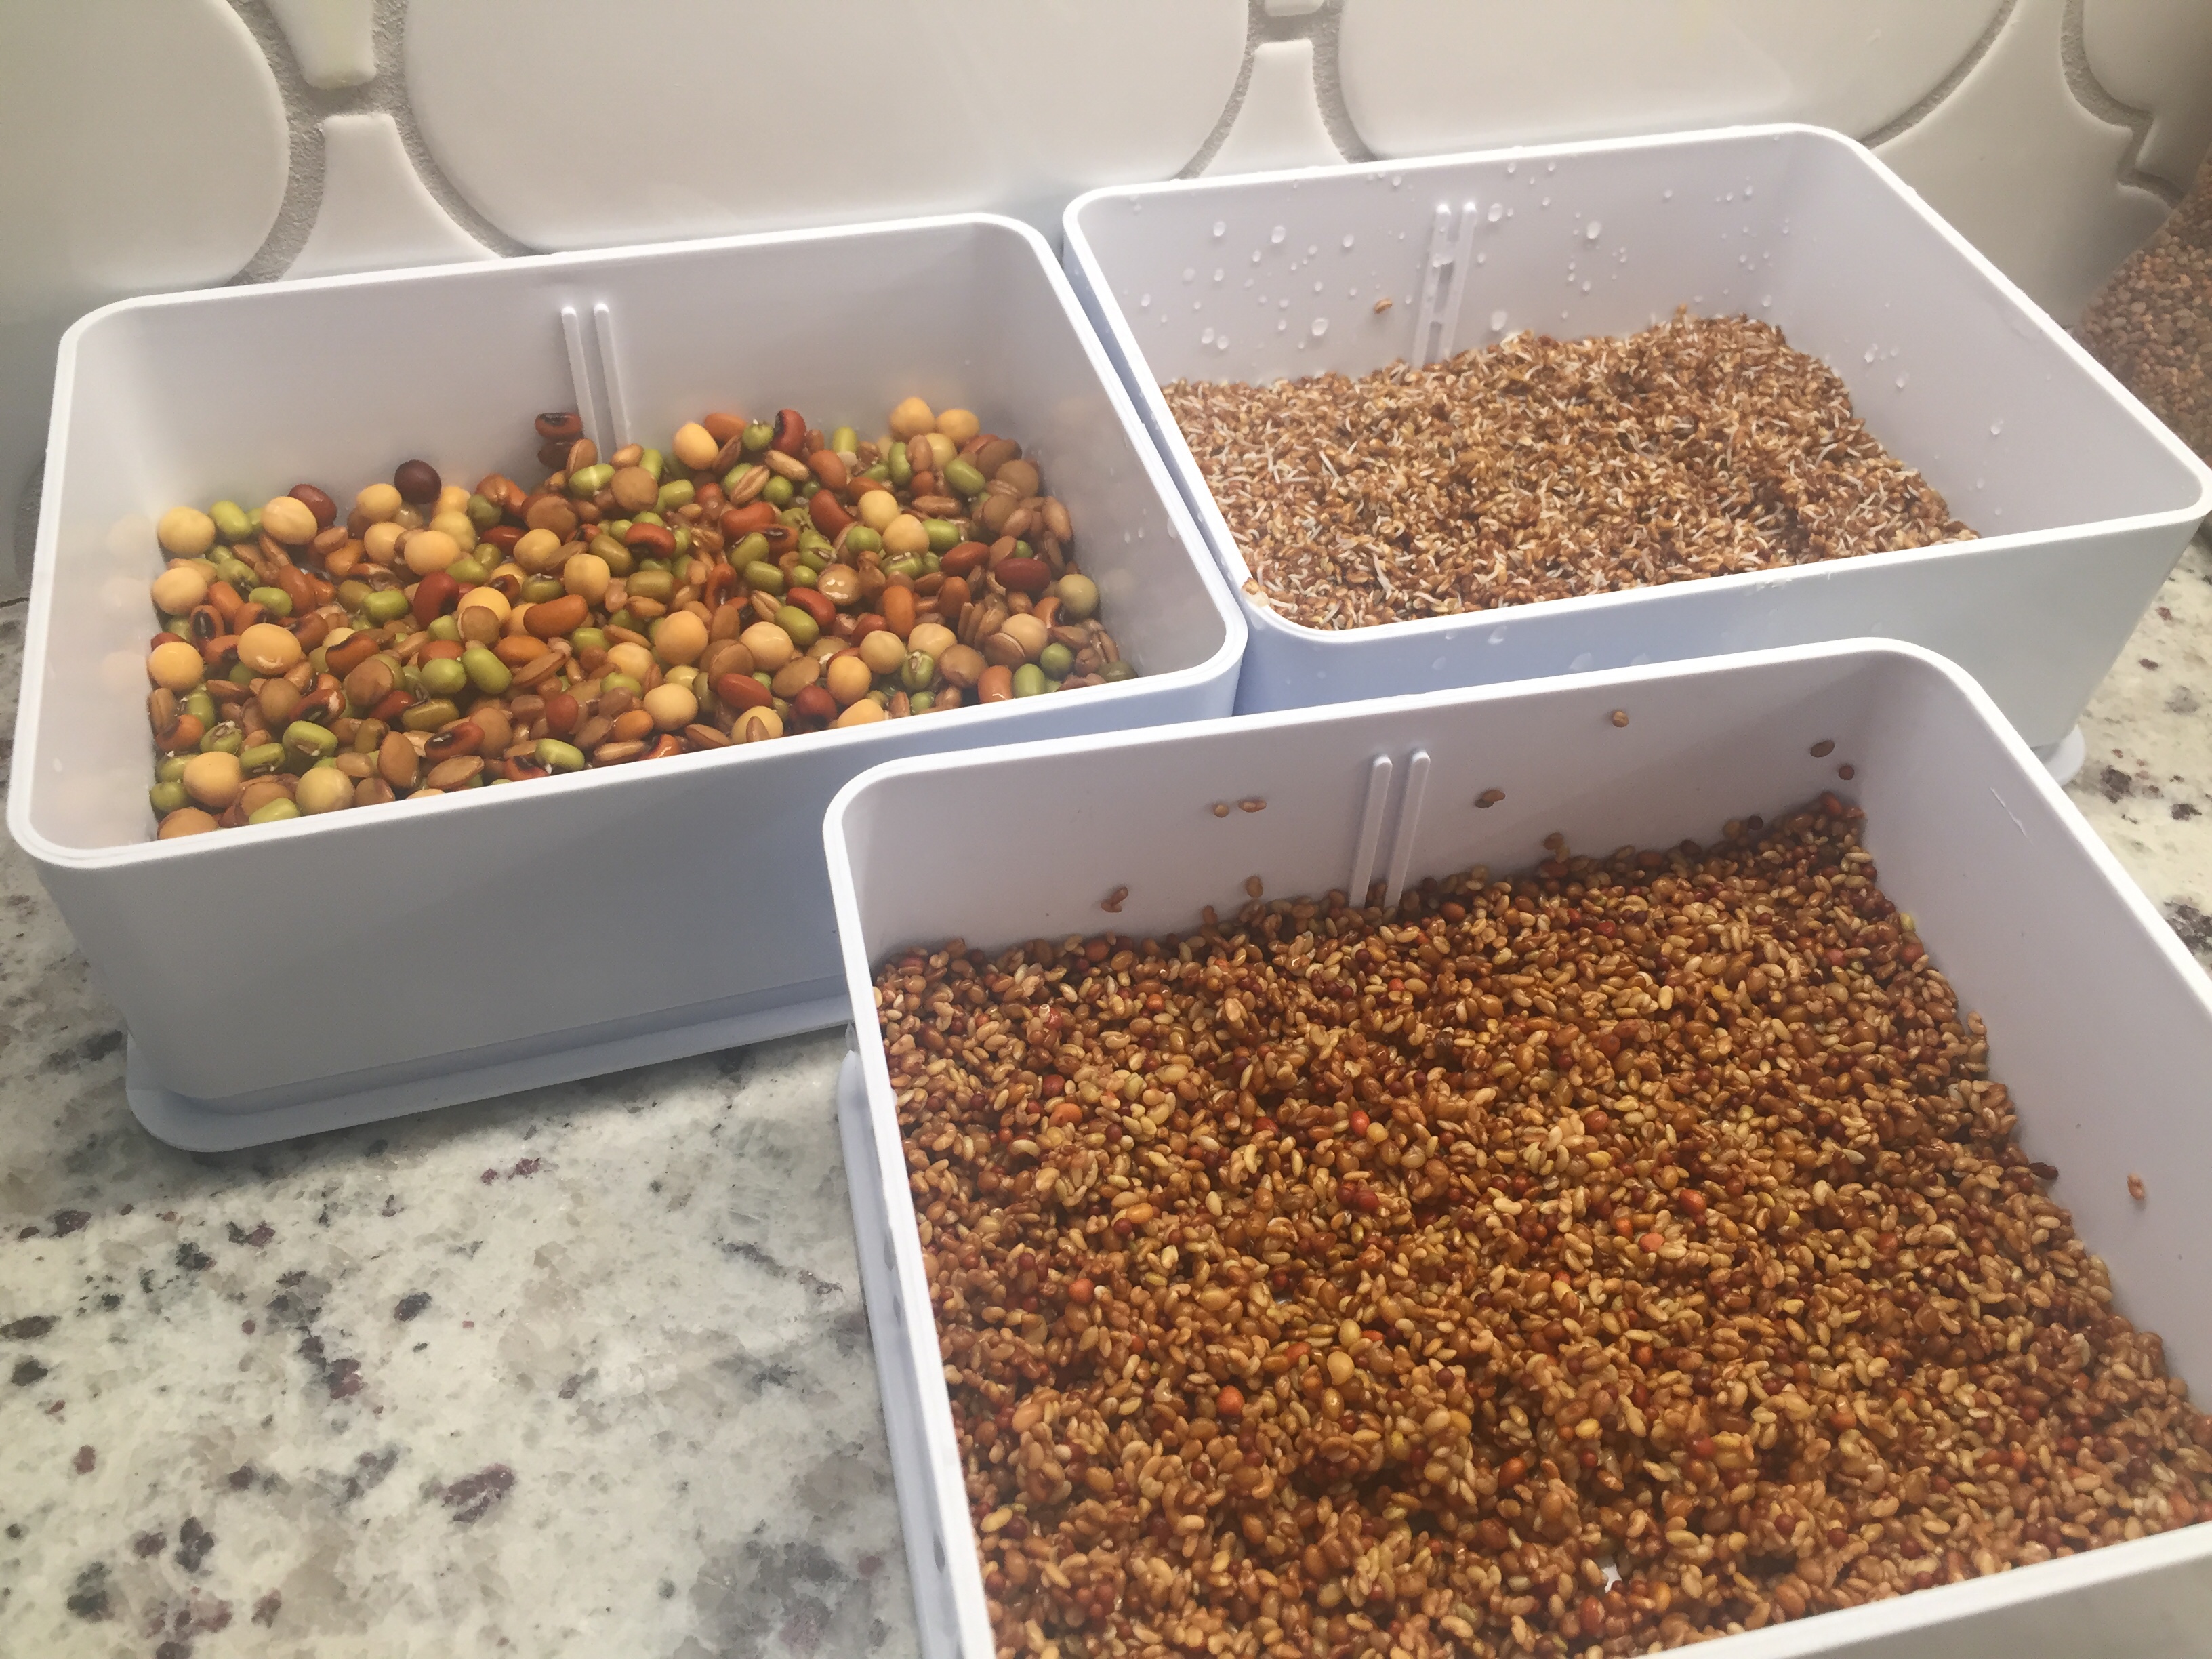
The box on the back left is Pro-Vita mix, back right is plain alfalfa, and the front box is Alfalfa-Plus-Mix.  I thought the Alfalfa-Plus-Mix would be great and so versatile! I love it, but it’s too spicy for one of my daughters. She LOVES alfalfa sprouts, though, so that’s good!

This is what I’ve got going on at home right now.

The alfalfa sprouts in the last picture are already starting to grow tails! It doesn’t take very long. The container the alfalfa is in is probably a little small and is going to get full really fast!

My three-year-old helped me get started on these. It really is so easy.

Choose a seed and soak it overnight, you may already have some things at home you could try. In the morning rinse it off and drain it and after a few days of rinsing twice a day you will have sprouts to eat!

I created this document a few years ago. I tried to cram in all of my favorite information about sprouting.

I hope this is useful to you!

Printable “Let’s Sprout” PDF HERE.

You can find seeds and sprouting equipment at health food stores or Amazon.

**Try to use organic seeds so that you are avoiding eating pesticides.**

Have a great day!

Framing is done!

We’re so, so close to being done with framing!

Front of house.

Front door and front room.

In the great room, near the future stairs, looking down the hall into the laundry room. 
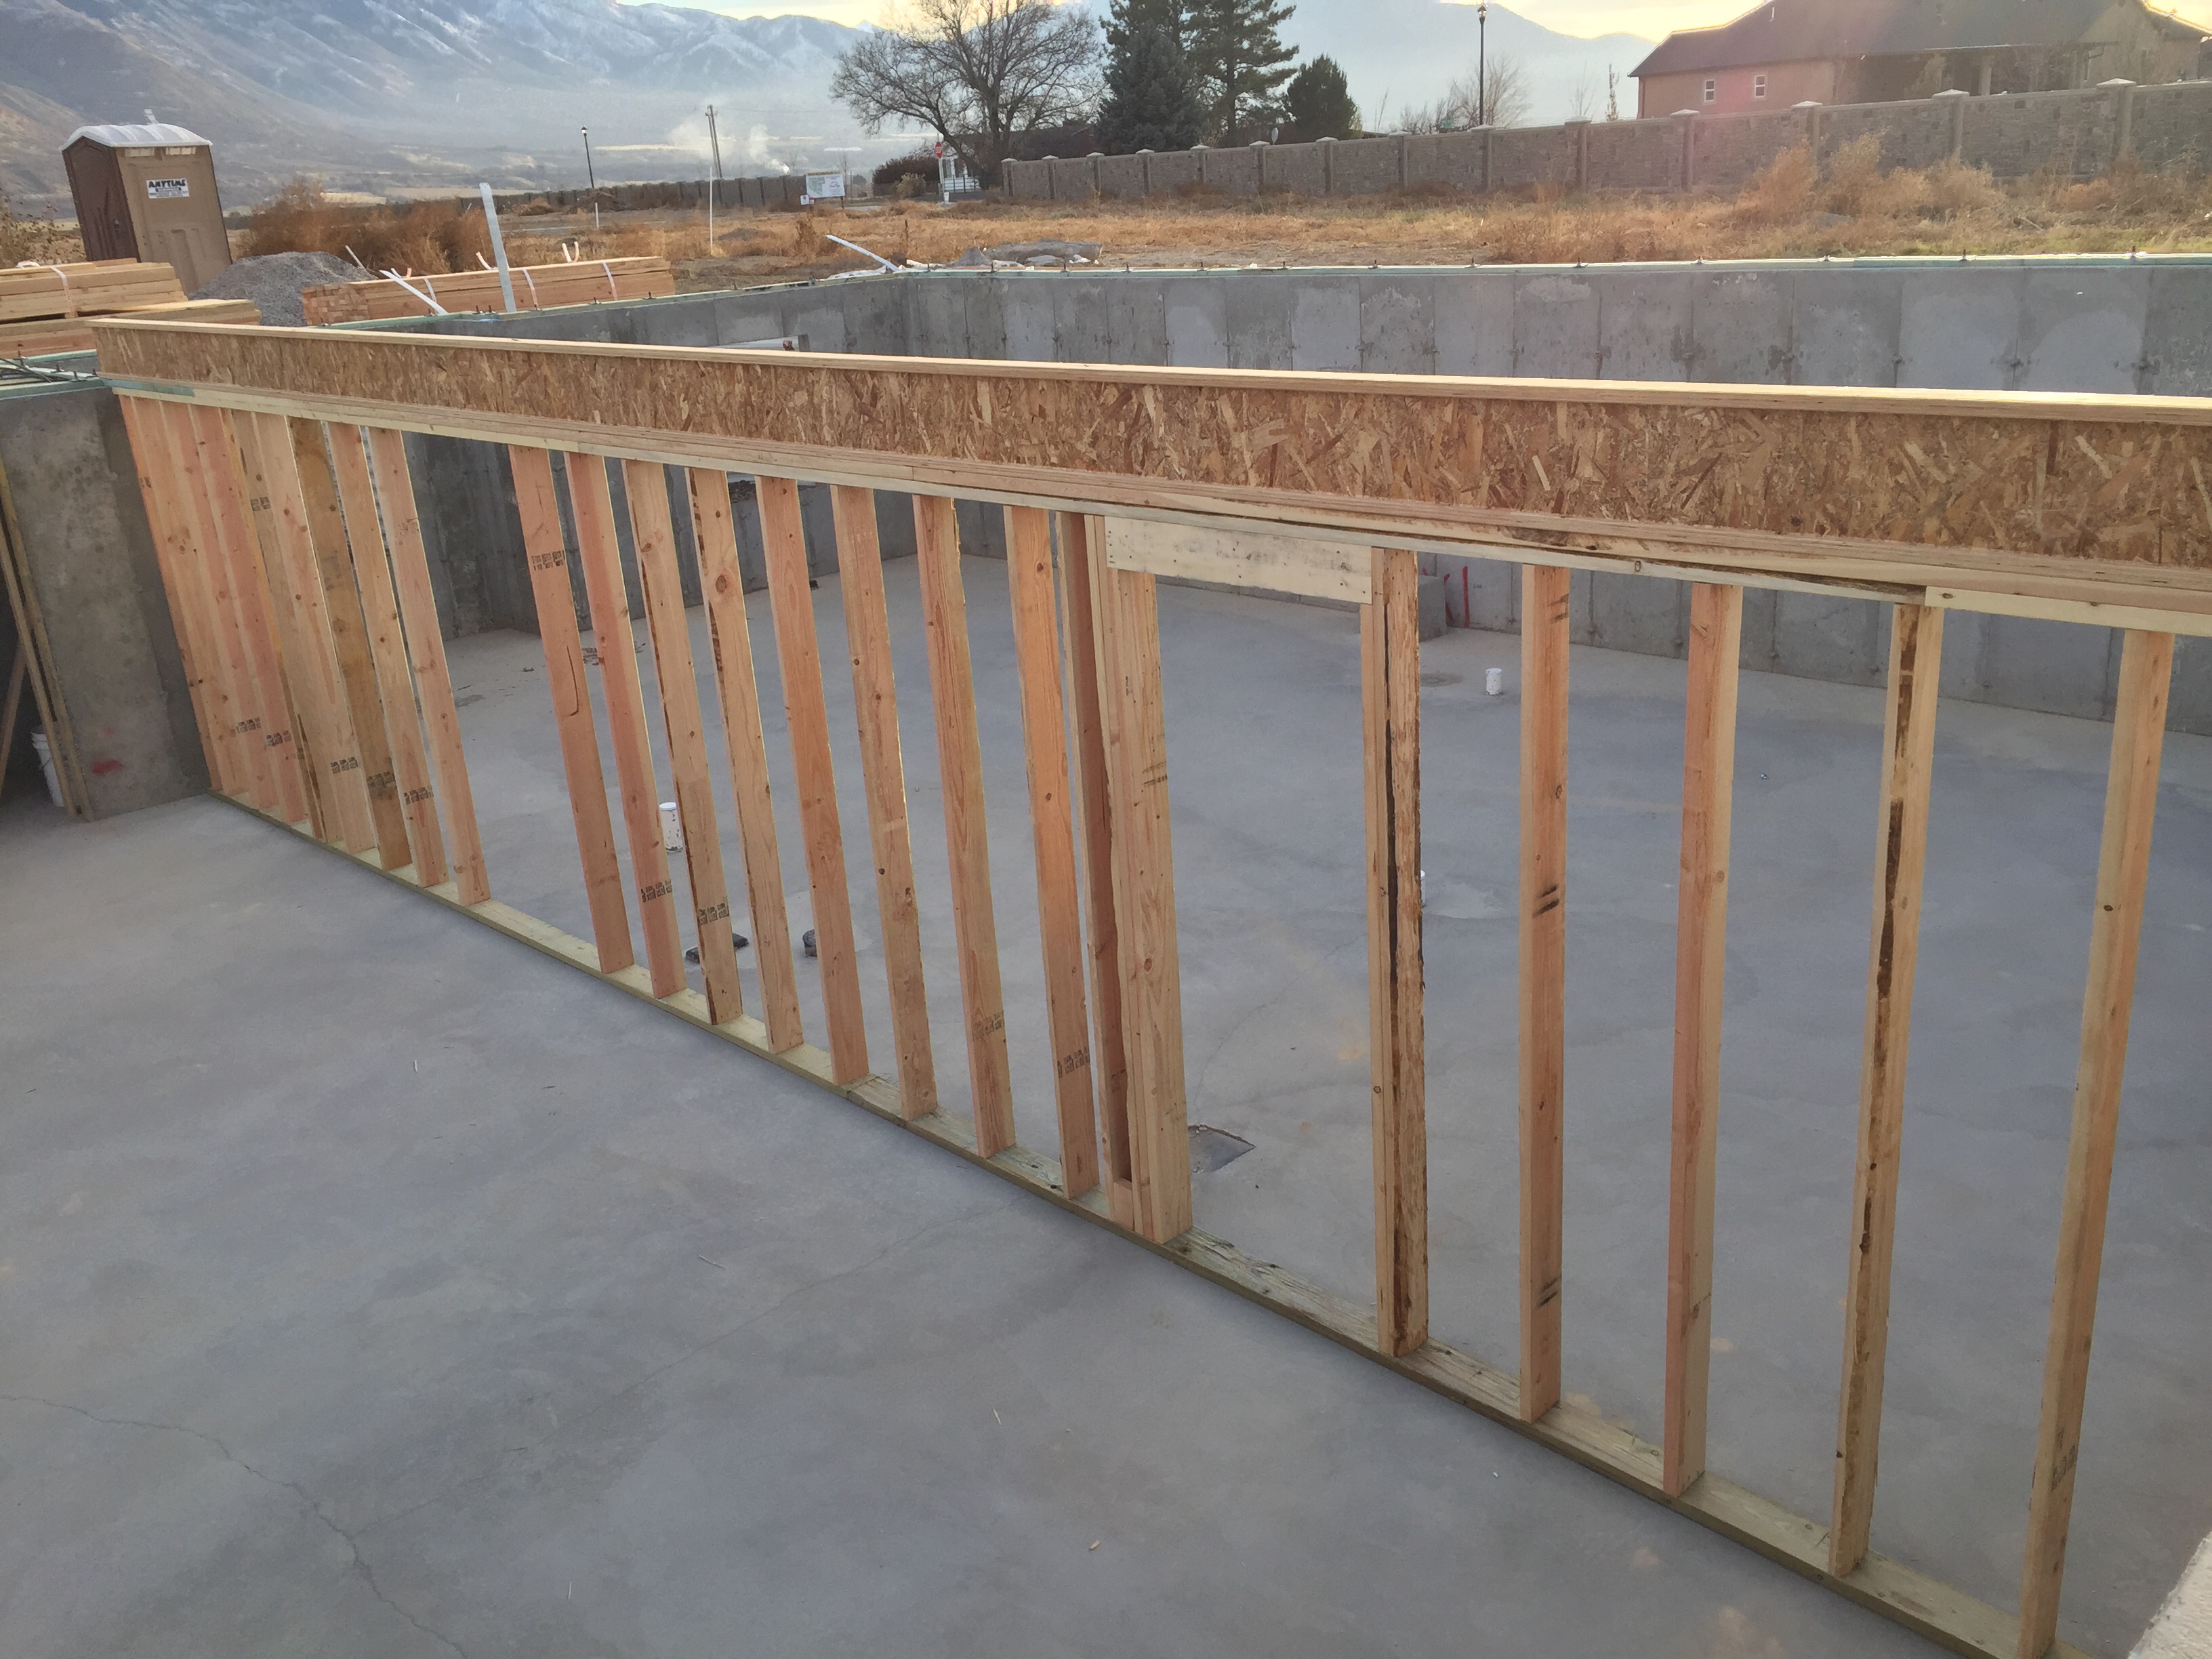
In this picture you’re standing in a bedroom looking through the laundry room and into the master bedroom. The window you see in the back will be over a bathtub.Garage.

Hurrah for the electric box right on the front of the house….. don’t worry I have some secret plans to disguise it later!

Next step, trusses!!

It’s beginning to look a lot like a house.

We’ve been blown away with how quickly the upstairs framing has come together.

It’s been really cool to work with our contractor friend to do this project and make a few minor changes during this framing process. For example our floorplan shows a corner pantry and while I think they are so cute they haven’t been very functional for us in the past.

I think Murphy’s law says if one person even opens the corner pantry every one else in the house will suddenly flock to the kitchen in starvation mode and cause a serious kitchen traffic jam.

So I wanted to change the wall and door on our corner pantry to a flat wall and pocket door & Viola! We framed the pantry with a pocket door and a flat wall.

We started to run low on lumber and my dad picked up a load for us so our builders could stay of track.

The walls in the basement are 8 feet. The walls on the main floor are 9 feet except in the front room and great room behind it. Those walls start at 12 feet and then they will have a vault above that. Maybe next year we will have a very tall Christmas tree!